This post may contain affiliate links/ads and I may earn a small commission when you click on the links/ads at no additional cost to you. As an Amazon Affiliate, I earn from qualifying purchases. Techsphinx also participates in the StationX Affiliate program. You can read my full disclaimer here.
In this post, we are going to cover how to install anaconda distribution in windows and Linux.
Go on, grab some snacks because installation may take some time.
Now let’s get started.
So first of all WHAT IS ANACONDA? (FYI This post is not about snake species :P)
In simple terms, Anaconda Distribution is a package that consists of python and many other useful libraries (including “Jupyter notebook” which is also a great library for beginners to learn python.) that helps Data scientists, IT professionals, Executives, hobbyists, Developers and also students to work on their project without any difficulties.
If you want to read more about anaconda then head on to this link, where you can read about it in detail.
Anaconda distribution can be easily installed on Windows, Mac, and Linux. The process is almost the same.
Follow the steps:
Download :
You can easily download anaconda from their official website for free, follow this link www.anaconda.com/downloads and download for your specific operating system.
There are two versions of python available Python 3.x and Python 2.7 and 32-bit and 64-bit installers, so choose according to your needs.
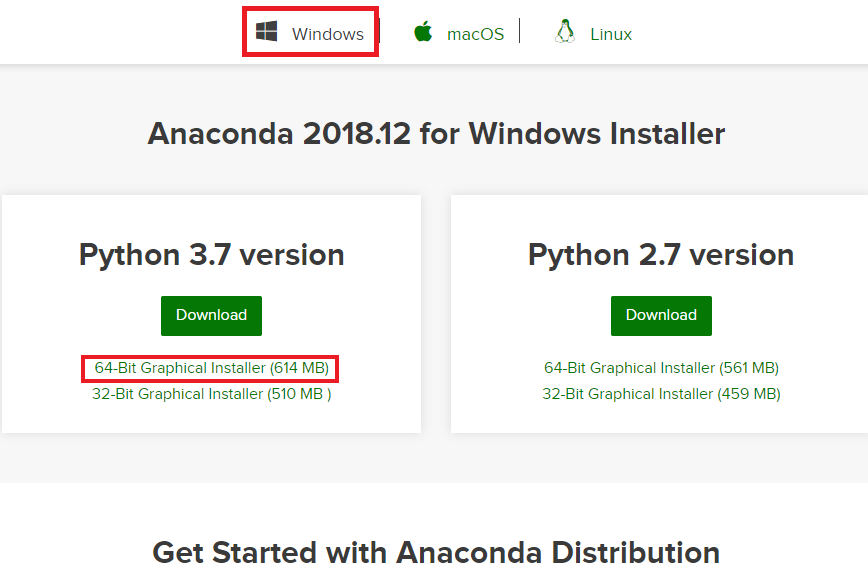
Here, I am installing on Windows so I am downloading the version highlighted in the image
Please note: For those who have limited bandwidth. There is also a Miniconda which is basically a small version of anaconda.
Install :
Now you have downloaded the anaconda package, let’s install it.
Install Anaconda: Windows 10
1.) Double click the installer file.
2.) Click next.
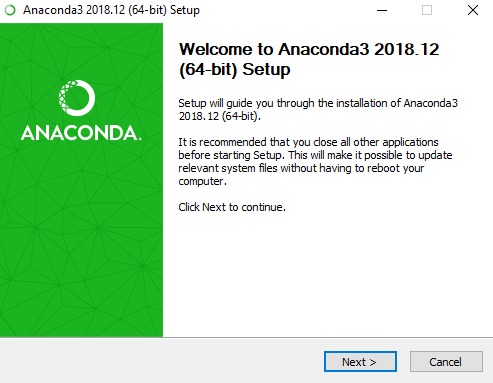
3.) Click I agree
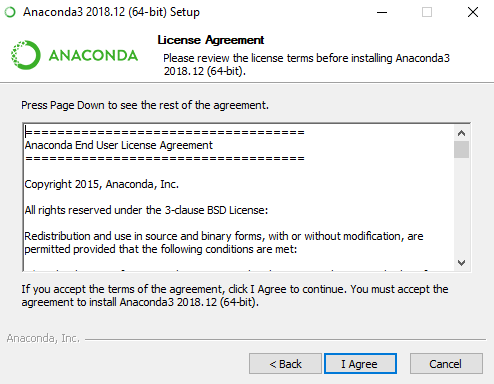
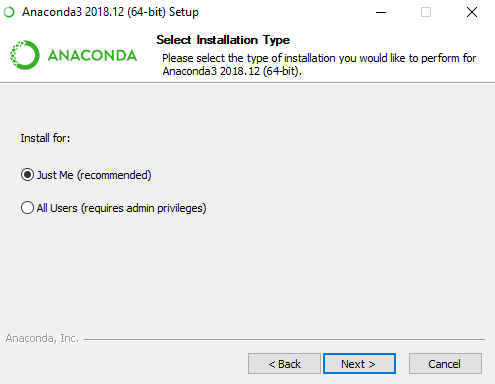
4.) Choose your preferred option here. (I am going to leave it as recommended) and click next.
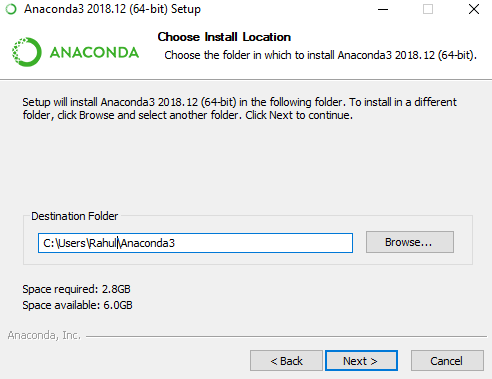
5.) Choose the destination folder (If you are a beginner I recommend to leave it as it is) and click next.
6.) If you are installing python for the first time on your system, then make sure both the boxes are checked. (Yes! I recommend to check the box even it says not recommended, because of this we can call anaconda from the command line.)
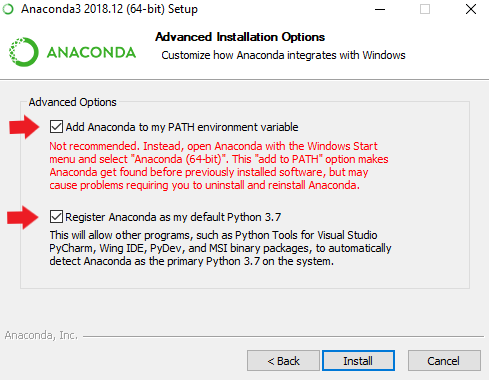
7.) And click on install.
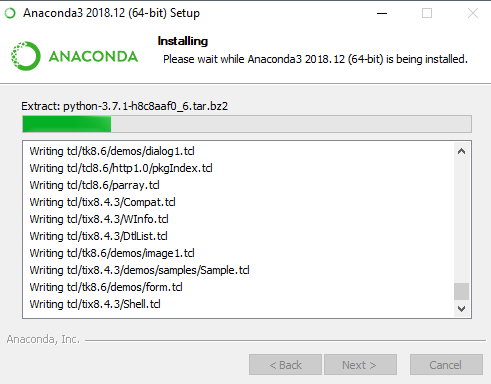
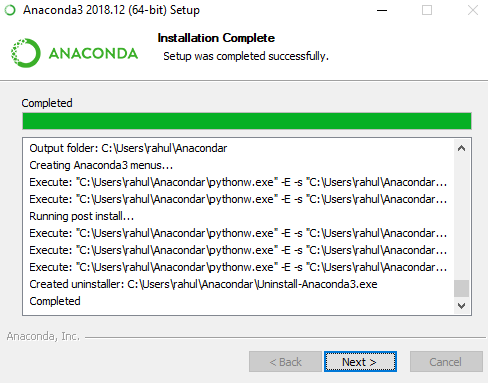
8.) Please wait till the installation is finished it may take some time depending on your system. Then Click on next
9.) Now it’s asking to install Microsoft VScode(if you want you can install, I don’t need it so I am clicking on skip)
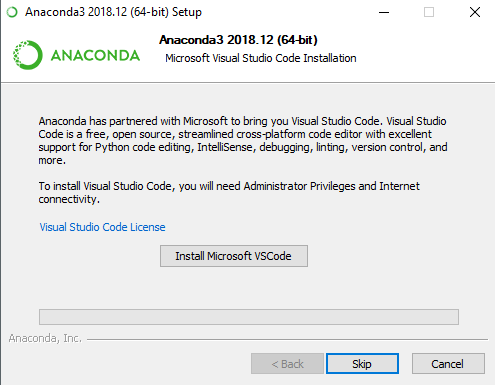
10.) Click on finish.
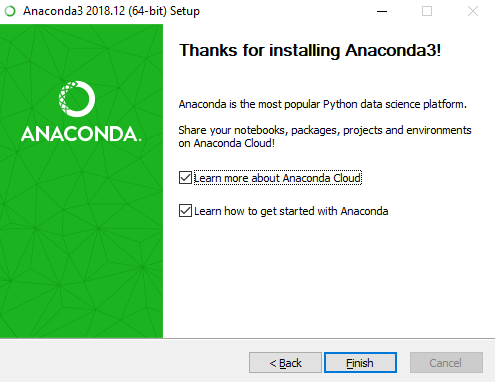
Finally, installation has finished.
Install Anaconda: Linux (I am using Ubuntu)
1.) Login to a Normal User (Don’t use root unless you want to face error.)
2.) Open the Terminal and navigate to the directory where you have downloaded Anaconda installer file. (In my case, it’s the “Downloads” directory)

3.) Let’s check the installer file using the list command with the attribute -l (for detailed list) of Linux (“ls -l”).

4.) As you can see, in the above image, we don’t have permission to execute the anaconda installer file (Anaconda3-2018.12-Linux-x86_64.sh). So let’s provide the executable permission using the “chmod” command.

5.) You can check the permissions again and verify if the command worked successfully.

6.) Now, we can run the installer file.

7.) As the installer suggests, Hit enter key to continue.

8.) The most obvious part, Accept the terms by typing “yes”.
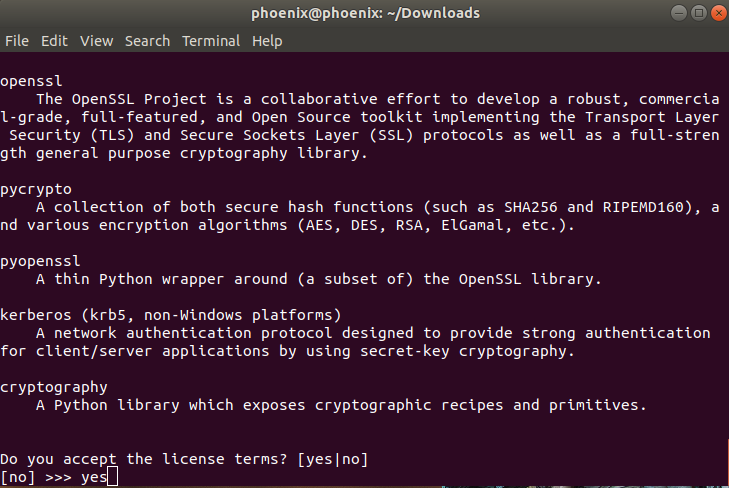
9.) Specify your preferred location or Press enter to confirm the given location. (I have no problem with the given location, so I am confirming it by hitting “Enter”)
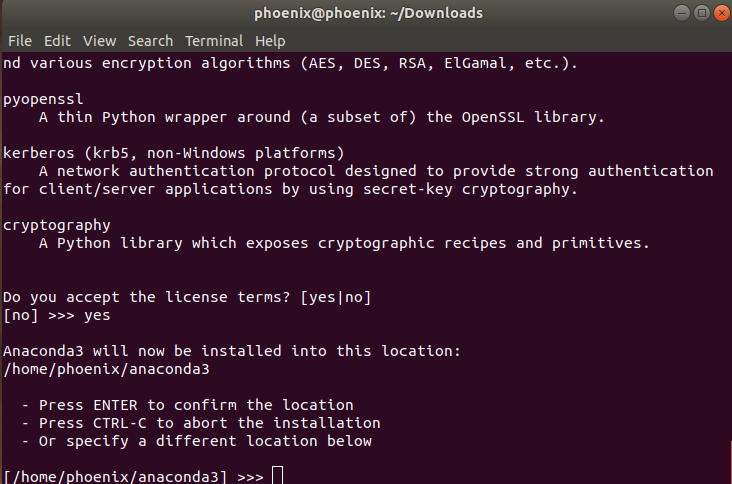
9.) Installation started, Please be patient until it finishes. (There is no better time than this for a coffee.)
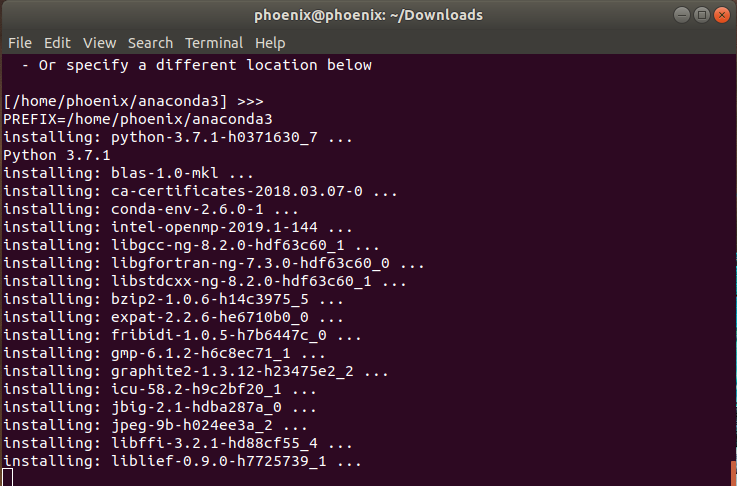
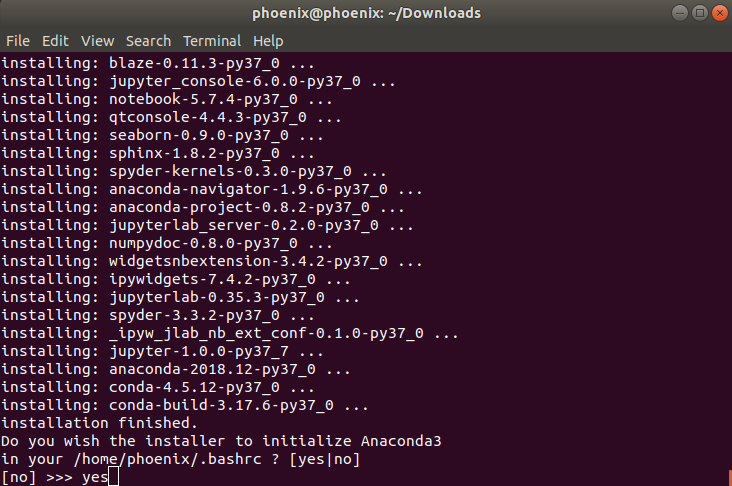
10.) After it finishes, you will be asked to initialize anaconda to “bashrc” file. Type “yes” and hit enter.
11.) If you prefer to install Microsoft VSCode type “yes” but I don’t need it, so I am skipping it. (To skip type “no”)
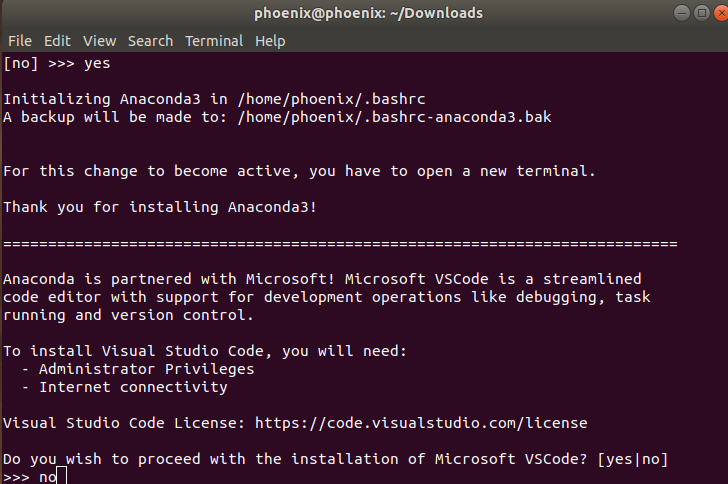
There you go, you have successfully installed Anaconda on your Linux system.
Start Anaconda
In Windows:
- Click on start
- Click on Anaconda navigator
OR
1.) Press Win+R
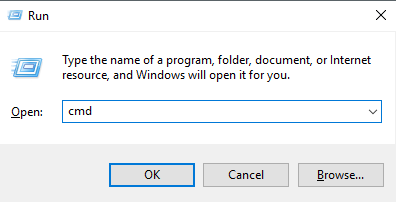
2.) Type cmd in the run dialog.
3.) Hit Ok (then command prompt will open)
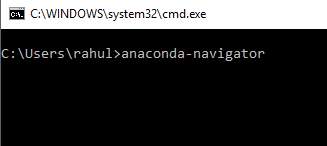
4.) Type “anaconda-navigator” and hit enter.
In Linux:
1.) Open the Terminal and type “anaconda-navigator” and hit Enter.

Start Jupyter Notebook
After starting anaconda-navigator click on Launch button for Jupyter notebook.
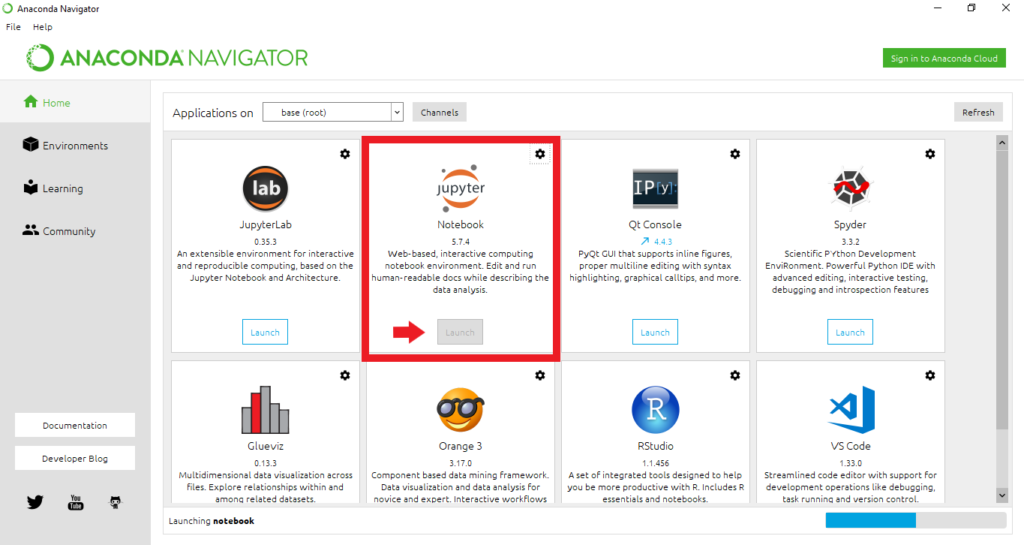
A web browser window will automatically open for you. (If not, then open your web browser and navigate to http://localhost:8888/tree)
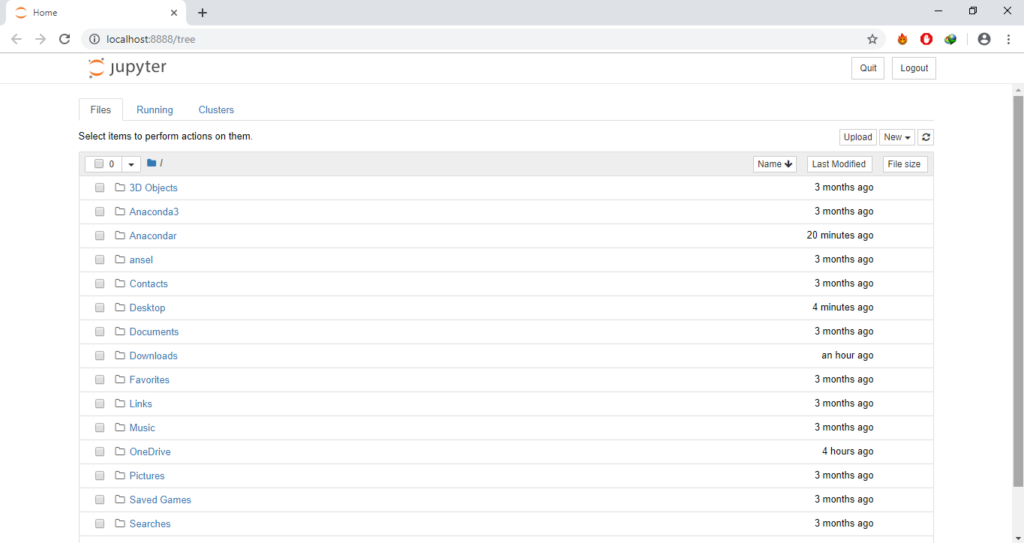
Click on new then select python3 notebook(It will open in a new tab)
Type “hello world” using python print statement and click on run or hit shift+enter on keyboard.

Congrats!!! you have successfully installed anaconda. If you encounter any errors, please feel free to ask in the comment section.
If you like this post, then follow Techsphinx on Facebook and Twitter for more reviews, tricks, tips and tutorials.
This article needs update or correction? Report the issue here so I can update it.


