
This post may contain affiliate links/ads and I may earn a small commission when you click on the links/ads at no additional cost to you. As an Amazon Affiliate, I earn from qualifying purchases. Techsphinx also participates in the StationX Affiliate program. You can read my full disclaimer here.

In this tutorial, I will show you how to install IntelliJ IDEA on Ubuntu.
If you’re a JAVA developer, then you might be already familiar with IntelliJ IDEA. IntelliJ IDEA is a popular integrated development environment (IDE) that offers advanced features and tools for developing software.
It offers a wide range of features that make it an ideal tool for software development. These features include code completion, debugging, version control, and much more. IntelliJ IDEA is available in 3 different editions:
1. IntelliJ IDEA Community Edition.
2. IntelliJ IDEA Ultimate Edition.
3. IntelliJ IDEA Educational Edition
You can read about these different editions on the JetBrains website.
Moreover, it is developed by JetBrains, the same company that developed the PyCharm Python IDE. In my other tutorial, I have shown you how to install PyCharm on Ubuntu. In this one, I will go through the process of installing and uninstalling IntelliJ IDEA on Ubuntu Linux.
So, if you’re ready to install this IDE on Ubuntu, let’s get started!
Pre-requisites to Install IntelliJ IDEA on Ubuntu
- Ubuntu system up and running. (I am using Ubuntu 22.04 here.)
- Java installed on your Ubuntu System.
- Account with sudo privileges required.
- Internet connection to download IntelliJ IDEA.
4 Methods to Install IntelliJ IDEA on Ubuntu
Here, I am going to show you four methods through which you can install IDEA on Ubuntu.
1. Install IntelliJ IDEA on Ubuntu [Graphical Method]
The graphical method will be the easiest if you are new to Linux. Ubuntu has a software store that you can use to install a variety of programs. Here, we will use it to install the IntelliJ IDEA on Ubuntu.
1. Open Ubuntu Software.
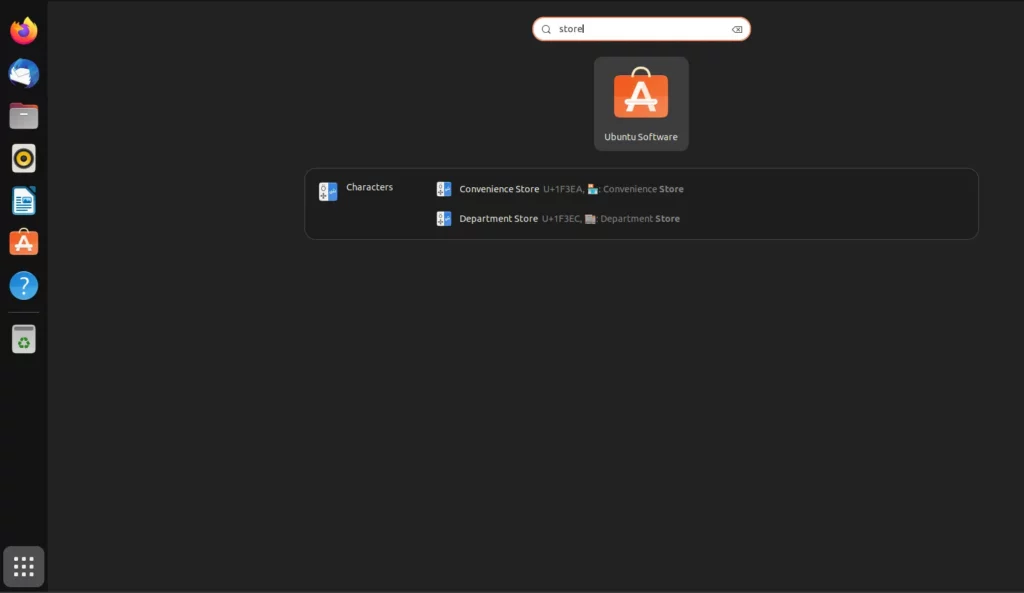
2. Search for IntelliJ IDEA.
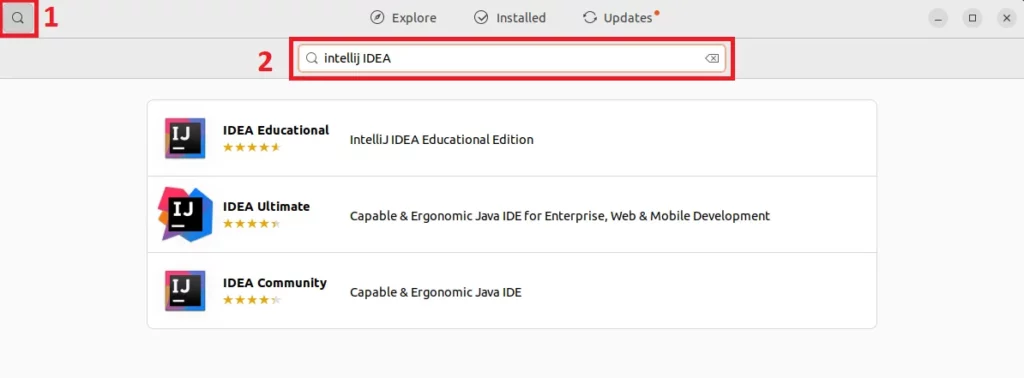
3. Click on the edition you wish to install on your system.
4. Click on “Install” to begin the installation process.
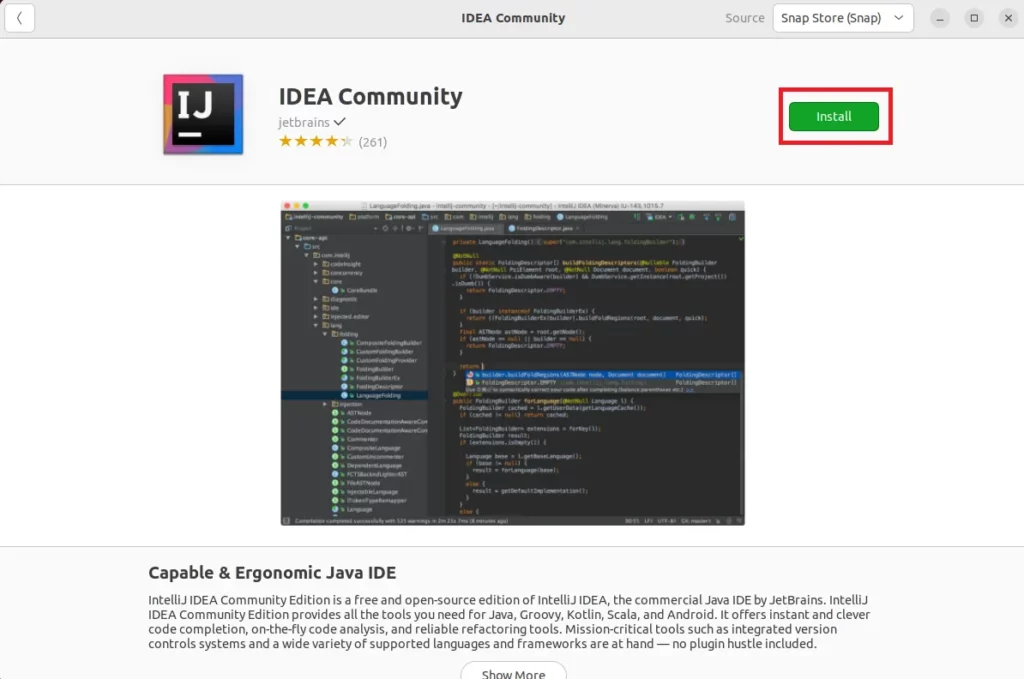
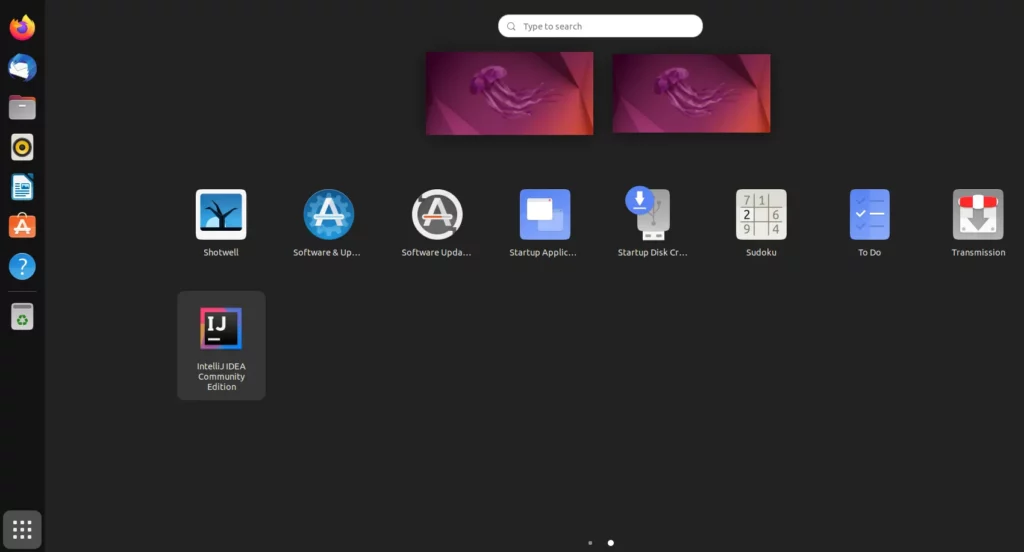
5. Wait for the installation process to finish. After that, you can start IntelliJ IDEA graphically.

2. Install IntelliJ IDEA on Ubuntu using snap [Command-Line Method]
The second method is to use the “snap” command to install the IntelliJ IDEA on Ubuntu. The graphical method mentioned previously also uses the snap store in the backend. However, if you prefer using a terminal over a graphical interface, then you can use this method to install IDEA.
1. Open a terminal and use any one of the following commands:
If you wish to install the Community Edition:
sudo snap install intellij-idea-community --classic

To install the Ultimate Edition:
sudo snap install intellij-idea-ultimate --classic
To install the Educational Edition:
sudo snap install intellij-idea-educational --classic
2. Once installed, you can start IntelliJ IDEA either graphically or using the following command:
intellij-idea-community
3. Install IntelliJ IDEA on Ubuntu using PPA [Using APT]
In the third method, I am going to show you how to add an unofficial PPA (Maintained by Marcel Kapfer) that you can use to install IntelliJ IDEA on Ubuntu. This PPA is available for active Ubuntu versions including Jammy (version 22.04 that I am using here).
1. To install the PPA on Ubuntu use the following command:
sudo add-apt-repository ppa:mmk2410/intellij-idea
2. Update the system repositories using the following command:
sudo apt update
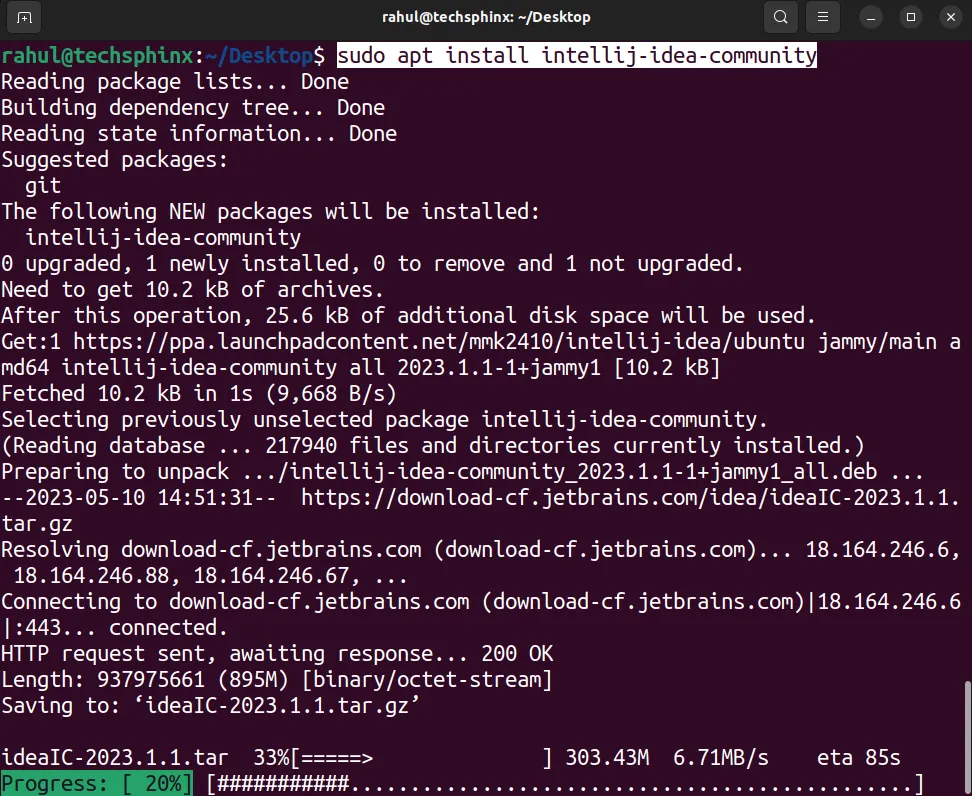
3. Now you can install the IntelliJ IDEA using the “apt” command:
sudo apt install intellij-idea-community
4. Once installation is finished, start the IntelliJ IDEA using the following command:
intellij-idea-community
4. Install IntelliJ IDEA Using Official Installer from JetBrains [Downloading and Extracting]
The first two methods I mentioned rely on the snap store and the third one on an unofficial PPA. This fourth method involves downloading a compressed file of IntelliJ IDEA from the official website and extracting it on your Ubuntu system.
1. Go to JetBrains website and download IntelliJ IDEA for Linux.


2. Navigate to the directory where you’ve downloaded the IDEA.
cd ~/Downloads
3. Now, extract the downloaded file. You can extract it wherever you want, I am extracting it in the user’s home directory. Also, make sure to replace “ideaIC-2023.1.1.tar.gz” with your downloaded filename in the following command:
tar -xvf ideaIC-2023.1.1.tar.gz -C /home/rahul/
4. Navigate to the “bin” folder in the extracted directory.
cd ~/idea-IC-231.8770.65/bin
5. Make the “idea.sh” file executable using the “chmod” command.
chmod +x idea.sh
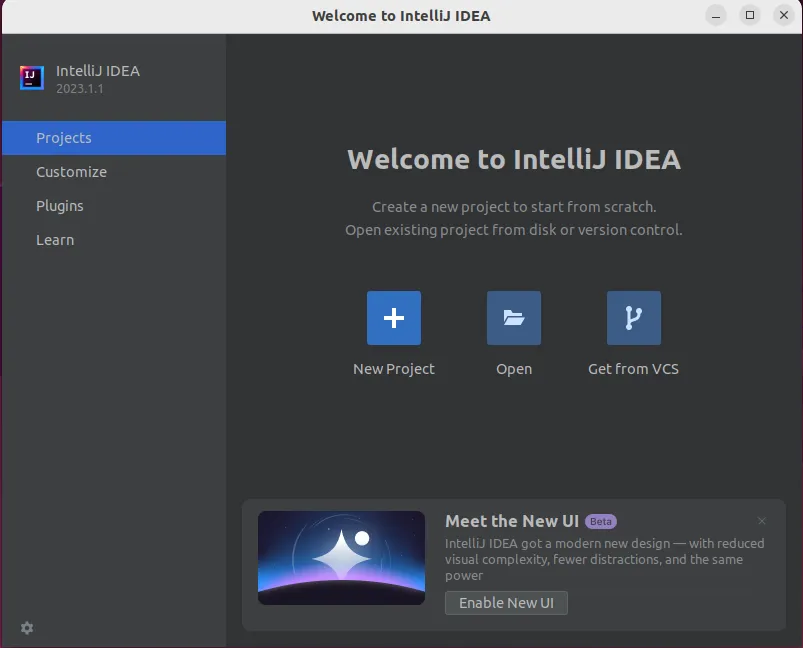
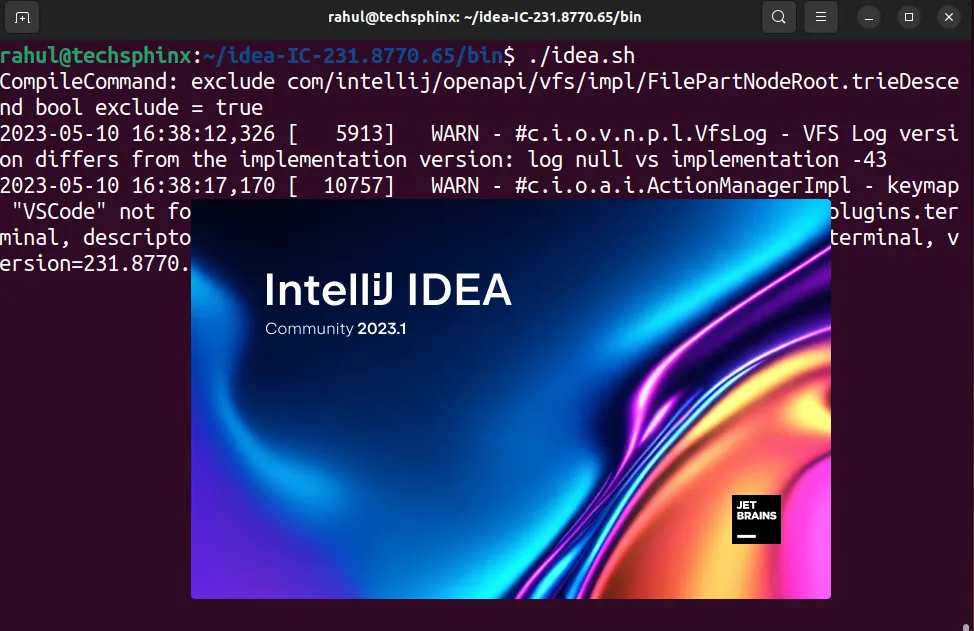
6. Execute the “idea.sh” script. It will start the IntelliJ IDEA.
./idea.sh
7. Click on the settings icon on the left-bottom side of the IDEA welcome screen. Then click on “Create Desktop Entry”.

This will create a desktop entry and now you can start IntelliJ IDEA graphically from the Ubuntu menu.
Uninstall IntelliJ IDEA from Ubuntu
If you wish to remove IntelliJ IDEA from your Ubuntu system, then this section will help you to do that.
1. Uninstall IntelliJ IDEA Graphically:
If you have installed IntelliJ IDEA graphically through the Ubuntu Software store, then you can also remove it from there.
1. Open the Ubuntu Software app.
2. Go to the installed section and click on IntelliJ IDEA.
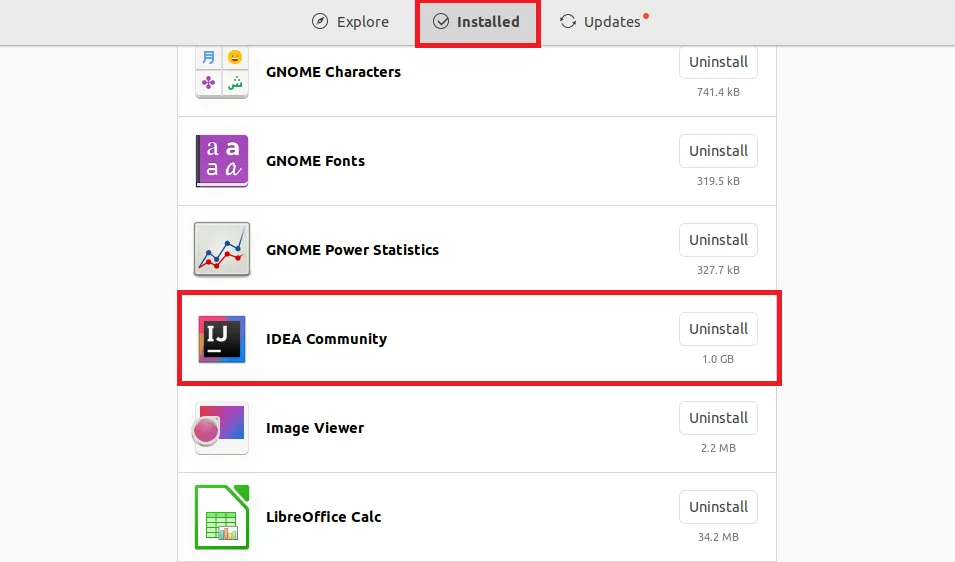
3. Click on the “Uninstall” button to remove the IntelliJ IDEA from your Ubuntu system.
2. Uninstall IntelliJ IDEA using snap:
You can use the snap command to remove the IntelliJ IDEA from the system. Make sure to replace the “intellij-idea-community” in the following command if you are using any other edition of IntelliJ IDEA.

sudo snap remove intellij-idea-community

3. Uninstall IntelliJ IDEA using apt and Remove PPA:
If you have used the unofficial PPA to install the IntelliJ IDEA on your Ubuntu system, then use the following steps to uninstall it.
1. First remove the IntelliJ IDEA using the following command:
sudo apt remove intellij-idea-community
Note: Replace “intellij-idea-community”, if you have installed a different edition.
2. Now remove the ppa repository using:
sudo add-apt-repository --remove ppa:mmk2410/intellij-idea
After this, the IntelliJ IDEA and the PPA should be removed from your Ubuntu System.
4. Remove the Extracted Directory
If you have downloaded and extracted the IntelliJ IDEA files as mentioned in the fourth method, then all you have to do is remove the extracted directory and the desktop entry.
1. I extracted it in the user’s home directory; therefore, I am using the following command to remove it:
rm -rv ~/idea-IC-231.8770.65
Replace “idea-IC-231.8770.65” with your extracted directory name.
2. Now, remove the desktop entry using the command:
rm ~/.local/share/applications/jetbrains-idea-ce.desktop
Note: Replace “jetbrains-idea-ce.desktop” if you have created a desktop entry for any other IDEA edition.
Conclusion
That’s it for this tutorial. You have learned how to successfully install and uninstall IntelliJ IDEA on Ubuntu.
Doesn’t matter if you’re an experienced developer or just a beginner, IntelliJ IDEA can help you streamline your workflow and develop software more efficiently and effectively.
And as you can see installing IntelliJ IDEA on Ubuntu is a pretty straightforward process. Now, you can start configuring and using its powerful features and tools for your projects.

If you like this post, then follow Techsphinx on Facebook and Twitter for more reviews, tricks, tips and tutorials.
This article needs update or correction? Report the issue here so I can update it.