
This post may contain affiliate links/ads and I may earn a small commission when you click on the links/ads at no additional cost to you. As an Amazon Affiliate, I earn from qualifying purchases. Techsphinx also participates in the StationX Affiliate program. You can read my full disclaimer here.

WordPress website can be easily configured for offline use. It helps in Development, change in codes, testing new plugin etc. without crashing the live site. There are many ways to configure wordpress website offline but in this post I will do it using XAMPP.
XAMPP stands for (X)cross-platform (A)Apache (M)Mysql (P)PHP (P)Perl. It provides the necessary software to configure a web server.If you want to read more about XAMPP in detail, please visit the official site.
Ok, Now Let’s Start
(OH! I forgot to tell you, the process is lengthy so don’t forget to grab some snacks :P) The only requirement for this post is that you should be able to login to cpanel of your website.
1. Download XAMPP
First and foremost, Download XAMPP from this link
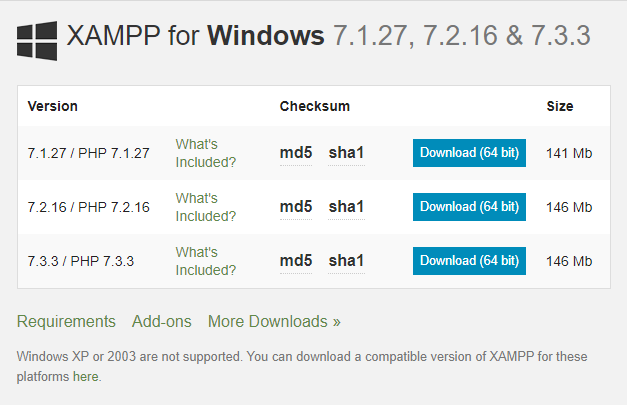
I am doing this on windows so I am downloading the windows version, feel free to download XAMPP according to your requirements.
2. Install XAMPP
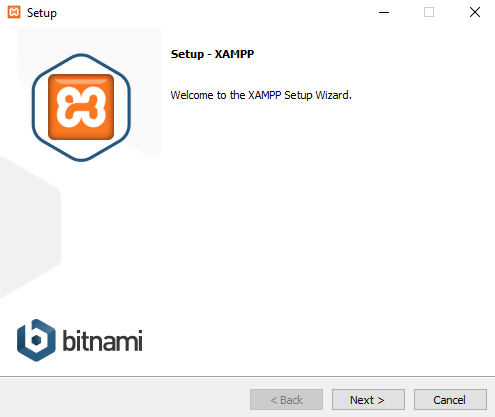
Once, it’s downloaded then run the XAMPP installer file.
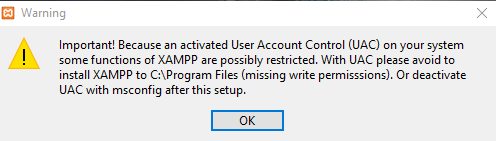
If you encounter any warning like this, then Press OK.
Press next to proceed.
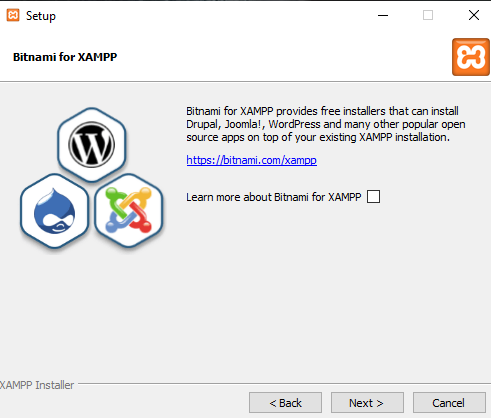
Now under the components selection we don’t need everything so just select Apache, Mysql, php and phpMyAdmin.
Hit next to proceed.

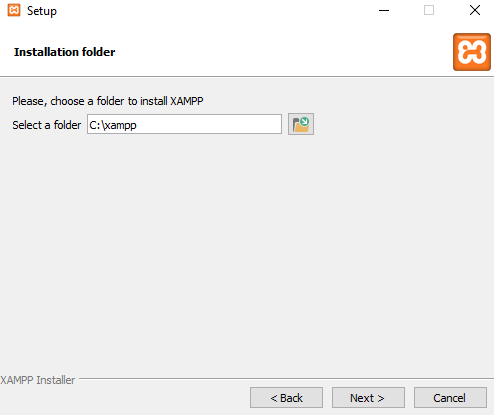
Select the destination folder ( I am leaving it as default)
Uncheck the box and click next to proceed.
Be patient until installation is finished (it won’t take long)
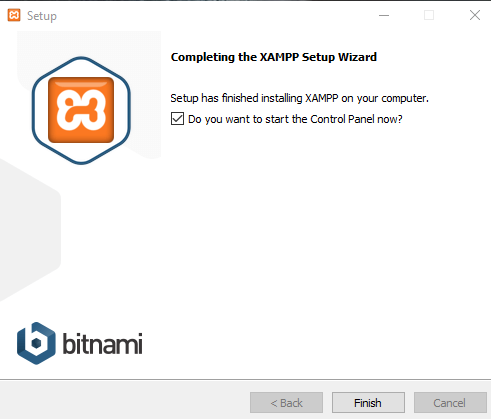
Press finish to complete the installation.
3. Configure XAMPP
Now installation has finished, let’s start XAMPP

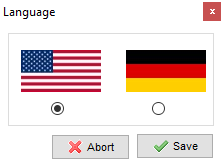
Select language and press ‘save’
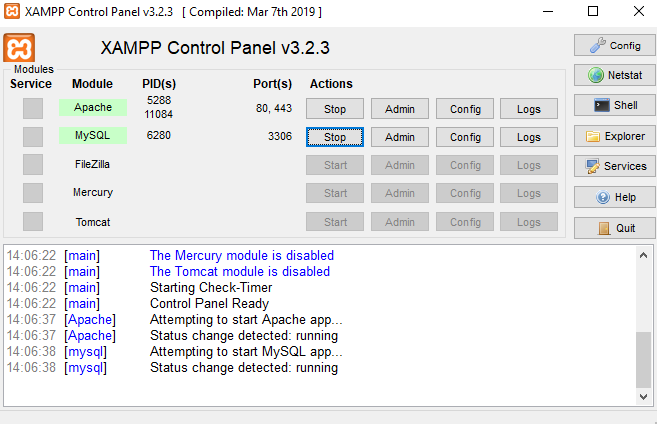
Start Apache and Mysql server from XAMPP control panel.
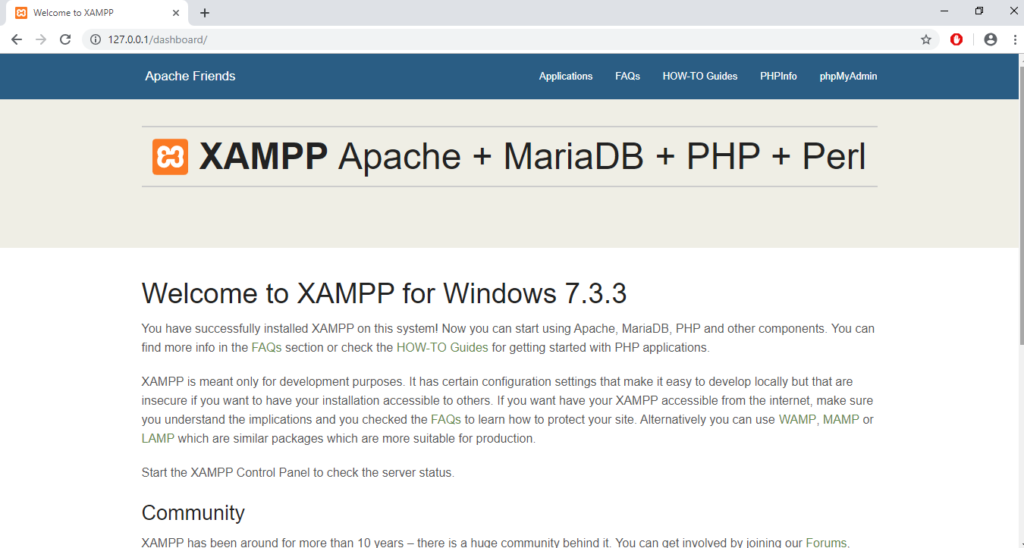
Once it’s started head on to your web browser and type http://127.0.0.1 in the url and make sure you can see the XAMPP page as shown in image.
Now it’s time to copy the live site offline.
4. Login to cpanel and Download your website
First login to the cpanel of your live site.
Go to file manager from your cpanel
now here, two things can happen inside your file manager,
First you already have a folder named ‘yoursite’ so download it.
(For example, a folder named ‘Techsphinx’ if my website’s name is Techsphinx, so archive the Techsphinx folder and download it.)
Second, you don’t have a folder named after ‘yoursite’ then find a folder in which you can find the files related to your websites
(For example: In my case, I don’t have a folder named ‘Techsphinx’ so I went to public_html folder in my file manager and I can see some folders like wp-content, wp-themes and some files like wp-config.php, wp-login.php etc., Now I moved a step back and archived the entire public_html folder and downloaded the zip file as shown in the image)
(Now it’s time to eat the snacks you grabbed, as downloading process may take some time depending on your speed of internet and the size of website)
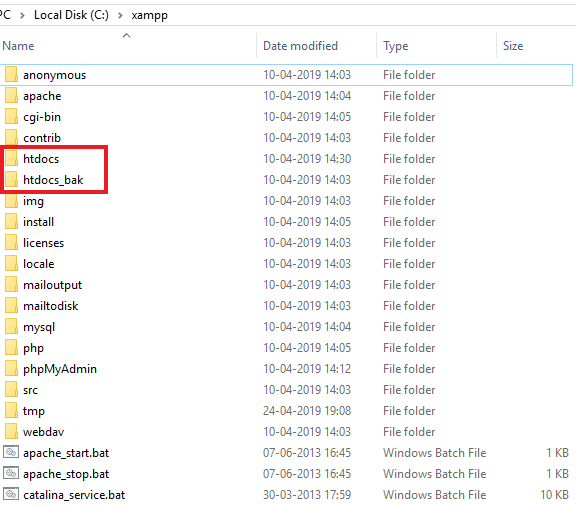
In the meantime, go to the xampp installation directory (In my case its C:\xampp) and rename the htdocs folder to htdocs_bak and create a new htdocs folder. Your directory structure should look something like this image.
Once it’s downloaded then extract all the website contents to htdocs folder present in the XAMPP installation folder. (In my case its C:\xampp\htdocs)


Now in the htdocs folder you have a wp-config.php file, open the file and make note of three things which you will need further in the post.
‘DB_NAME’, ‘your_db_name’
‘DB_USER’, ‘your_db_username’
‘DB_PASSWORD’, ‘your_db_password’
Let’s Export the database from the live website
Go to phpmyadmin of your live website from your cpanel.
Head over to the exports tab and export the database named ‘your_db_name’ that you got from the wp-config.php file.
(If you are facing problems to do this, then contact your hosting provider)
4. Finally!! Migrate site to offline.
Now to import the database in your offline website.
Go to the XAMPP control panel (From where you started the apache and mysql)
And click on admin of mysql as highlighted in image.

Phpmyadmin page will automatically open in your web browser. (WARNING!!!: Check the url, it must be running on localhost, don’t confuse it with the phpmyadmin of the live website you opened earlier using cpanel, better close the phpmyadmin of the live website and logout from cpanel as we don’t need them anymore.)
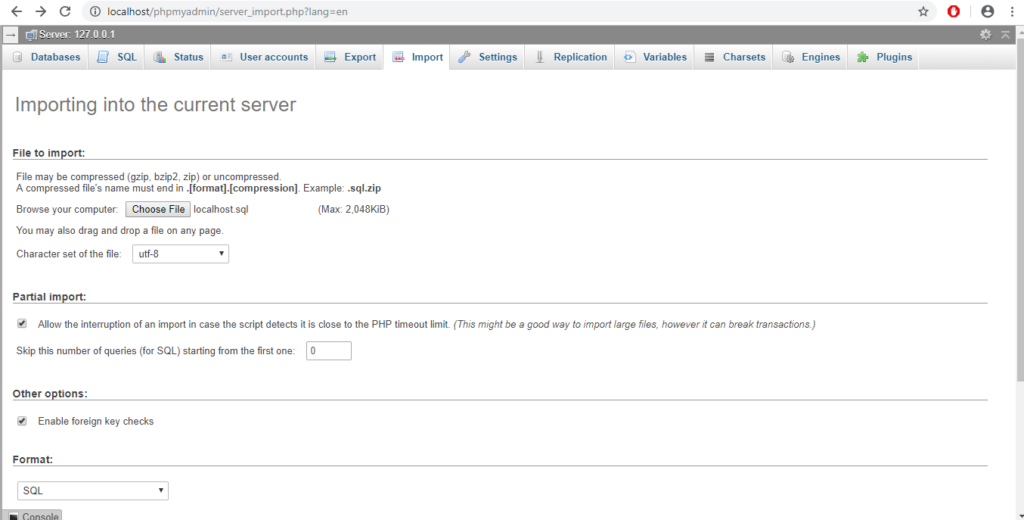
Go to Import tab of phpmyadmin and choose the file you downloaded when exporting the database from live website. (In my case it’s localhost.sql)
After importing, head on to database then go to the ‘Privileges’ tab.

Click on Add user account.
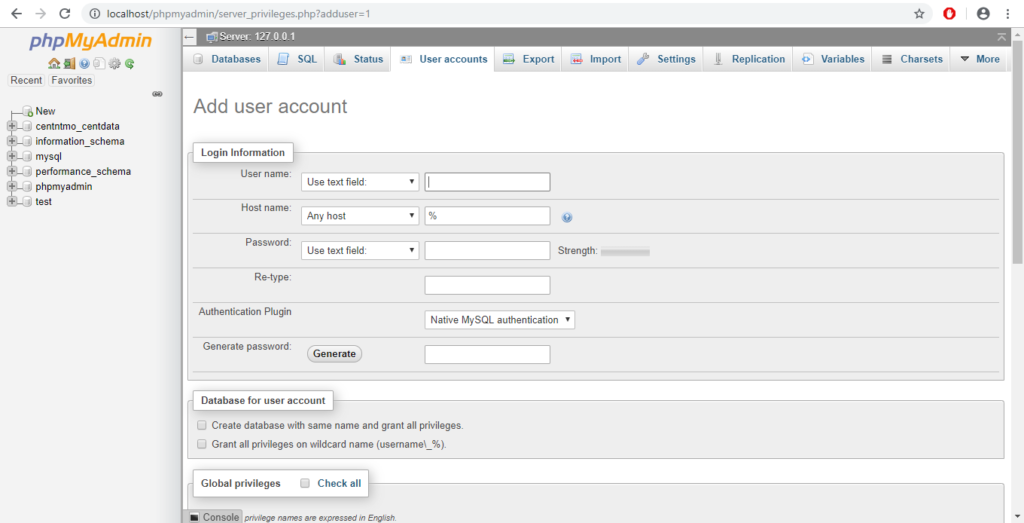
Username: ‘your_db_username’ (As you got from the wp-config.php file, also write the username without quotes)
Password: ‘your_db_password’ (As you got from the wp-config.php file, also write the password without quotes)
Repeat the password.
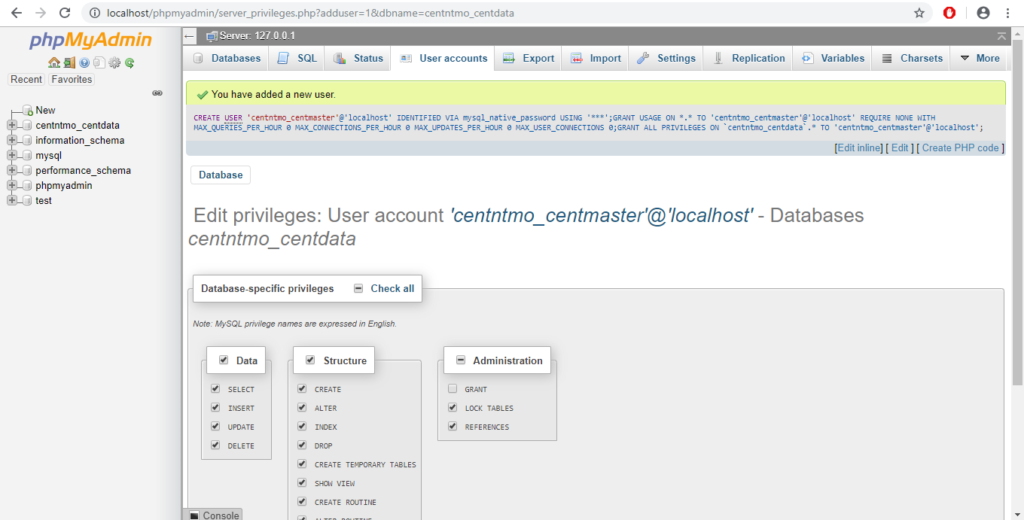
Make sure the box is checked to grant all privileges on this database as shown in image.
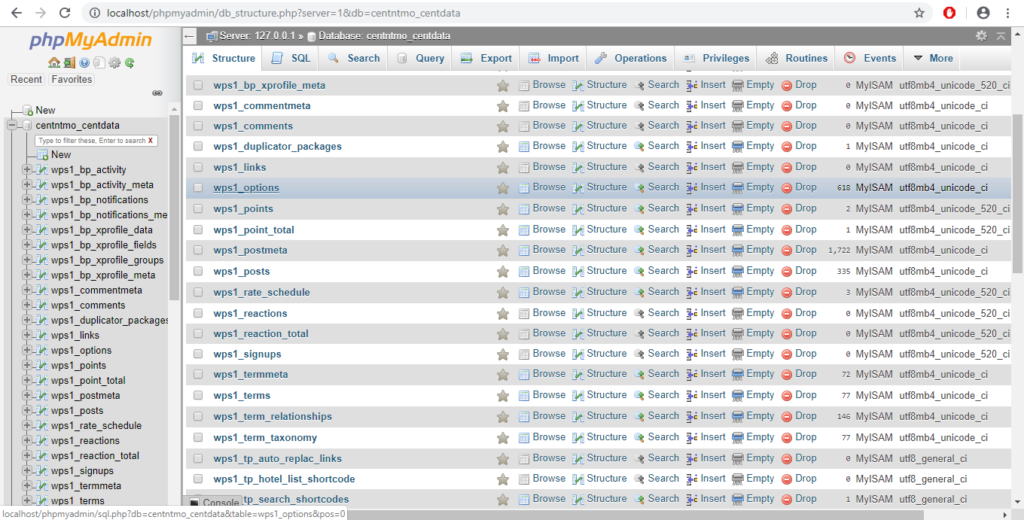
Lastly, Go to the database and find the table named wp_options (in my case its wps1_options)
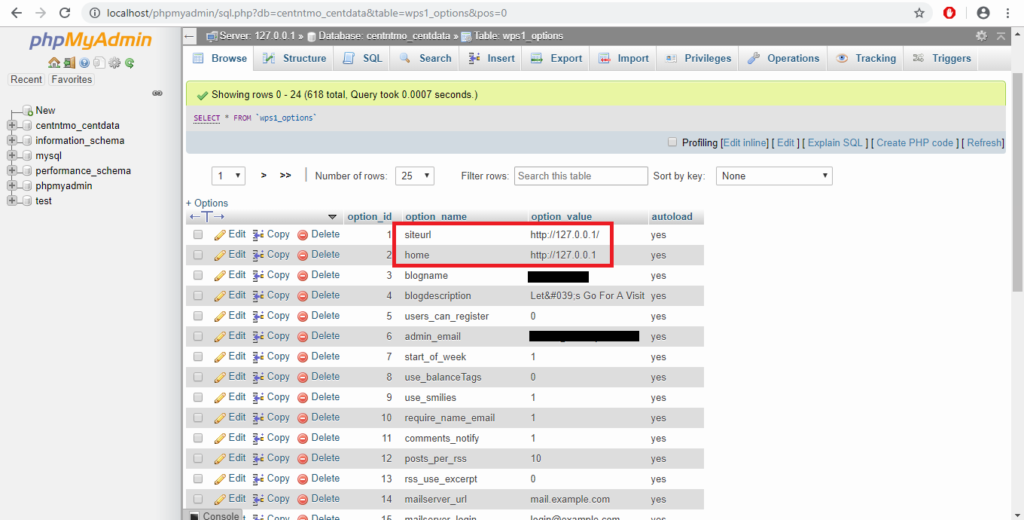
Click on Edit next to the option_name siteurl
Change the url from http://yourwebsite.com to http://127.0.0.1
Repeat the same for option_name home
And it will finally look something like this.Change
Now, Head on to the browser and go to http://127.0.0.1 (You don’t need internet connection for this)
5. Conclusion
You will see your website offline, even you can log in to your WordPress login. (http://127.0.0.1/wp-admin) using the WordPress login and password of your website.
There you go, now you can do all the testing on WordPress offline website.
If you have confusions or encountered some error feel free to ask them in the comment section. If you enjoyed this post and your snacks, then what are you waiting for give it a Like and SHARE IT.(I mean share the post not snacks)

If you like this post, then follow Techsphinx on Facebook and Twitter for more reviews, tricks, tips and tutorials.
This article needs update or correction? Report the issue here so I can update it.