This post may contain affiliate links/ads and I may earn a small commission when you click on the links/ads at no additional cost to you. As an Amazon Affiliate, I earn from qualifying purchases. Techsphinx also participates in the StationX Affiliate program. You can read my full disclaimer here.

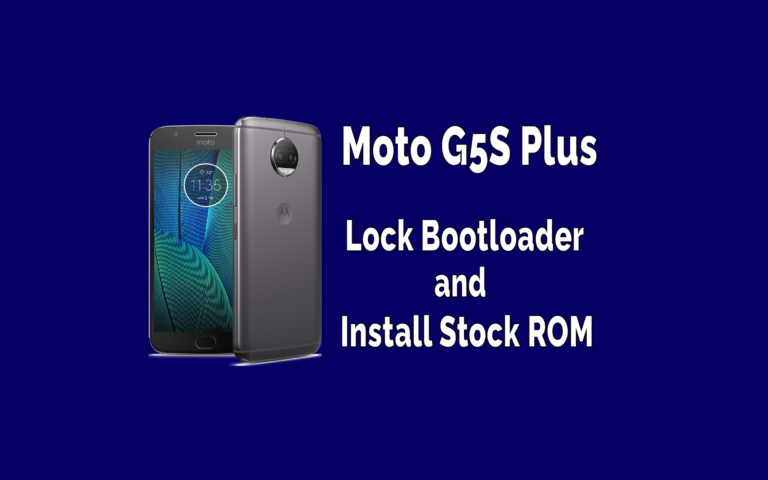
Rooting and using custom ROM comes with its own advantages and disadvantages. You gain much control and some great custom features over your device by rooting, but you also lose some features such as OTA updates and many other security patches released by the manufacturer. In this post, we are going to cover how to revert back to your stock ROM and lock your bootloader on your Moto G5s plus.
Disclaimer: I am not responsible if you brick/damage your device during the process. You are doing this at your own risk. I or TechSphinx shall not be held responsible for your actions.
Pre-Requisites:
Take a look at the pre-requisites and download the necessary files/software to lock bootloader and install stock ROM on Moto G5s Plus device:
1. Your Device must be charged above 80%.
2. A computer (I am performing these steps on a Windows Machine)
3. A USB cable to connect your PC and phone.
Note: Not all USB cables transfer data, some are only made for charging. So pick a compatible USB cable that can transfer data.
4. Motorola Drivers and ADB and Fastboot drivers
5. Motorola Official Firmware
Install Necessary Software and Drivers
Now let’s install the Drivers required,
Download Motorola device drivers.
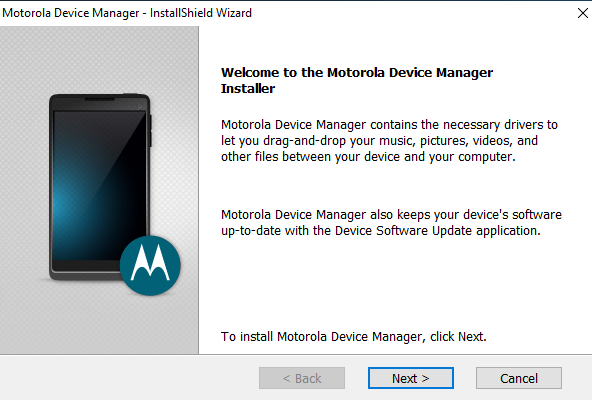
Run the installer file and click on continue.
Then Click next

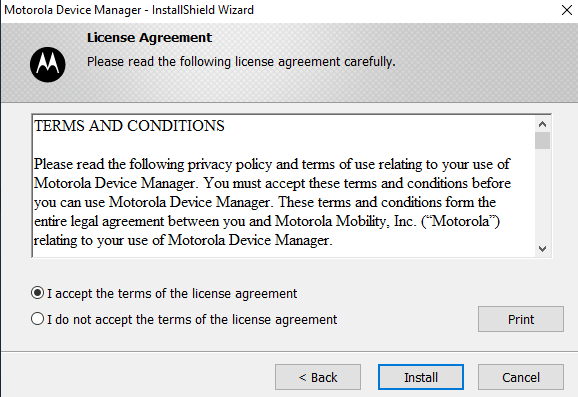
Accept the license agreement. (I don’t think you have any other option here. 😜 ) and click Install.
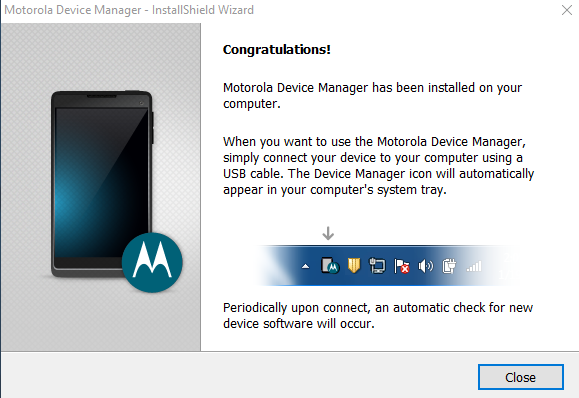
Installation has completed successfully, click close.
Now, Download Minimal Adb and fastboot.
Extract it (Using 7zip or winrar)
Now, download Motorola official Firmware.
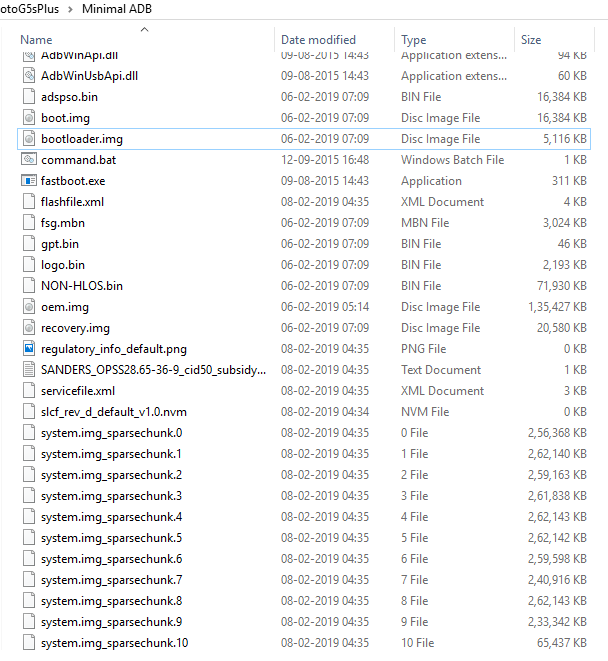
Extract it into the minimal ADB and fastboot folder. (It should look something like shown in the image.)
Before proceeding further, a quick note:
Check your minimal adb and fastboot folder for system.img_sparsechunk files, Here I have these files from system.img_sparsechunk.0 to system.img_sparsechunk.10
If you have more of them then flash them too.
For example: If you have system.img_sparsechunk.11 and system.img_sparsechunk.12 then flash them too using “fastboot flash system system.img_sparsechunk.11” and “fastboot flash system system.img_sparsechunk.12” after flashing the system.img_sparsechunk.10.

If you have less of them
For example: If you have till system.img_sparsechunk.6 then
After “fastboot flash system system.img_sparsechunk.6”
Jump directly to “fastboot flash boot boot.img” command when locking the bootloader or “fastboot flash modem NON-HLOS.bin” when flashing stock ROM.
You don’t have to run “fastboot flash system.img_sparsechunk.7” to 10.
Newer firmware files have more sparsechunk files than the old firmware. So it completely depends on you which firmware version you download.
Now, the setup is complete, Let’s start the main process.
Locking Bootloader of Moto G5s Plus
- Power Off your device, then turn it back on in the bootloader mode by pressing and holding down the power button + volume down simultaneously for 5-6 seconds.
- If you did the above step correctly, then you will see the bootloader screen. Connect your phone to PC using USB.
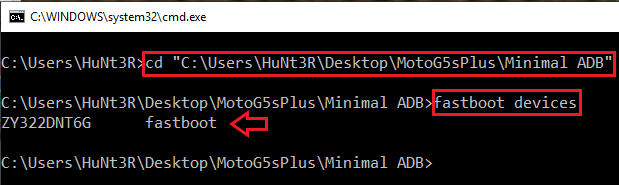
- Open command prompt in windows. (Use the start menu to find cmd or Hit Win+R on keyboard and type cmd in the run dialog and hit enter.)
- Use “cd” command to switch to minimal ADB and fastboot folder.
- Type “fastboot devices” (without quotes). (This is to make sure that fastboot has detected your device, if you can’t see your device then don’t proceed further as the fastboot commands will not work, so make sure you have done everything correctly up till now and troubleshoot the error.)
6. Now type all these commands one by one.
fastboot oem lock
fastboot oem lock
fastboot flash oem oem.img
fastboot flash system system.img_sparsechunk.0
fastboot flash system system.img_sparsechunk.1
fastboot flash system system.img_sparsechunk.2
fastboot flash system system.img_sparsechunk.3
fastboot flash system system.img_sparsechunk.4
fastboot flash system system.img_sparsechunk.5
fastboot flash system system.img_sparsechunk.6
fastboot flash system system.img_sparsechunk.7
fastboot flash system system.img_sparsechunk.8
fastboot flash system system.img_sparsechunk.9
fastboot flash system system.img_sparsechunk.10
fastboot flash boot boot.img
fastboot oem lock
If everything worked out without any issues, then your device will be restarted and you will get a locked bootloader.
Install Stock ROM on Moto G5s Plus
Now, bootloader of your device is locked, but to get full functionality and OTA updates you have to flash the stock ROM.

The process is almost same:
Repeat the steps 1-5 from above (From turning off your device to entering fastboot mode, as above use “fastboot devices” to check your fastboot connection.)
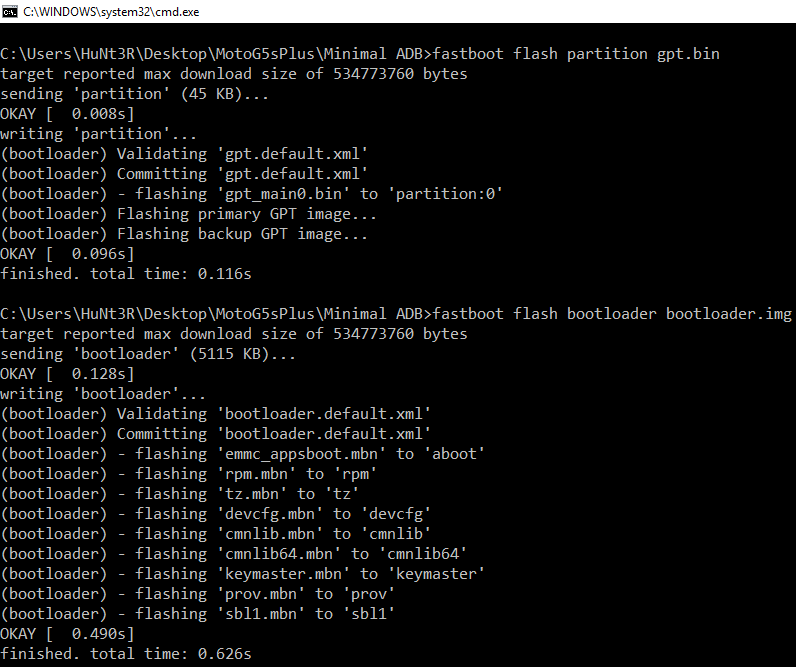
Now to install the full stock rom, Type the following commands one by one.
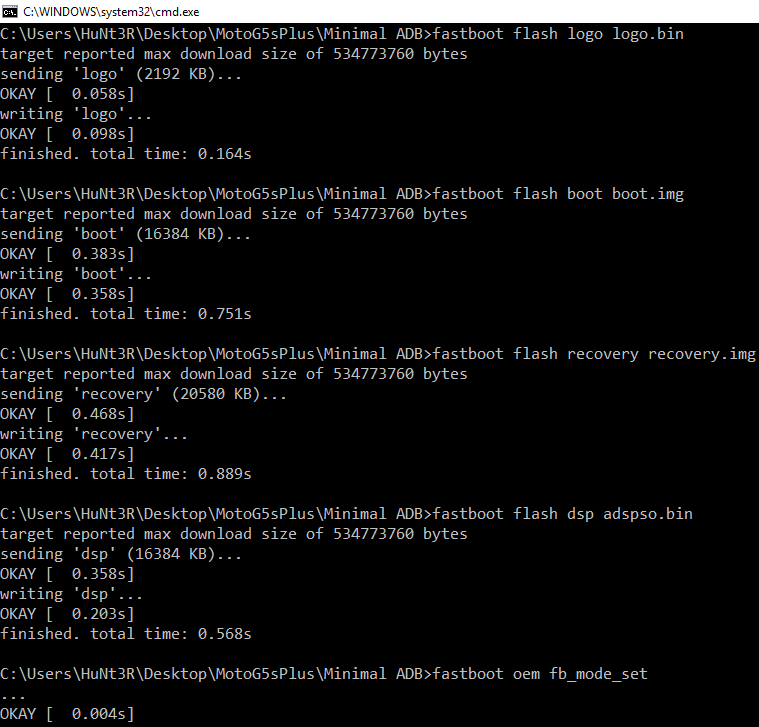
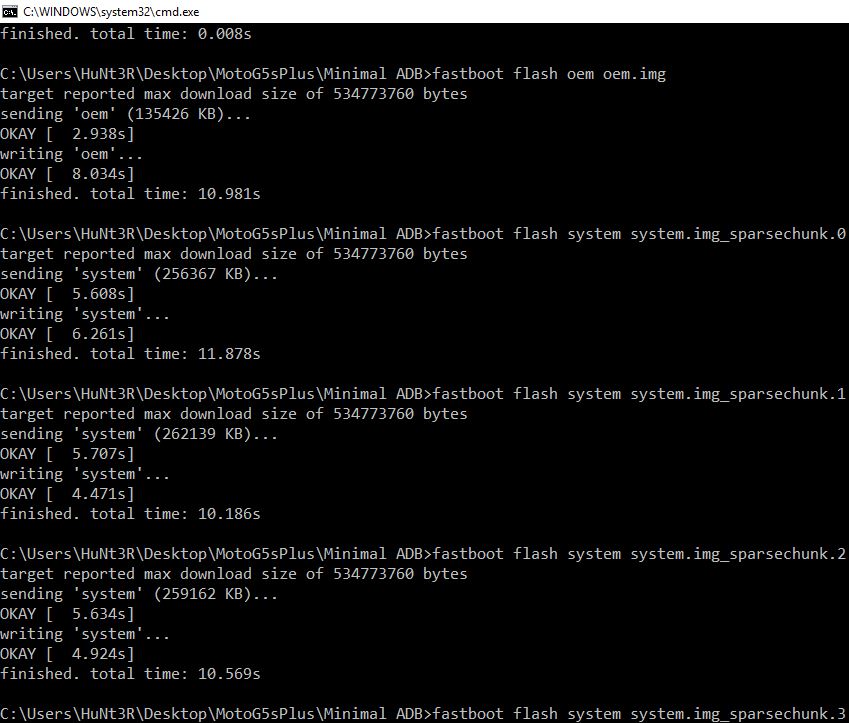
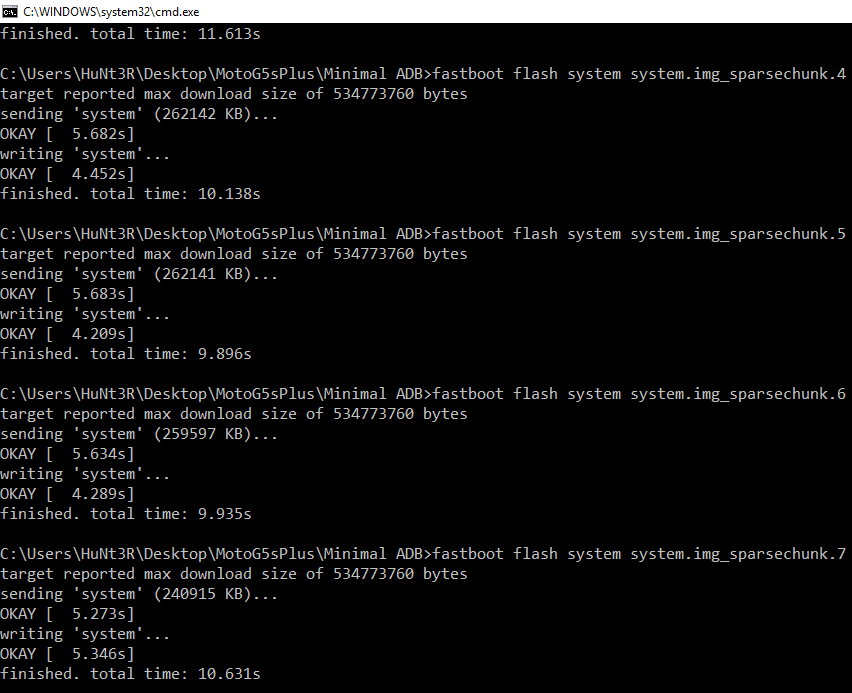
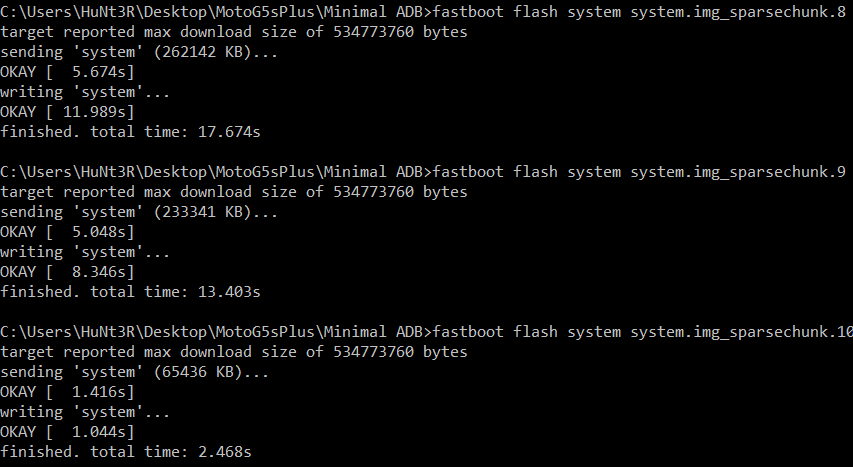
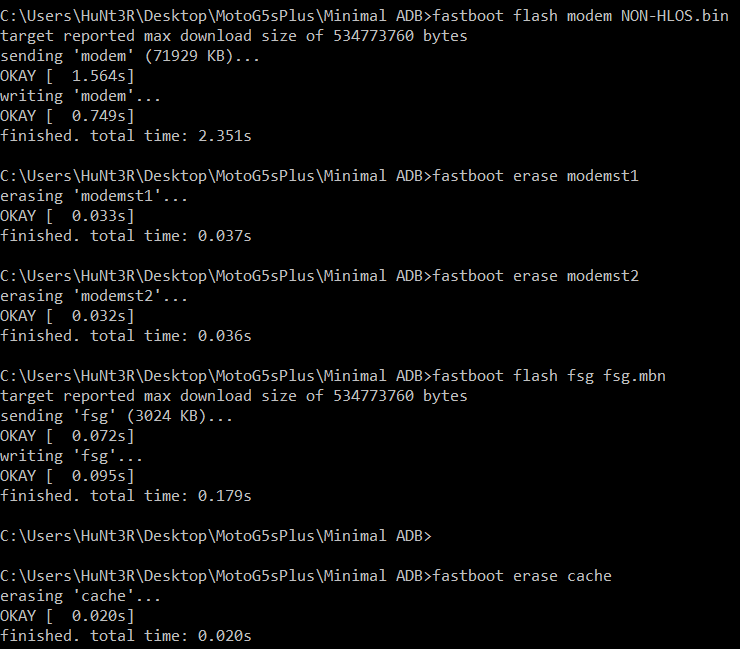
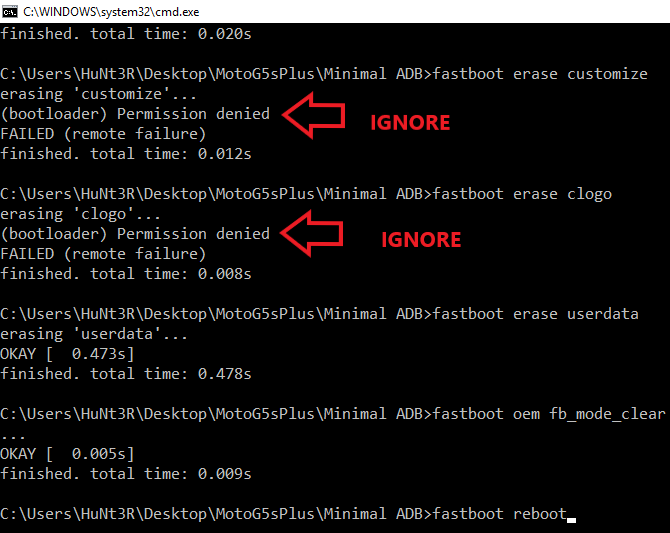
fastboot flash partition gpt.bin
fastboot flash bootloader bootloader.img
fastboot flash logo logo.bin
fastboot flash boot boot.img
fastboot flash recovery recovery.img
fastboot flash dsp adspso.bin
fastboot oem fb_mode_set
fastboot flash oem oem.img
fastboot flash system system.img_sparsechunk.0
fastboot flash system system.img_sparsechunk.1
fastboot flash system system.img_sparsechunk.2
fastboot flash system system.img_sparsechunk.3
fastboot flash system system.img_sparsechunk.4
fastboot flash system system.img_sparsechunk.5
fastboot flash system system.img_sparsechunk.6
fastboot flash system system.img_sparsechunk.7
fastboot flash system system.img_sparsechunk.8
fastboot flash system system.img_sparsechunk.9
fastboot flash system system.img_sparsechunk.10
fastboot flash modem NON-HLOS.bin
fastboot erase modemst1
fastboot erase modemst2
fastboot flash fsg fsg.mbn
fastboot erase cache
fastboot erase customize
fastboot erase clogo
fastboot erase userdata
fastboot oem fb_mode_clear
fastboot reboot
(Checkout some of my images while performing the above steps.)
Conclusion
After this, your device will be rebooted, if everything went right then you will see your device’s welcome screen.
Now, you can setup your phone like it’s a new device.
Congratulations, on successfully locking bootloader and installing stock ROM on Moto G5s plus.
If you have encountered any errors or doubts, then please feel free to ask in the comment section of this post and if this post helped you to lock bootloader and install stock ROM on Moto G5s Plus, then do share it.
As I mentioned earlier, rooting your phone has its own advantages also, so if you want to root, unlock bootloader and install a custom recovery, then check my Root Moto G5s Plus and install custom recovery post.

If you like this post, then follow Techsphinx on Facebook and Twitter for more reviews, tricks, tips and tutorials.
This article needs update or correction? Report the issue here so I can update it.