
This post may contain affiliate links/ads and I may earn a small commission when you click on the links/ads at no additional cost to you. As an Amazon Affiliate, I earn from qualifying purchases. Techsphinx also participates in the StationX Affiliate program. You can read my full disclaimer here.

Google Chrome is the most popular and widely used web browser in the world. It is fast, secure, has great features and provides the best browsing experience.
Chrome can be installed on all major operating systems – Windows, Mac and Linux based systems.
Google chrome is not Open-source; therefore, it is not available in Ubuntu’s software centre. You’ll be suggested to install the Chromium browser instead.
Today, I am going to show you how to install chrome on Ubuntu.
You can follow this tutorial on any version of Ubuntu, I am using Ubuntu 20.04 in this post.
There are two ways to install Google chrome on Ubuntu:
1. Installing chrome graphically.
2. Installing chrome via terminal.
Apart from the two methods of installation, I will also give you some additional tips on using google chrome on Ubuntu and also show you how to uninstall chrome on Ubuntu if you ever feel the need to do so.
Pre-Requisites to install Chrome on Ubuntu
- 64 bit Ubuntu system (32 bit won’t work).
- An Active internet connection.
- Sudo (superuser) privileges/access.
Install Google Chrome on Ubuntu Graphically
1. Go to Google Chrome Website.
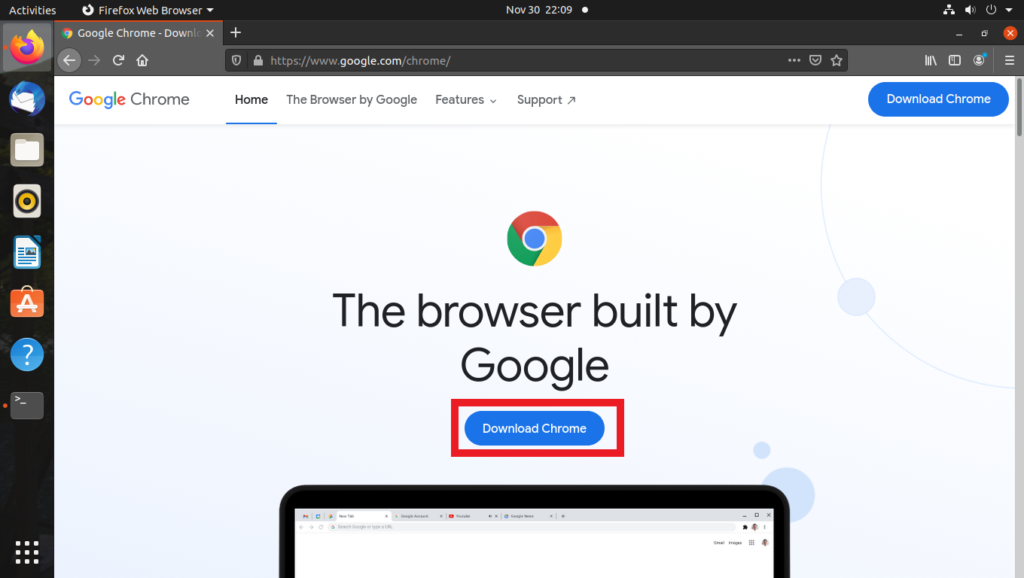
Download Google Chrome2. Click on “Download Chrome” button.
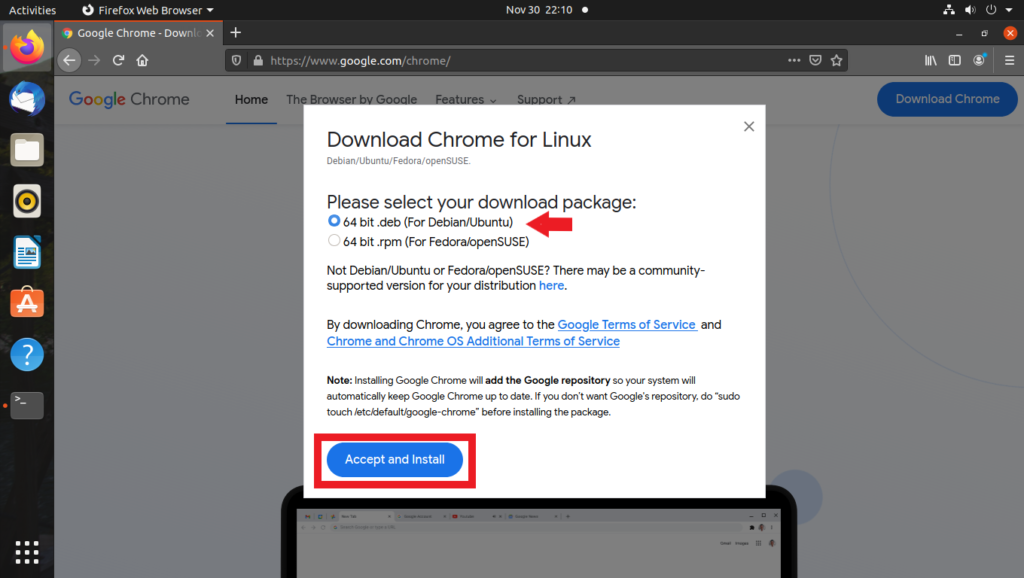
Select and download deb file 3. Select the 64 bit .deb (For Debian/Ubuntu).
4. Click Accept and Install button.
5. Save the deb file.

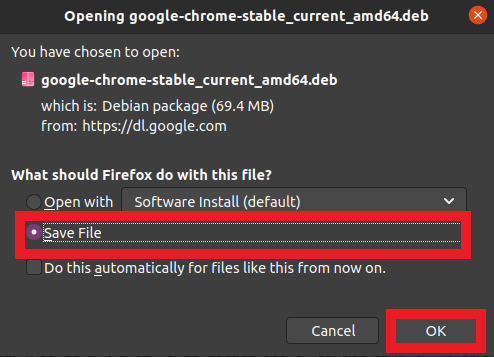
Save Google Chrome deb file6. Double click on the downloaded deb file.
7. It will Open in Ubuntu Software Center. Click on the install button.
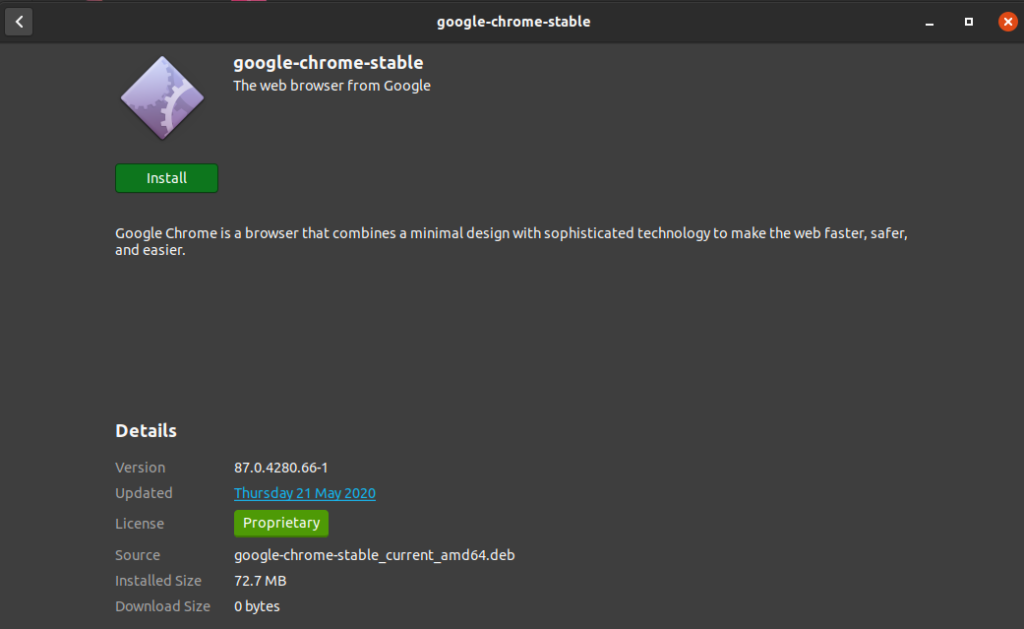
Install Google ChromeNote: If it doesn’t open the Ubuntu software center when double-clicking, then right-click on the deb file and select “open with software install” or select “open with other application” and select software install there.
8. To start the installation process, it will ask for the password. Enter your account’s password and the installation process will begin.

Enter Password to proceed9. Once the installation is finished (usually takes a minute), you’ll see the remove button.
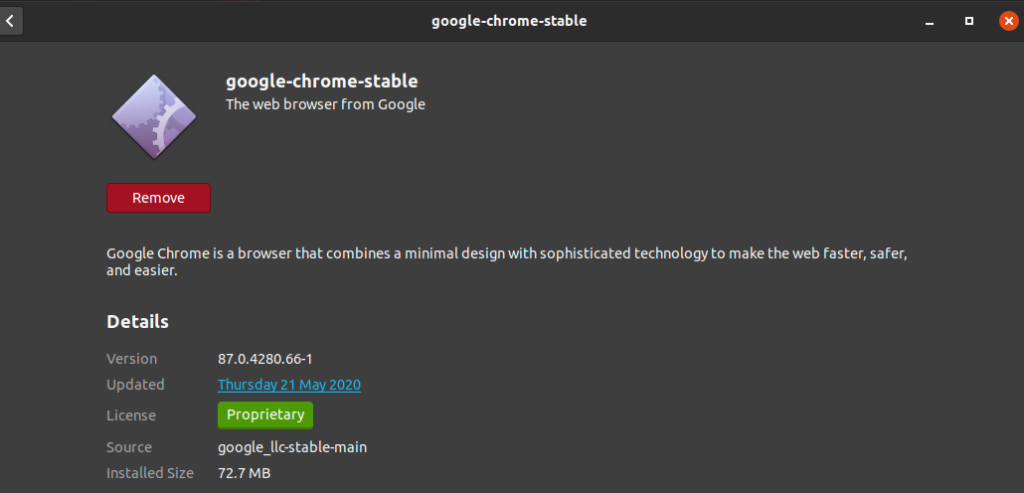
Remove button indicating chrome is installedGoogle Chrome is installed on your Ubuntu system.
Now, to run google chrome
10. Click on the menu and find google chrome there. Then click on the chrome icon.
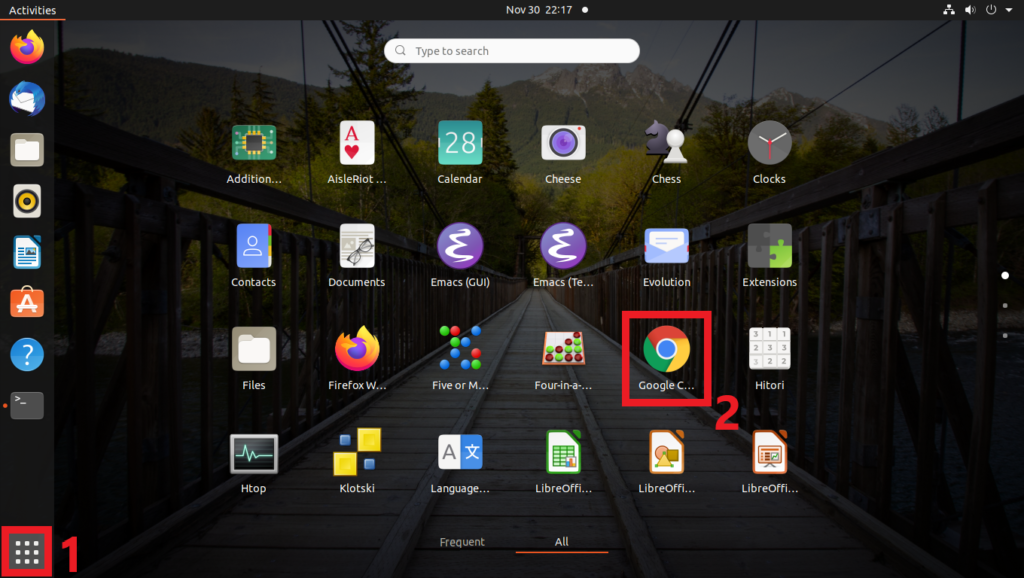
Running Google Chrome graphically in UbuntuEnjoy Google Chrome.

Google Chrome up and running in UbuntuInstall Google Chrome on Ubuntu via Terminal
Installing Google Chrome on Ubuntu via terminal is easier than the graphical method (In my opinion).
1. To download the latest stable version of chrome on Ubuntu, use the wget command:
wget https://dl.google.com/linux/direct/google-chrome-stable_current_amd64.deb

Download Chrome using wget command2. Now, to install the downloaded deb file run:
sudo dpkg -i google-chrome-stable_current_amd64.deb
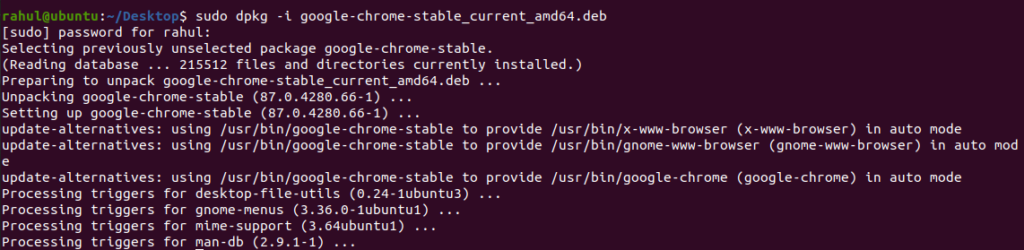
Install chrome using dpkg commandWith the above two steps, Google Chrome will be installed on your system.

3. You can now run chrome from the menu (graphically). But, to run Google Chrome via terminal run:
google-chrome
Additional Tips on using Google Chrome on Ubuntu
Here are some additional tips for you to set up google chrome easily and quickly.
Add Google chrome to Favorites in Ubuntu
If you use Google chrome often, then you can add Google Chrome to Favourites for quick access:
1. Start Google Chrome.
2. Right click on chrome icon on the app sidebar.
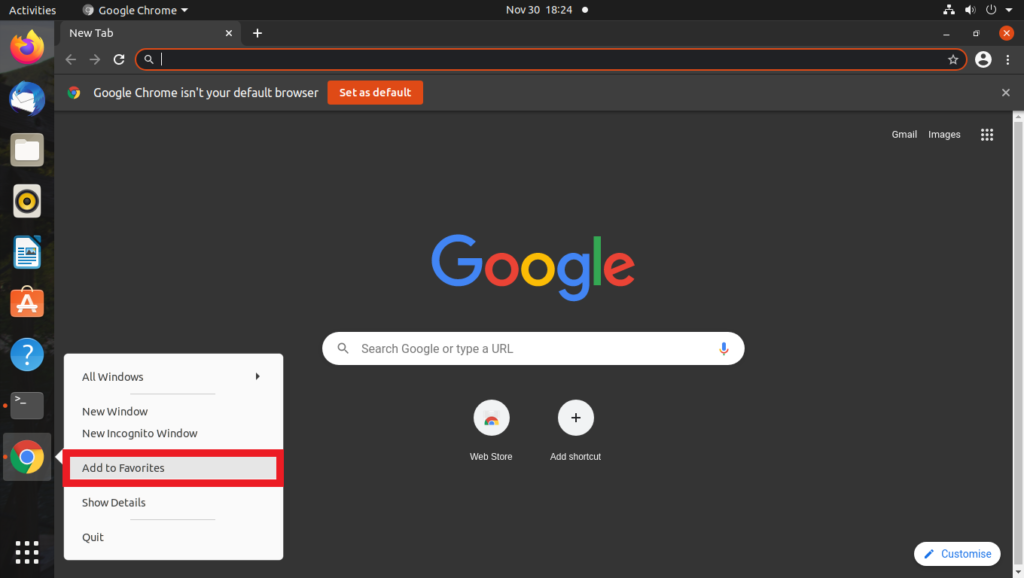
Add Chrome to Favorites for Quick access3. Click Add to Favourites.
Sync with your Google Account
If you use google chrome on various devices, you can easily sync all your bookmarks, settings, history, plugins and extensions by signing into your Google account from Google Chrome.
This will help you to setup google chrome quickly on Ubuntu.
Reset Google Chrome on Ubuntu
Note: Resetting Chrome will remove all bookmarks, settings, extensions and your browsing history.
If you want to reset the google chrome, you can do so without re-installing chrome on ubuntu.
Just delete the google-chrome config directory using:
rm -rvf ~/.config/google-chrome
If you feel unsafe while deleting the directory, then create a backup of the directory using the mv command:
mv ~/.config/google-chrome/ ~/.config/google-chrome-bak/
The above command will move (rename) the “google-chrome” directory to another directory named “google-chrome-bak” in the same location. This will reset the chrome and you’ll also have a backup of your old chrome data.

Updating Google Chrome on Ubuntu
When you install Google Chrome on Ubuntu, the official chrome repository will be added to your /etc/apt/sources.list.d/ directory.
You can verify its contents using:
cat /etc/apt/sources.list.d/google-chrome.list

Cat command showing google chrome repository file.Because of this, Google Chrome will be updated along with the system updates provided by Ubuntu via the Software Updater.
Still, if you want to update chrome manually, you can do so using the following command:
sudo apt upgrade google-chrome-stable
Uninstall Google Chrome browser
If you want to uninstall google chrome for any reason, then open the terminal and type:
dpkg –list | grep google

dpkg command output showing google chromeYou will see the google-chrome package that is currently installed on your system.
Now, to uninstall chrome in Ubuntu, use “apt –purge remove” to remove the google-chrome-stable package.
sudo apt --purge remove google-chrome-stable
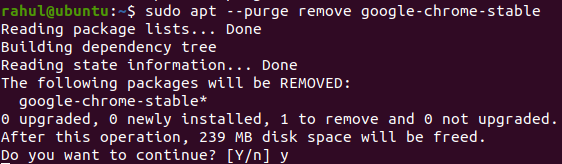
uninstalling google chrome in UbuntuThe above command will uninstall chrome in Ubuntu.
You can check again using the dpkg command if its removed or not.
dpkg --list | grep google
Conclusion
This guide has covered everything you need to know about installing and uninstalling google chrome on Ubuntu.
It was pretty easy, isn’t it?
You can comment your thoughts. 🙂

If you like this post, then follow Techsphinx on Facebook and Twitter for more reviews, tricks, tips and tutorials.
This article needs update or correction? Report the issue here so I can update it.