
This post may contain affiliate links/ads and I may earn a small commission when you click on the links/ads at no additional cost to you. As an Amazon Affiliate, I earn from qualifying purchases. Techsphinx also participates in the StationX Affiliate program. You can read my full disclaimer here.

In this guide, I will show you how to configure remote desktop on Raspberry Pi and connect to it from Windows, Linux and Android devices.
Remote desktop is a feature that allows sharing screen (graphical access) of a device to a remote client device. When you enable remote desktop on Raspberry Pi, the display of Raspberry Pi will be displayed on a separate (client) device and you will be able to remotely perform tasks on it from the client machine.
Equipment Needed
- Raspberry Pi (Pi 3 or 4 recommended)
- Power Supply
- Micro SD Card (32 GB Recommended)
- SD Card Reader
- Micro HDMI (For Pi 4) or HDMI Cable (For Pi 3 and below versions) [Optional]
Alternatively, you can purchase CanaKit Raspberry Pi 4 Extreme Kit that contains all the above-mentioned items.
- Keyboard and Mouse [Optional]
- Monitor or TV (Connect via HDMI) [Optional]
Pre-Requisites to use Remote Desktop on Raspberry Pi
- Raspberry Pi OS installed and running.
- Active internet connection to download the required software.
- Sudo privileges on Raspberry Pi and the client Linux Machine.
Note: If you don’t have access to a TV screen or Monitor to connect Raspberry via HDMI cable, then you’ll first need to enable SSH on Raspberry Pi in headless mode.
Difference between RDP and VNC
Both RDP (Remote Desktop) and VNC (Virtual Network Computing) offers the similar feature of desktop sharing. However, there is a slight difference in their working.
Remote desktop creates a new desktop session for the user providing an experience similar to logging into the device physically.
If configured for simultaneous connections, multiple users can connect and perform different actions on the same device while being completely unaware of each other.
Whereas, VNC provides full control by sharing the screen, keyboard and mouse. If multiple users connect using VNC, then they will see the same screen.
VNC is useful when there is only a single user using the shared screen or allowing someone to take control of the system for support activities. It may also be used for live training sessions, where all students can see what the instructor is doing on his system.
I have written a complete guide on enabling VNC on Raspberry Pi. You can check that out for more information.
Remote Desktop Raspberry Pi
To use the remote desktop on Raspberry Pi, we need to install a utility called Xrdp. It is a free and open-source implementation of Microsoft RDP that allows Linux-based distros to provide a fully-functional remote desktop experience.
Install Xrdp on Raspberry Pi
To install Xrdp on Raspberry Pi OS follow the steps:
1. Open the terminal and make sure everything is up-to-date on the Raspberry Pi using the following commands:

sudo apt update && sudo apt upgrade
2. Now, to install the Xrdp package run the following command in the terminal:
sudo apt install xrdp
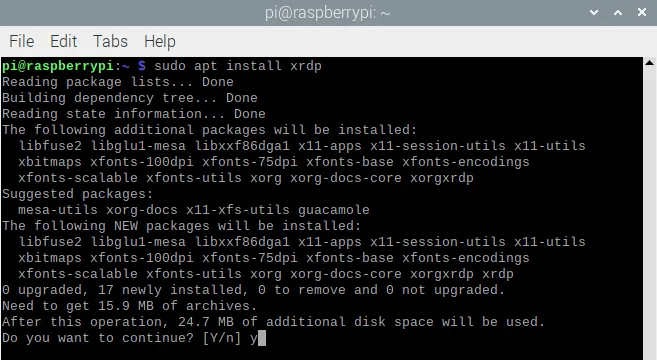
Once the Xrdp server package is installed, you can proceed with connecting to Raspberry Pi through the Remote Desktop protocol.
Connect to Raspberry Pi via Remote Desktop
After installing the Xrdp, you are ready to connect to Raspberry Pi via RDP from another machine. Here, I am going to show you how to connect to the Raspberry Pi from Windows, Linux and Android.
Connecting from Windows
On Windows, Remote Desktop Software is already installed.
1. Click on start, search for RDP and open the “Remote Desktop Connection” application.
2. Type the IP address in the computer field.

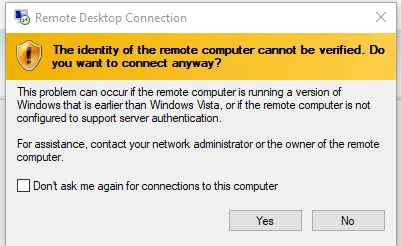
3. Click on the “Connect” button and hit “Yes” for the prompt that says “Identity of the remote computer can’t be verified”. After that, you will be taken to the Xrdp login screen.
4. On the Xrdp login screen, choose the “xorg” session and enter the username and password of the user that exists on Raspberry Pi. I am using the default “pi” user here for login.
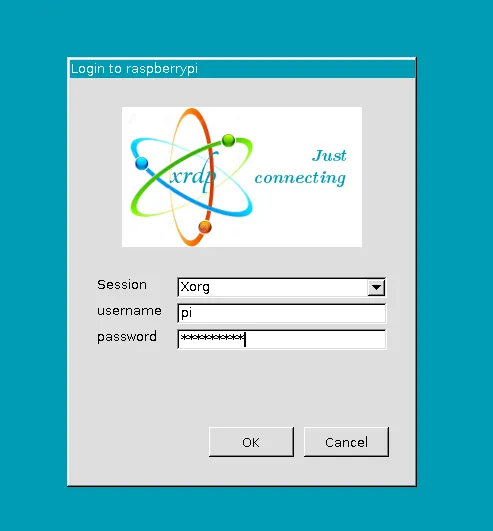
5. Click on “OK”.
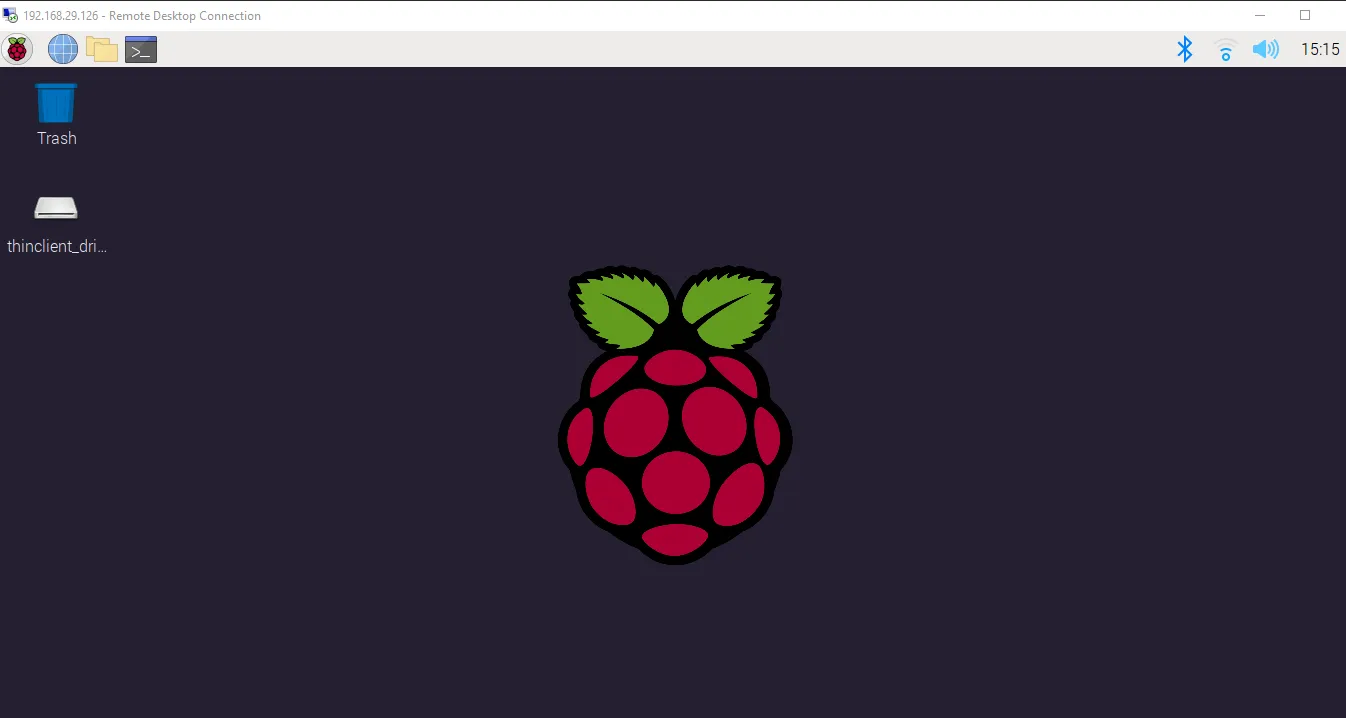
If you have done everything correctly, you’ll see the Raspberry Pi Desktop screen.
Connecting from Linux
On Linux, we are going to use “Remmina” remote desktop client to connect to the Raspberry Pi via RDP.
1. Make sure the system is up-to-date.

On Ubuntu/Debian use the command:
sudo apt update && sudo apt upgrade
On Fedora/RHEL use the command:
sudo dnf upgrade
2. Install “Remmina” on Linux.
On Ubuntu/Debian run:
sudo apt install remmina
On Fedora run:
sudo dnf install remmina
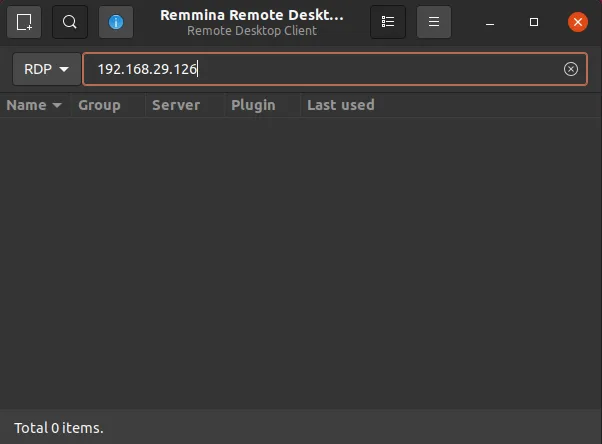
3. Start “remmina” using the following command:
remmina
4. Select the RDP protocol from the dropdown and enter the IP address in the corresponding field and hit enter.
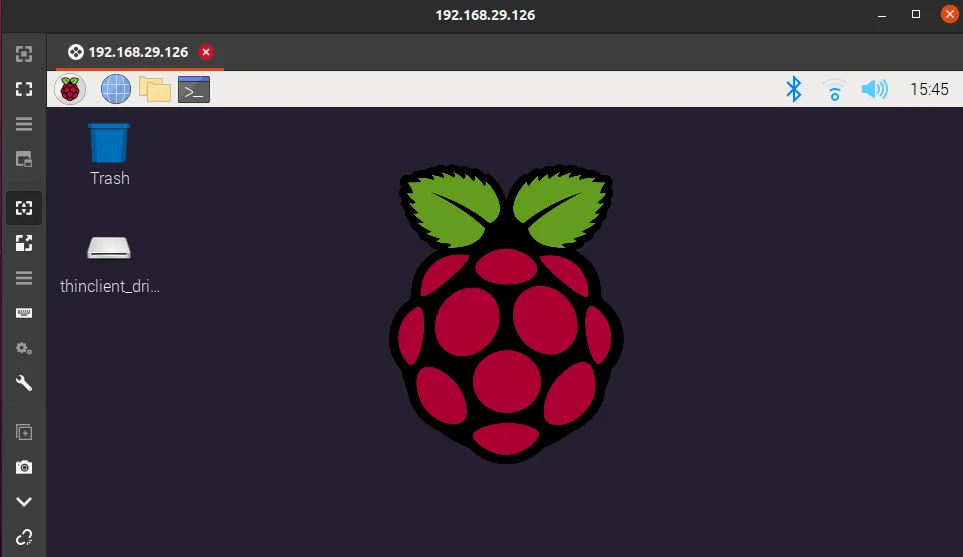
That’s it, you are now connected to Raspberry Pi via RDP from a Linux machine.
Connecting from Android
1. Install the Microsoft Remote Desktop app from the Google Play store.
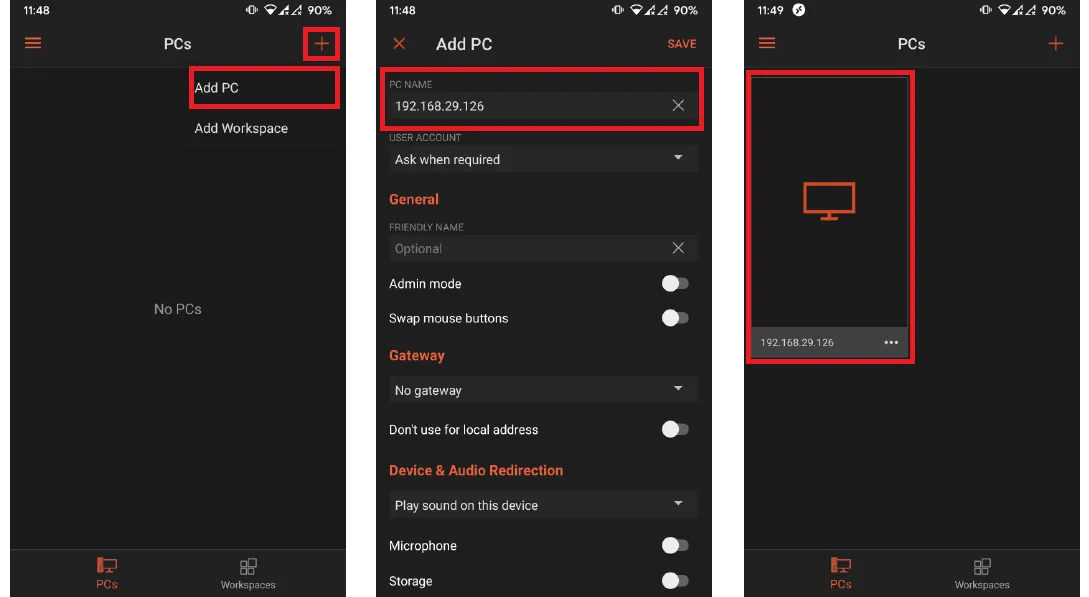
2. Start the app and click on the plus (+) icon on the top-right corner of the screen and select “Add PC”.
3. On the “Add PC” screen, enter the IP address of the Raspberry Pi in the “PC name” field and click on “Save”.
4. On the main screen click on the PC we added just now.

5. Click on connect, when it says “Identity of the remote PC can’t be verified”.
6. You’ll be greeted with the Xrdp login screen. Select “Xorg” session and enter the username and password for the Raspberry Pi user.
7. Click on OK.
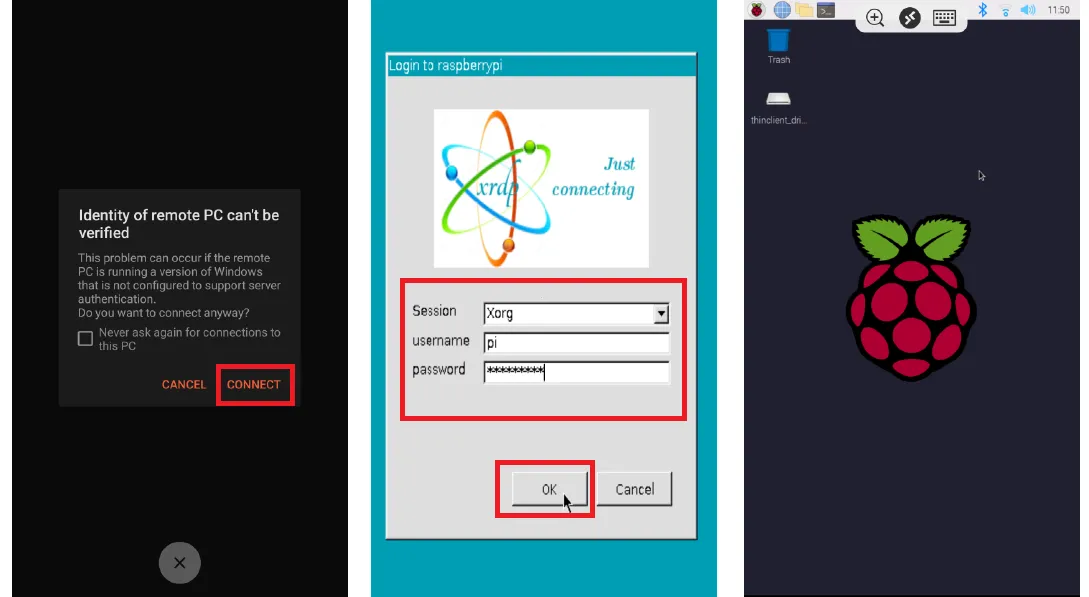
There you go, now can work on your Raspberry Pi using RDP on Android.
Other ways to connect to Raspberry Pi Remotely
There are other ways to remotely connect to Raspberry Pi apart from using the Xrdp utility. I have written various guides for the same.
Here are links to those guides:
1. Connect to Raspberry Pi using SSH
2. Using X11 Forwarding over SSH
3. Connecting to Raspberry Pi using VNC
You can use any of these utilities or protocols to remotely connect to the Raspberry Pi.
Conclusion
That’s it for connecting to Raspberry Pi via Remote desktop protocol. If you have any questions, then feel free to ask them in the comments.
Also, you can check out my other articles/guides related to Raspberry Pi here.

If you like this post, then follow Techsphinx on Facebook and Twitter for more reviews, tricks, tips and tutorials.
This article needs update or correction? Report the issue here so I can update it.