This post may contain affiliate links/ads and I may earn a small commission when you click on the links/ads at no additional cost to you. As an Amazon Affiliate, I earn from qualifying purchases. Techsphinx also participates in the StationX Affiliate program. You can read my full disclaimer here.

Want to know how to get started with your Raspberry Pi? Then, you are at the right place. In this guide, I will show you how to install and set up Raspberry Pi OS.
Raspberry Pi OS (previously Raspbian) is the official supported operating system of Raspberry Pi. It is based on Debian Linux and contains all the recommended software for your Pi.
Installing Raspberry Pi OS is pretty straightforward, but if you are a complete beginner, then a step-by-step guide like this can help you to get started quickly.
Note: This guide is not for Raspberry Pi Pico.
Equipment Needed
- Raspberry Pi (Pi 3 or 4 recommended)
- Power Supply
- Micro SD Card (32 GB Recommended)
- SD Card Reader
- Micro HDMI (For Pi 4) or HDMI Cable (For Pi 3 and below versions)
Alternatively, you can purchase CanaKit Raspberry Pi 4 Extreme Kit that contains all the above-mentioned items. Additionally, you’ll also need:
- Keyboard and Mouse
- Monitor or TV (Connect via HDMI)
Pre-Requisites to install Raspberry Pi OS
- Access to PC or Laptop.
- Active Internet Connection to download the required software.
Install Raspberry Pi OS on SD card
Steps to install Raspberry Pi OS on SD card:
1. Plug the Micro SD card into a PC or laptop using the SD card Reader (adapter).
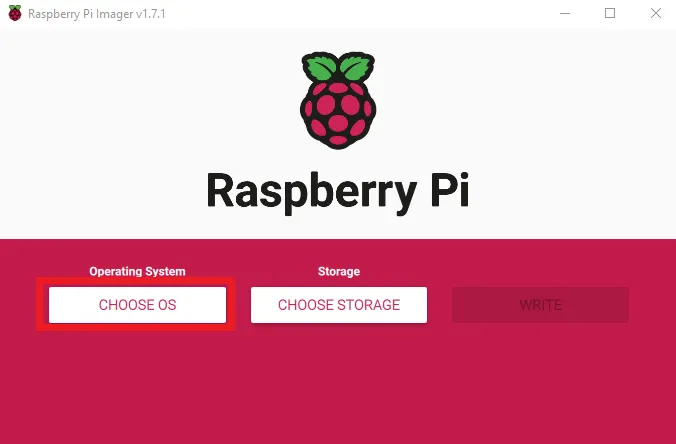
2. Download and Install the official Raspberry Pi Imager tool.
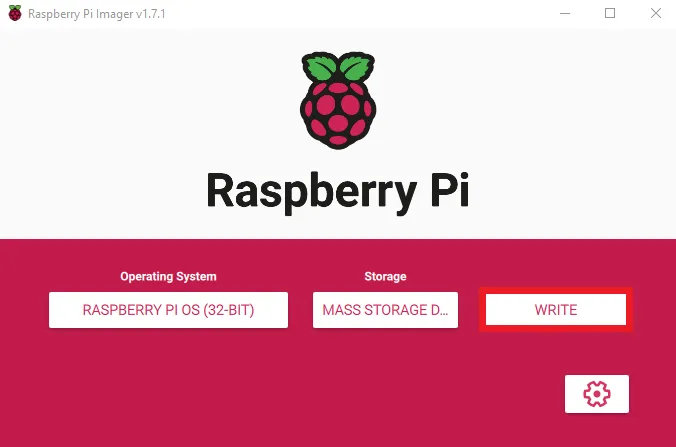
3. Start Raspberry Pi Imager and click on “Choose OS” under the operating system.
4. You can install any OS using Raspberry Pi Imager. Here, we are going to install the official Raspberry Pi OS (32-bit).
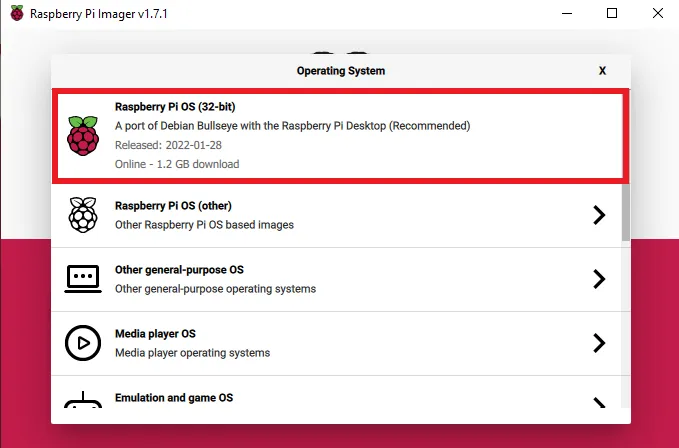
Note: If you want to install the 64-bit version of Raspberry Pi OS, then click on Raspberry Pi OS (Other) option. You’ll find the 64-bit version there.
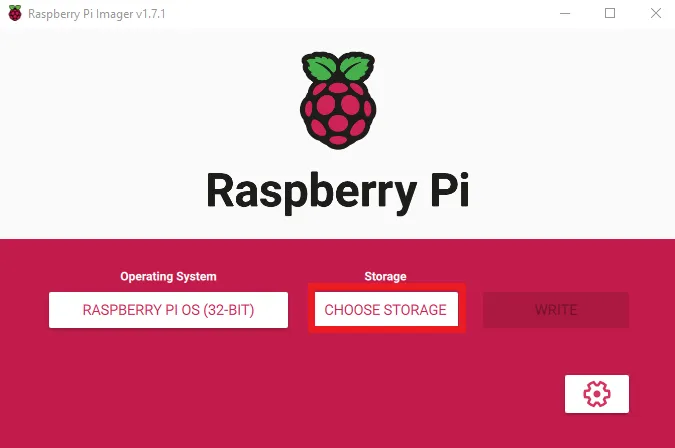
5. Next, click on the “Choose Storage” button and select the SD card on which you want to install Raspberry Pi OS.
6. Click on Write and wait for the process to finish.
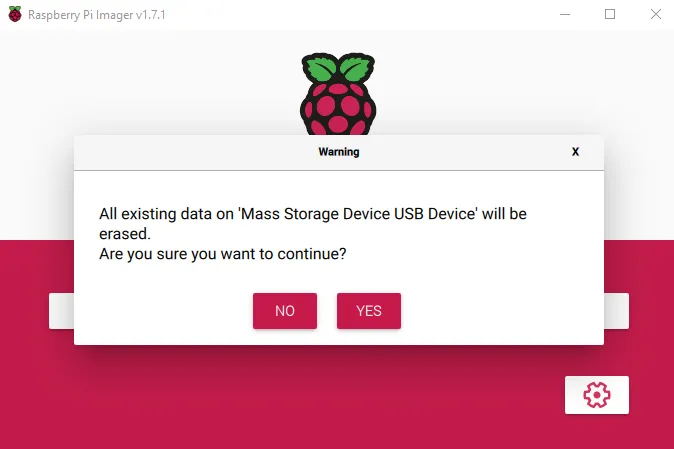
7. All data on the selected storage will be erased. Click on “Yes” to continue.
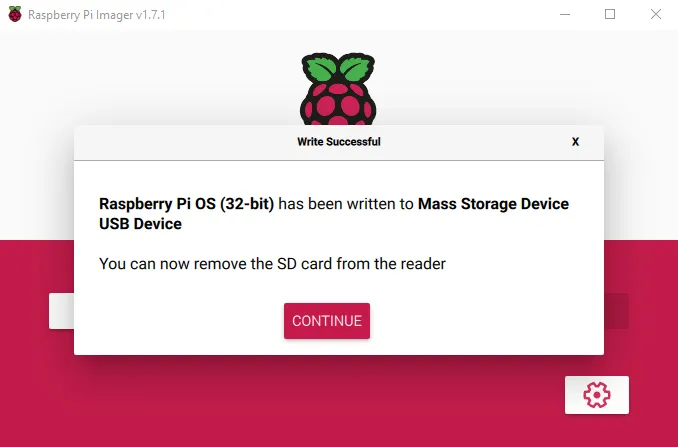
8. The Raspberry Pi imager will download and write the Raspberry Pi OS to the SD card. Once finished, you’ll see the “write successful” prompt. Click on continue and safely eject the SD card.
You can also manually install any OS by downloading the image file and writing it using the Raspberry Pi imager or Etcher tool. For example, you can check out how I installed Kali Linux on Raspberry Pi.

Boot up the Raspberry Pi
Now, to proceed with booting up the Raspberry Pi follow the steps:
1. Insert the SD card in the Micro SD card slot of the Raspberry Pi.
2. Connect Raspberry Pi to Monitor or TV using the HDMI cable.
Note: You’ll need a micro HDMI cable for the Raspberry Pi 4. If it’s not available, then purchase a Micro HDMI to HDMI adapter.
3. Connect Keyboard and Mouse. Also, plug in the Ethernet cable if you are going to use a wired connection instead of WiFi.
4. Lastly, connect the Power supply to the Raspberry Pi and turn it on.
Note: To avoid voltage problems make sure you are using a Raspberry Pi compatible power supply.
5. Wait, for the booting process to finish and you’ll be greeted with the login screen of Raspberry Pi OS.
6. The default username is “pi” and the password is “raspberry” (without quotes). Once, you enter it, you’ll be logged into the Raspberry Pi OS.
You can also choose to boot up Raspberry Pi without the need of a monitor or screen. This is called a “headless install”, where you can access Raspberry Pi remotely using VNC or SSH protocols.
If you are interested in the headless installation, then check out my other articles:
How to Enable SSH on Raspberry Pi?
How to Enable VNC on Raspberry Pi?
Setup Raspberry Pi OS
Once, you successfully logged into the Raspberry Pi OS, you’ll be greeted with the “Welcome to Raspberry Pi” Screen.
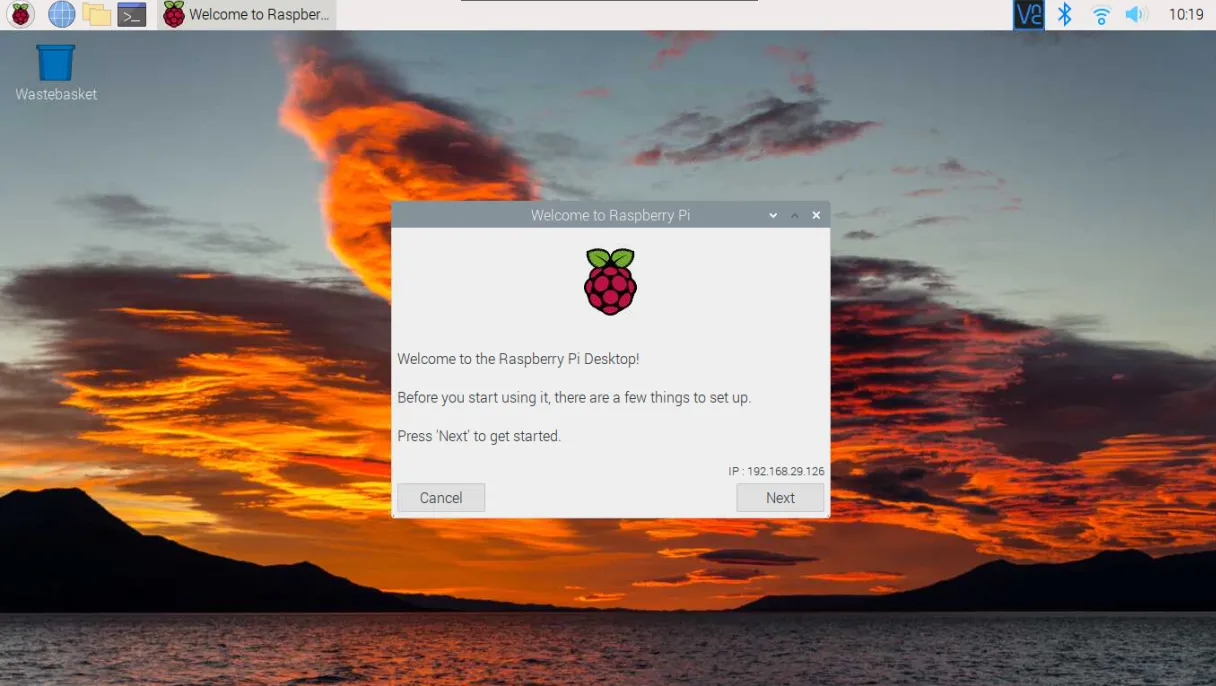
1. Click “Next” to start setting up the Raspberry Pi.

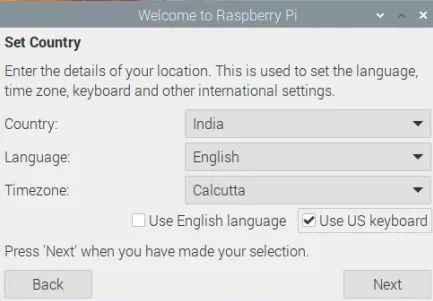
2. Now, select your preferred Country, Language, Time-zone and keyboard type. Click on “Next” to continue.
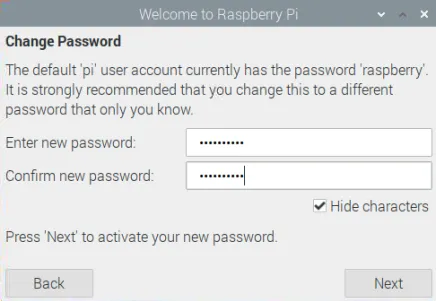
3. Next, change the default password for security purposes. Enter the new password and click on “Next”.
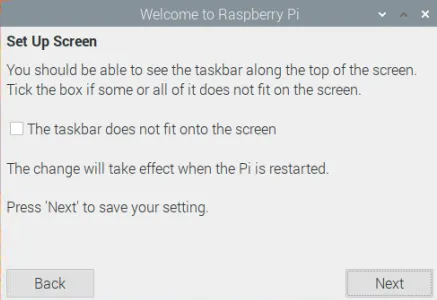
4. On the “set up screen”, only click on the check box if the taskbar doesn’t fit onto the screen otherwise click on “Next”.
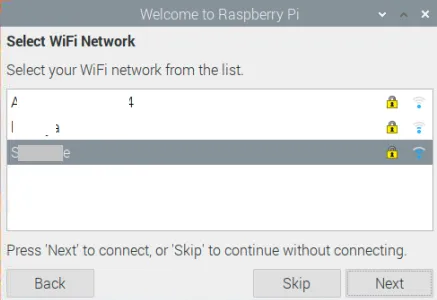
5. You can select the WiFi Network and click “Next”. If you are planning to use an Ethernet connection, then click on “Skip”.
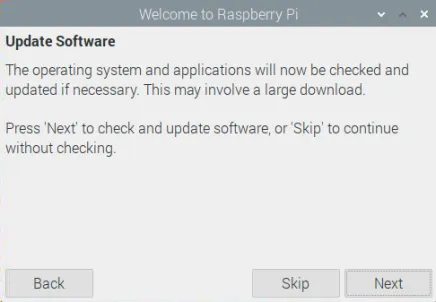
5. On the next screen, you’ll be prompted with the option to “Update Software”.
Keeping your Raspberry Pi OS updated is a good practice. However, the update can be large and will take time to download (depending on your internet speed).
Click on “Next” to begin the update process or click the “Skip” button if you don’t want to update the system now.
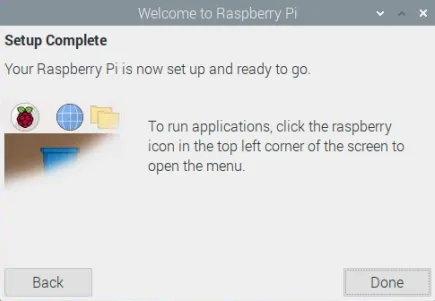
6. Once the update is finished, click on “Done” (or “Reboot” if asked for a reboot) and you’re good to go.
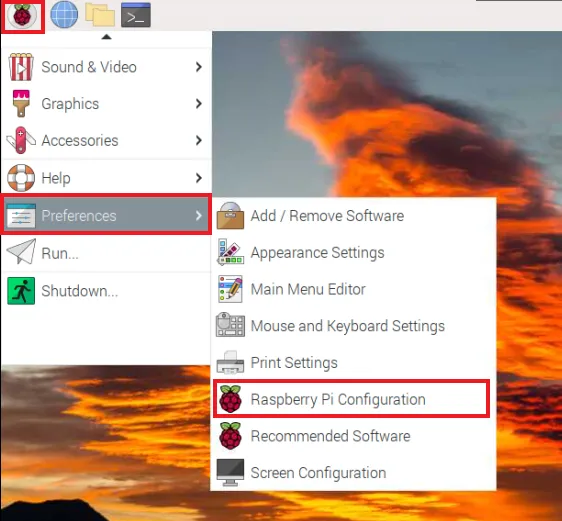
Note: If you’re not shown the “Welcome screen” or want to change some settings you have configured previously, then you can navigate to “Preferences > Raspberry Pi Configuration” to access the Raspberry Pi Configuration settings.
Additional Settings / Troubleshooting
HDMI problems
If you are using an HDMI cable to connect Raspberry Pi to a monitor and you’re seeing a Blank screen or having other issues, then follow the below steps:
1. Insert the SD card into a card reader and connect it to the PC.
2. Open the “config.txt” file present in the “boot” partition.
3. Uncomment (Remove Hash “#” from the beginning) these two lines.
hdmi_force_hotplug=1
hdmi_drive=2
4. Save and close the file.

This should solve the problem.
Change Display resolution
1. Navigate to Preferences > Screen Configurations.
2. Right-click on HDMI and select your preferred resolution.
3. Click on the Green Check arrow and then click OK if the resolution is correct for your screen.
Change the password
1. Navigate to Preferences > Raspberry Pi Configurations.
2. Click on “Change Password”.
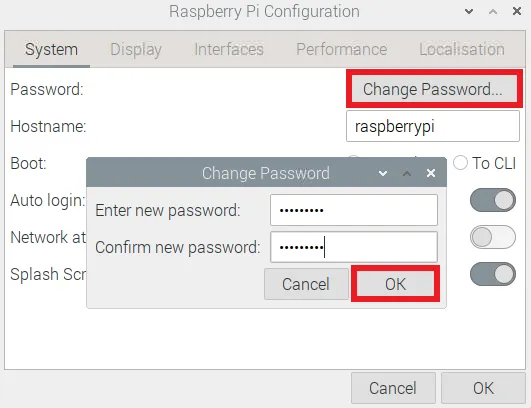
3. Enter the new password and click ok.
Update Repositories and Packages (Using Terminal)
You can update the repositories and packages to the latest version using the command-line interface (CLI). For that, open the terminal and run the following command:
sudo apt update && sudo apt upgrade
What’s Next?
You have successfully set up the Raspberry Pi. There are many things that you can do with your Pi.
Here are links to some of my other articles that can help you get started with your Raspberry Pi journey.
- Enable SSH on Raspberry Pi
- Enable VNC on Raspberry Pi
- Configure WiFi on Raspberry Pi
- Install Kali Linux on Raspberry Pi
You can check all my other articles/guides on Raspberry Pi here.
Conclusion
That’s it for installing and setting up Raspberry Pi for the first time. I hope everything went smoothly. However, if you encountered any problems, then you can ask in the comments.

If you like this post, then follow Techsphinx on Facebook and Twitter for more reviews, tricks, tips and tutorials.
This article needs update or correction? Report the issue here so I can update it.