This post may contain affiliate links/ads and I may earn a small commission when you click on the links/ads at no additional cost to you. As an Amazon Affiliate, I earn from qualifying purchases. Techsphinx also participates in the StationX Affiliate program. You can read my full disclaimer here.
In this guide, I will walk you through a step-by-step procedure of how to install Manjaro 20.2 Linux distribution.
Manjaro is a popular and beginner-friendly distro based on Arch Linux.
In my opinion, it’s the best beginner-friendly distro. It is faster and offers more granular control than Ubuntu or Linux Mint. And just like Arch Linux, you get a rolling-release distro with up-to-date packages.
It may take a week or two to get packages on Manjaro after it is released for Arch as Manjaro developers test the packages for stability before shipping them as updates.
This means you’re in good hands in terms of stability also.
Pre-requisites to install Manjaro
- Minimum 2GB RAM
- At least 25 GB of hard disk space
- Active internet connection
- 4 GB USB drive to create a bootable medium (only if you choose to install on main hardware)
- Virtualization software like VirtualBox or VMware installed and running (Only if you choose to install Manjaro as a virtual machine)
Steps to install Manjaro Linux:
As I previously mentioned Manjaro is based on Arch Linux but unlike Arch, Manjaro has a graphical installer.
Note: If you’re a beginner to Linux or don’t have enough experience with dual booting or partitioning disks, then I recommend you to install Manjaro on any virtualization software like VirtualBox or VMware.
Let’s begin the process.
Step 1: Download Manjaro
You can Download Manjaro ISO image from Manjaro’s Official website.
Manjaro has 4 different desktop environments available to download:
- XFCE
- KDE Plasma
- GNOME
- Architect
You can download any version of Manjaro, the installation process is same.
In this post, I will use the KDE Plasma desktop environment.
Step 2: Preparing to Install Manjaro
Once downloaded, you’ll need to create the bootable medium if you plan to install Manjaro on main hardware.
I have written a complete guide for creating a bootable Linux USB, in case you need help with creating a bootable medium.
If you are planning to install Manjaro as a virtual machine, then you only need the ISO file you’ve downloaded and should have a virtualization software (like VirtualBox or VMware) installed and running.
I will be installing Manjaro on VirtualBox, the installation is almost same except for the “partition hard disk” part.
Step 3: Install Manjaro Linux
Booting Manjaro: You’ll have two options to boot manjaro:
1. Use the Open-source drivers.
2. Boot with Proprietary drivers.
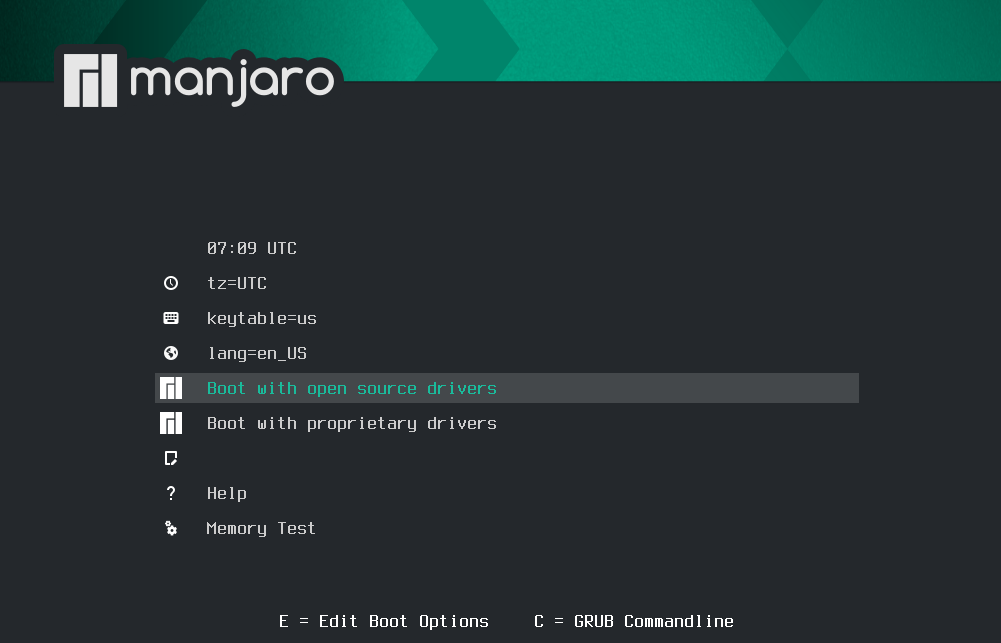
If you have a distinct graphic card or any other hardware on your system, then you can choose the second option i.e. boot with proprietary drivers, else choose to boot with the open-source drivers.
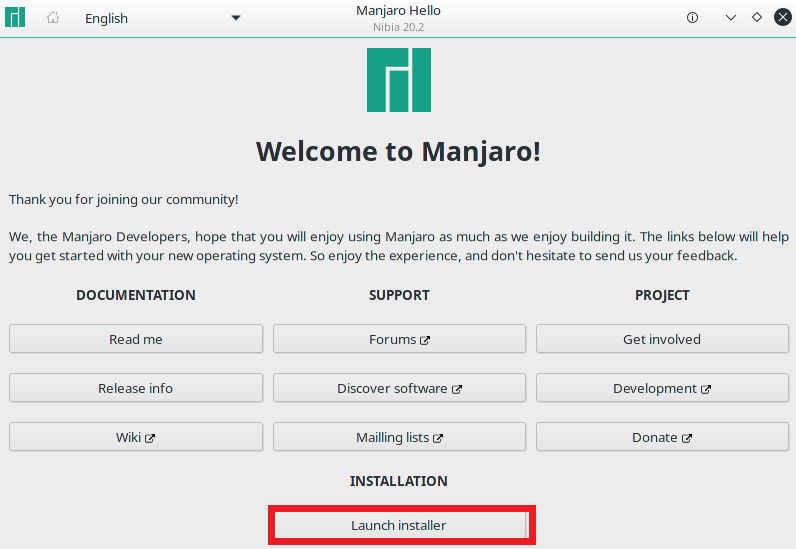
Once booted, you’ll see the Manjaro installer screen. Click on Launch Installer.
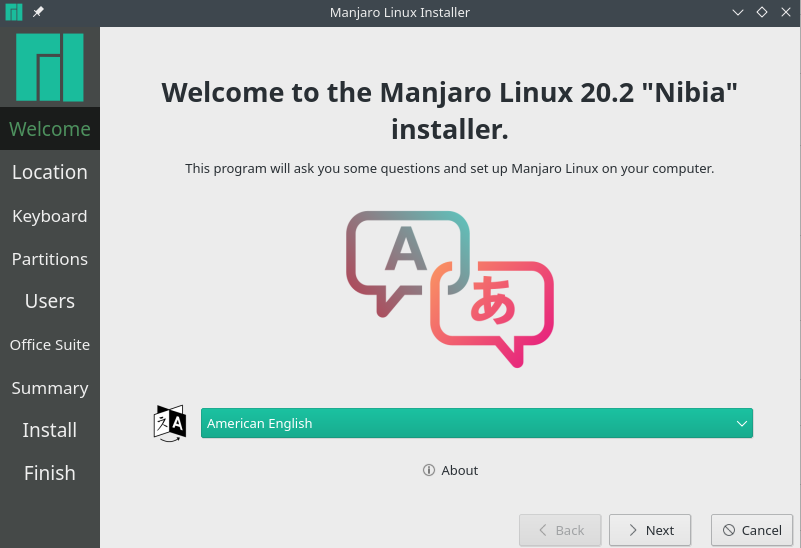
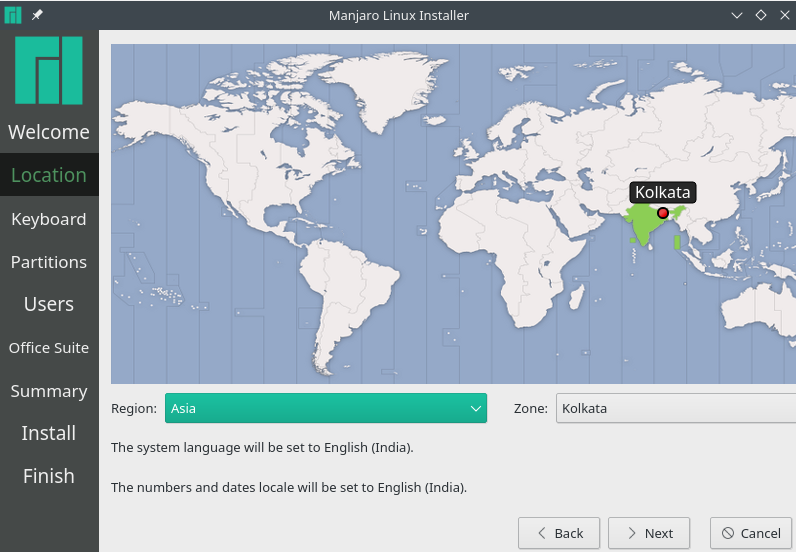
Select System Language: Select your preferred system language and click on next.
Configure the Time Zone: Choose your time zone settings and click on next.
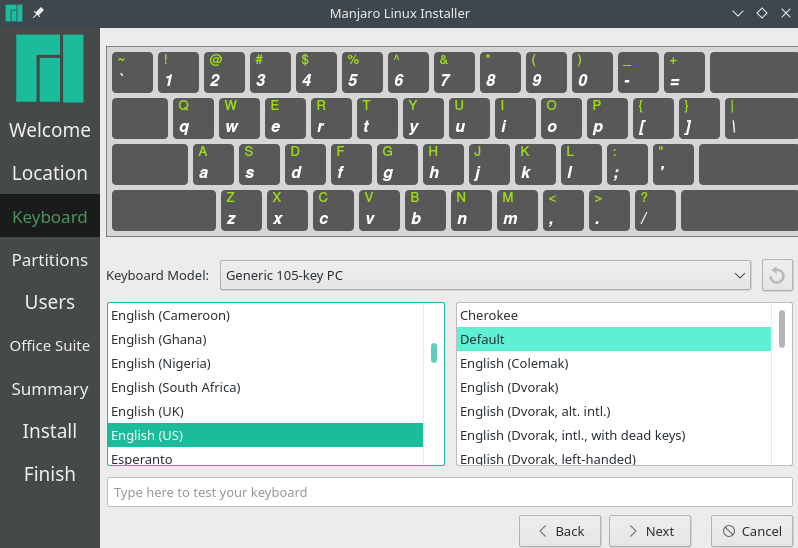
Select Keyboard Layout: Select your preferred keyboard layout and click on Next.
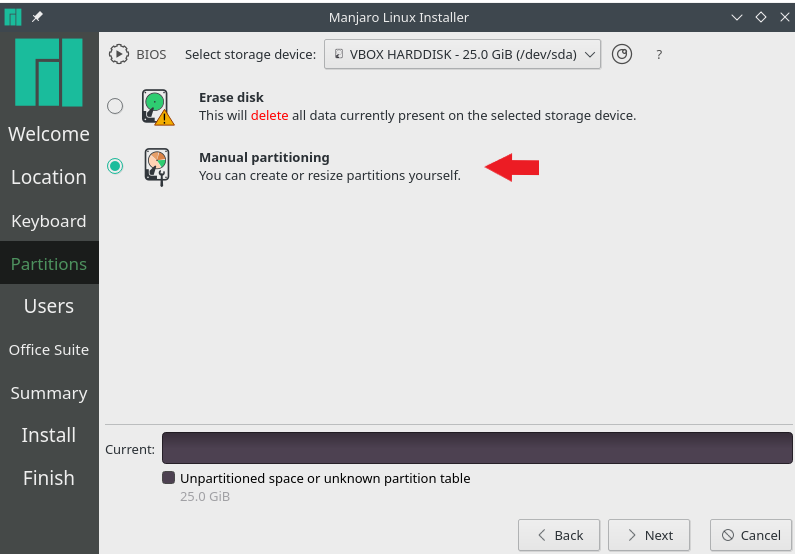
Partition Hard Disk to install Manjaro: There are different ways you can choose to partition the disk to install Manjaro.
- Erase Disk: You can choose to erase everything on your selected hard disk and install Manjaro.
- Manual Partitioning: You can choose to create the partitions of the disk manually.
If you are installing Manjaro on Main hardware, choosing “Erase Disk” option will delete all data on the selected drive. This means if you have windows or other OS installed on the selected drive, then you’ll lose them.
If you plan to install Manjaro as a virtual machine, then you can choose either way as you are not going to lose any data.
I am going to manually create partitions here.
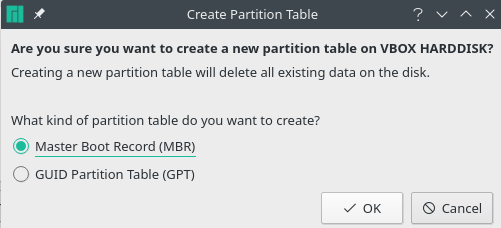
Create a New Partition Table: Click on “New Partition Table” button and choose MBR (Master Boot Record) or GPT (GUID Partition Table) according to your system specifications and then click OK.
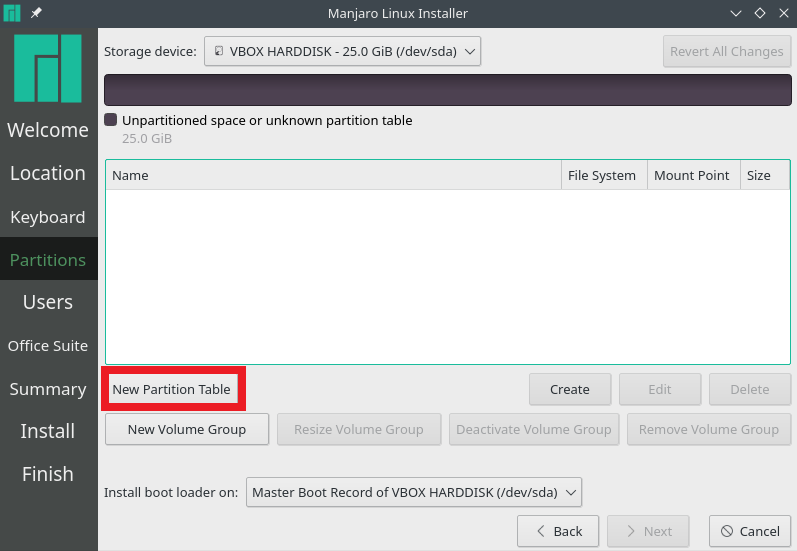
If you are installing on virtual machine, then you can go with MBR partition table.
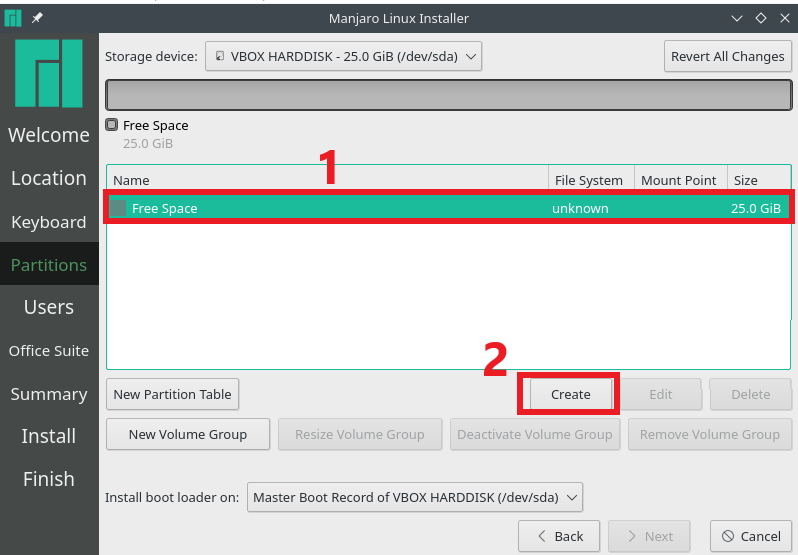
Now, click on the free space and click on create.
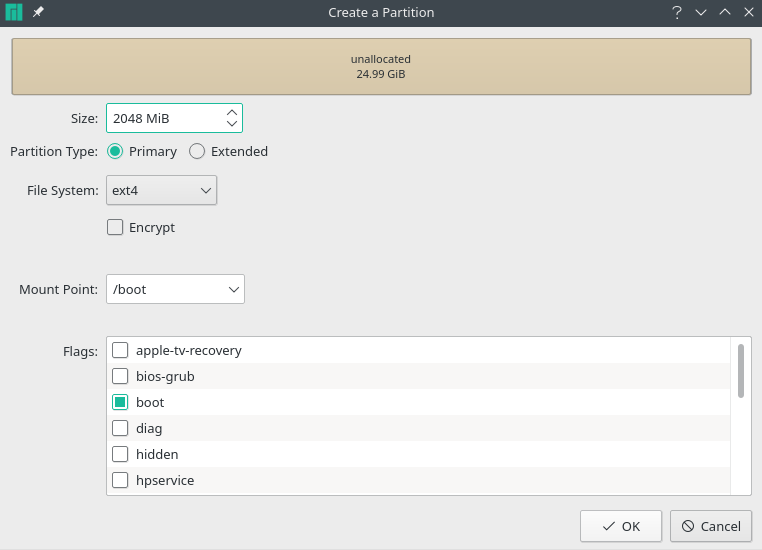
Create Boot Partition: First, let’s create a boot partition:
Size: 2048 MiB
Partition Type: Primary
File system: ext4
Mount Point: /boot
Flags: boot
Click Ok.
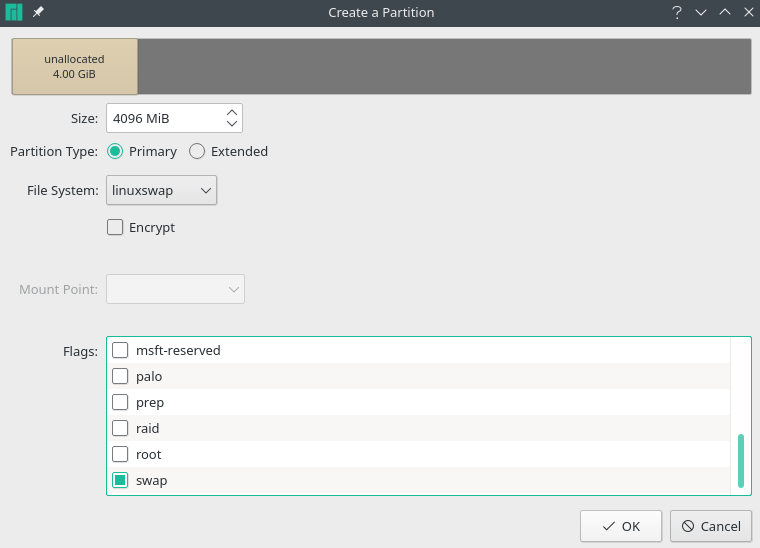
Create SWAP Partition: Now, repeat the process and create a swap partition:
Size: 4096 MiB
Partition Type: Primary
File System: linuxswap
Flags: Swap
Click Ok.
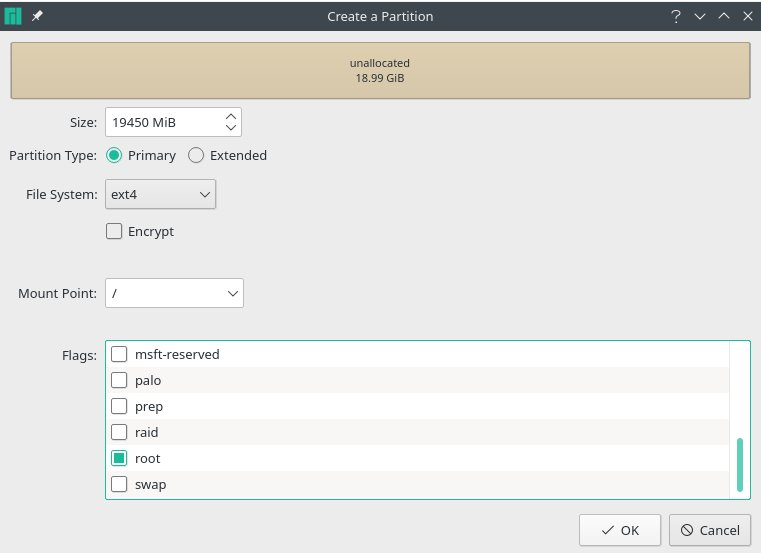
Create Root Partition: Lastly, create a root partition. In this partition, your entire OS will reside, so give it as much as space you can. Recommended is 20GB.
Size: Rest of the available free space (It will take it automatically or you can enter a value)
Partition Type: Primary
File System: ext4
Mount Point: /
Flags: root
Click Ok.
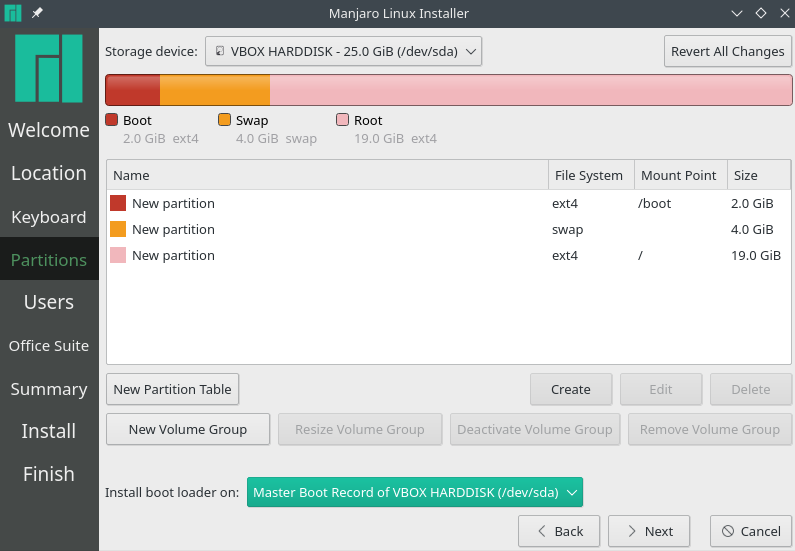
You’ll see all the partitions and their sizes you created. If you’re happy with these sizes, then click next.
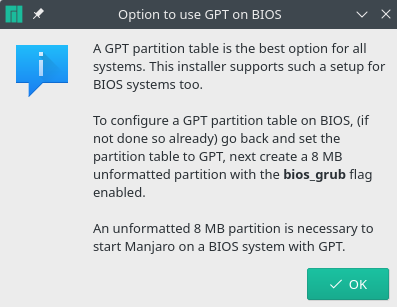
Click Ok if it provides an information to use GPT.
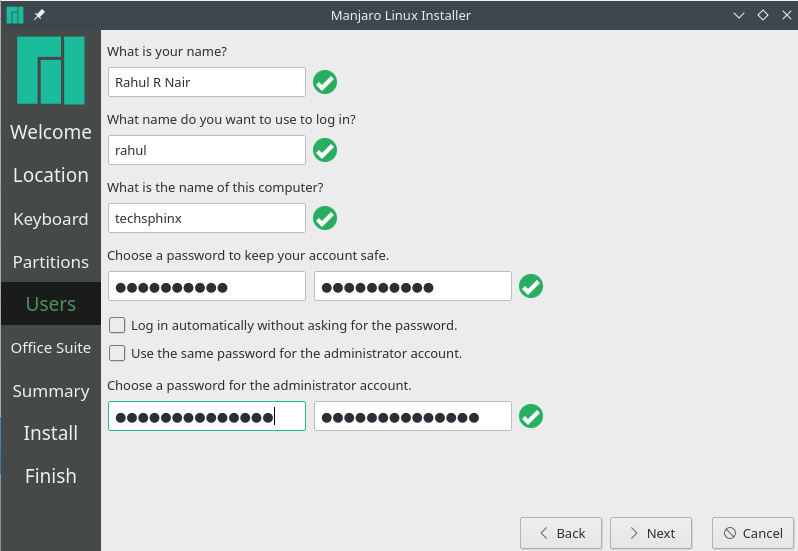
Set up User and Password: Fill all the necessary details like username and password. Make sure you remember it and click on Next.
Install Office Suite Application: Now, Manjaro presents you with the option to install an office suite application. If you want to install an office suite, then you can choose between LibreOffice and FreeOffice.
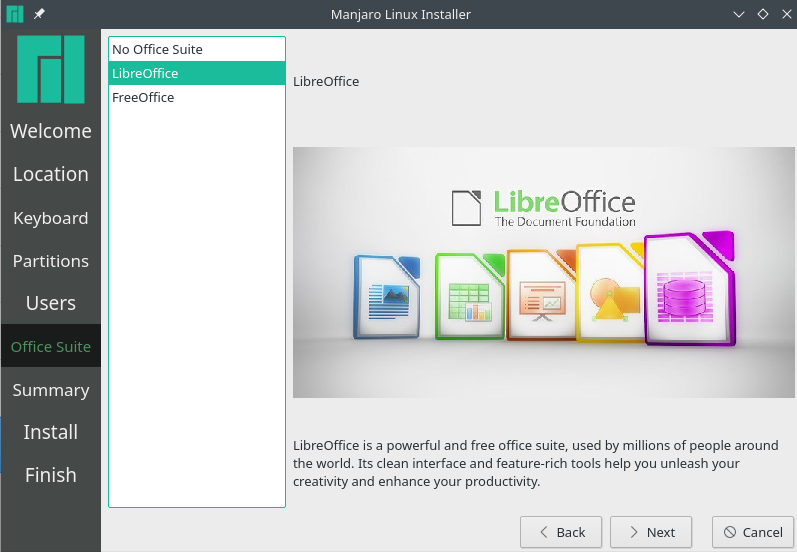
If you don’t want any office suite, then choose “No office Suite” option and click next.
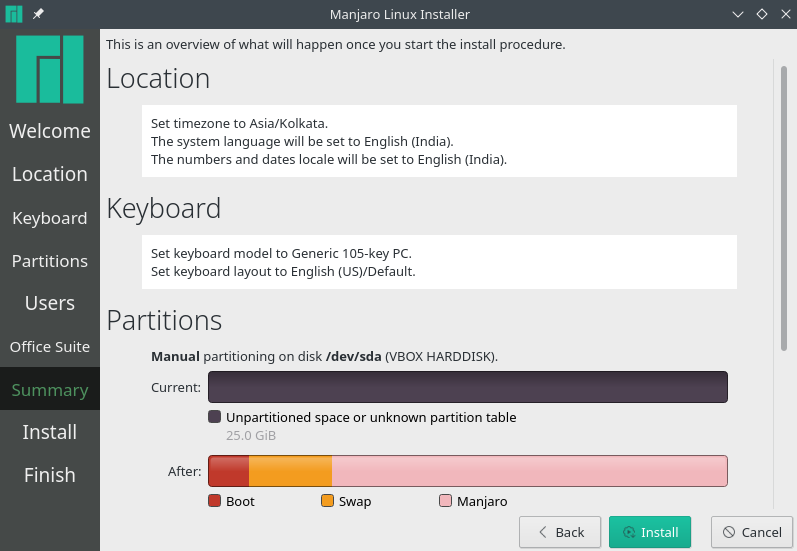
Manjaro installation Summary: Here is the entire summary of choices you made during the entire installation process. If everything seems ok, then click install.
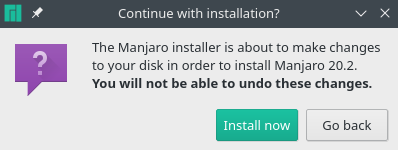
Install Manjaro Linux: Click “Install Now” to continue with the installation.
Now, wait patiently for the installation to finish.
Finish Installation: Once installation is finished, select restart now and click on Done.
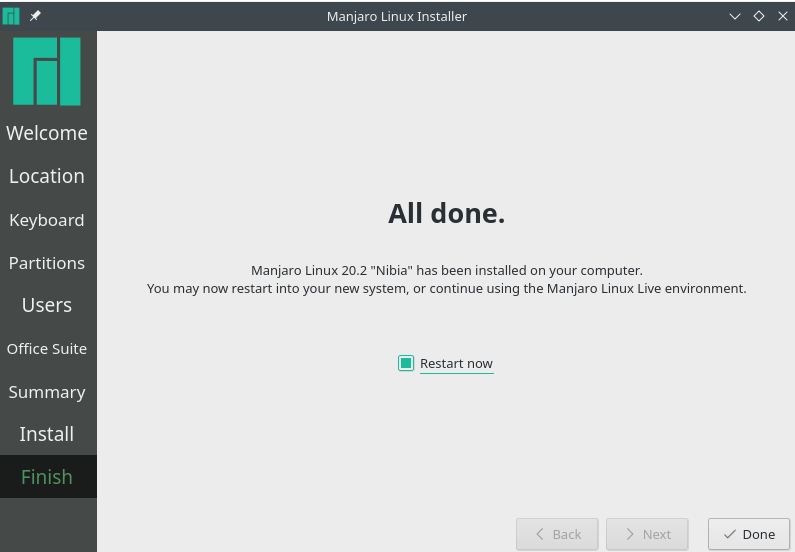
Remove the installation media like bootable USB or detach ISO image in virtual machine.
Login to Manjaro Desktop: If everything has gone right, then you’ll be greeted with Manjaro login screen.
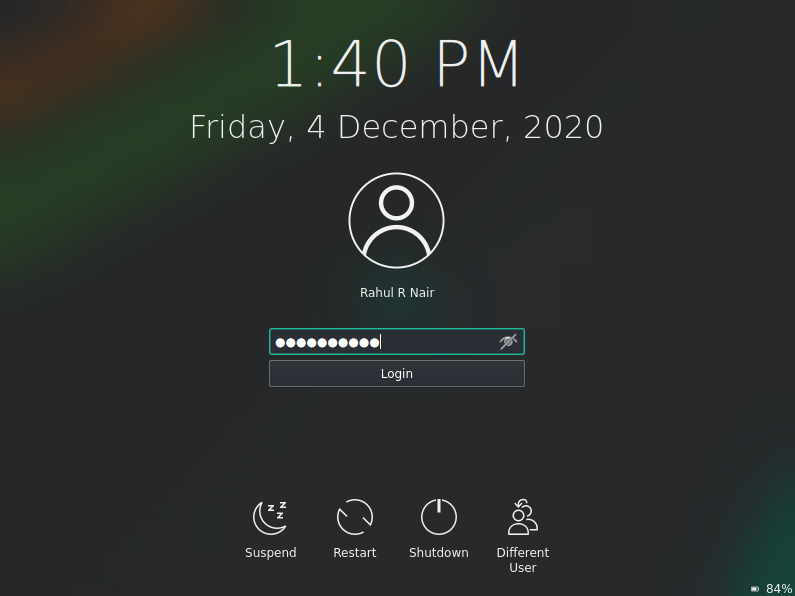
Enter username and password you created earlier and log into manjaro desktop.
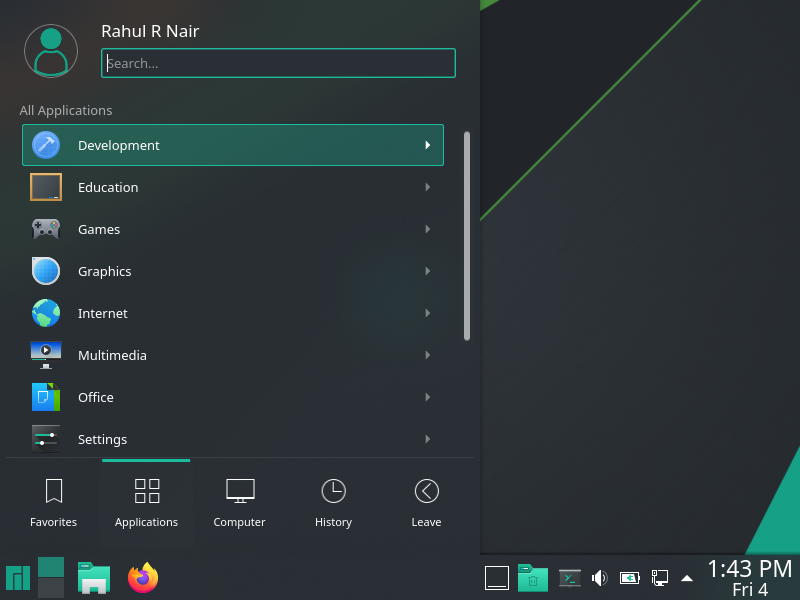
Have Fun with Manjaro 🙂
Conclusion
I hope this guide helped you to install manjaro on your system without any problems.
It was super-easy isn’t it?
You can comment your experience below.
If you like this post, then follow Techsphinx on Facebook and Twitter for more reviews, tricks, tips and tutorials.
This article needs update or correction? Report the issue here so I can update it.
