This post may contain affiliate links/ads and I may earn a small commission when you click on the links/ads at no additional cost to you. As an Amazon Affiliate, I earn from qualifying purchases. Techsphinx also participates in the StationX Affiliate program. You can read my full disclaimer here.

In this tutorial, I will show you how to install and uninstall Unity desktop on newer versions of Ubuntu.
Unity was the default desktop environment until it was replaced by GNOME Desktop. From version 17.10 onwards Ubuntu ships with GNOME Desktop with some custom modifications.
Although GNOME is a great desktop environment with many cool features but many people who are using Ubuntu for a long time, still prefer the good old Unity desktop.
Even if you have not used unity desktop in the past, I am sure you have heard of it.
If you are wondering why many people like old Unity desktop, then have a look at some great features that unity desktop environment provides out-of-the-box.
Features of Unity Desktop
- Unity Launcher
Unity Launcher is one of the best features of Unity Desktop.
It provides a great user experience by allowing you to launch, manage and interact with the apps (Even if they are not running).
If you have multiple instances of the app open, then they are grouped under the same icon in the launcher with an indicator showing the number of instances.
You can also lock / unlock any app to the launcher according to your needs.
- Top Menu Bar
The top menu bar in Unity desktop is a multipurpose bar which contains the menu bar of the active application including the maximize, minimize and exit button for the app. This was done to save space on small screens.
On the right side, you’ve got the network, time, sound indicators along with the logout and shutdown menu.
- Quicklist
With the help of quicklist, you can right-click on any app and access some quick features of the app like pausing or playing the music if you are running Rhythmbox, open a new private tab in firefox etc.
This way, you don’t have to open the app for every small action and can continue your work without any interruptions.

- Dash
Dash is a desktop search utility that you can use to search for installed applications, bookmarks, files and directories.
Not only that, but you can also use the dash to search for information online (on Twitter, Google docs etc.). It will display a preview of the results.
The best part, you can do all this easily from one unified window via the home scope.
- Head-up Display (HUD)
Head-up-display or HUD for short allows hotkey searching for menu entries quickly without the need for using the mouse.
You just have to tap the alt key on your keyboard, enter few words for the menu item, select the correct result from the list and press the enter/return key.
This is another great feature in Unity desktop, that allows you to do your work quickly and without any hassles.
Pre-Requisites of Unity Desktop
- Ubuntu installed and running. (I am using Ubuntu 20.04)
- Active internet connection to download unity desktop packages.
- Sudo Privileges
Install Unity Desktop on Ubuntu
Before installing the Unity desktop, it’s a good idea to update the software repositories on Ubuntu.
Open a terminal and run the following command:
sudo apt update
Now, let’s install Unity desktop using the command:
sudo apt install ubuntu-unity-desktop
The time it takes to download Unity Desktop packages will depend on your internet speed. So, wait patiently for the download to complete.
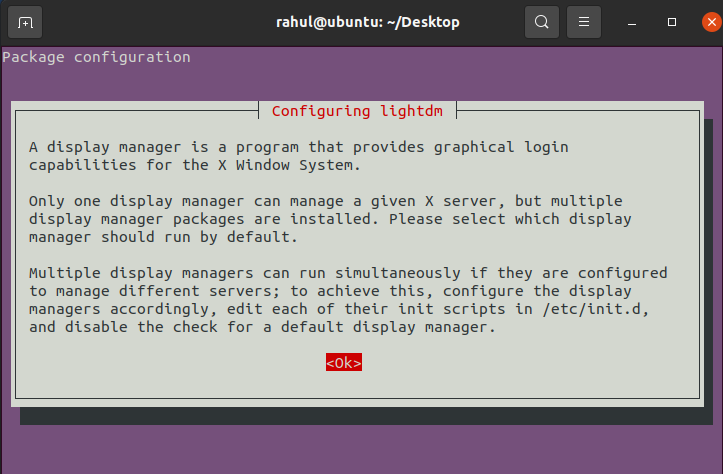
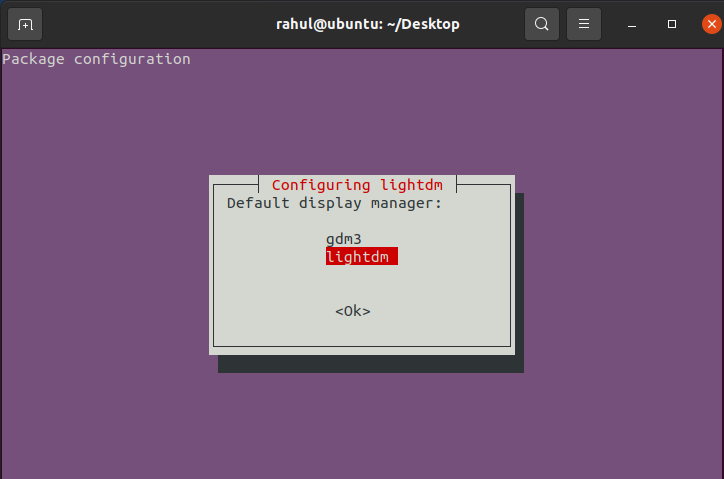
During the installation, you’ll be greeted with the option to select a default display manager. If you want Unity login screen at system start up, then choose lightdm. You can also choose gdm3 which is the display manager for GNOME.
After selecting the default display manager, the installation will proceed. Wait for it to finish, then restart your computer.

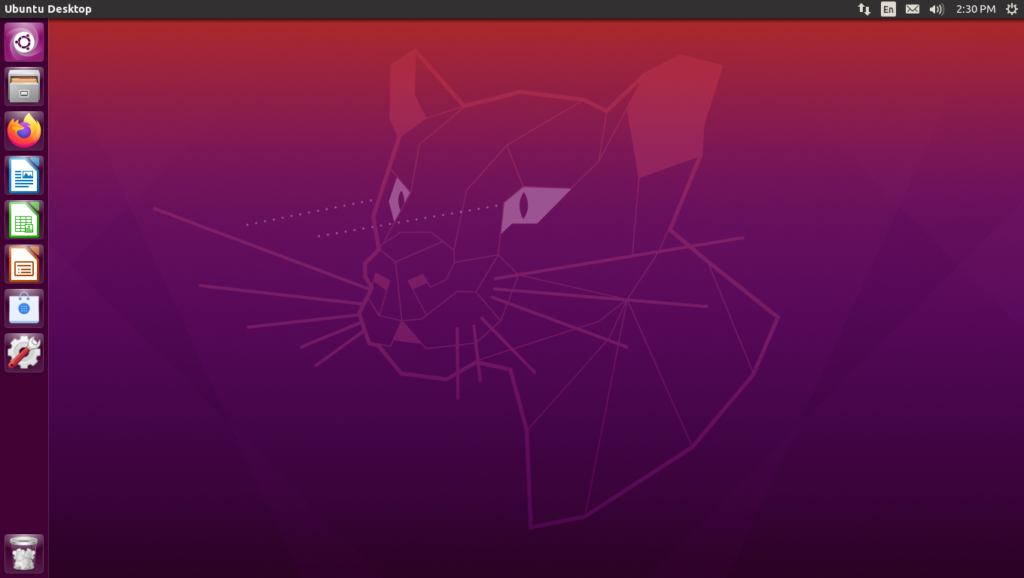
If you have chosen lightdm as the default display manager, then you’ll be greeted with Unity login screen.
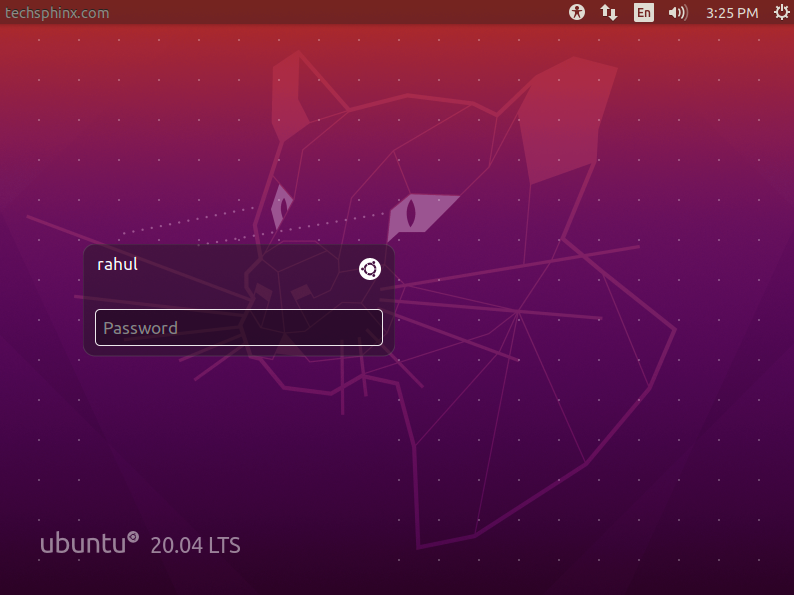
Now, you can login to your Unity Desktop.
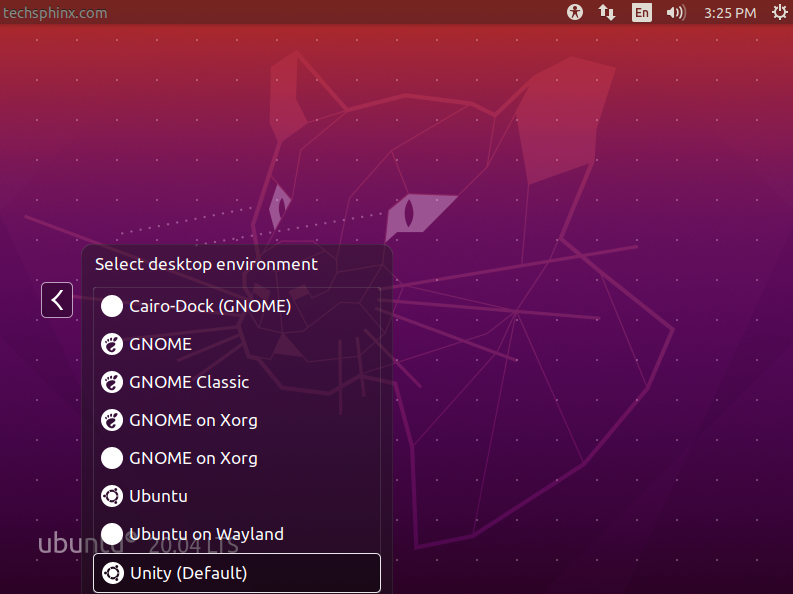
If you wish to use a different desktop environment, then click on the Ubuntu icon (next to your username) and select a different desktop environment before login.
Check Unity Desktop version
You can check your details of your system using “screenfetch” utility.
Install Screenfetch using:
sudo apt install screenfetch
Run screenfetch using the command:
screenfetch
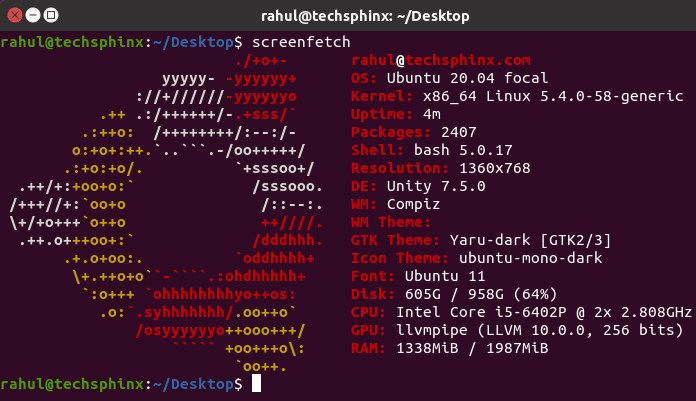
Here you can see that Desktop Environment (DE) is set to Unity 7.5.0.
You can also check unity version using
unity --version
Note: If your Ubuntu system is upgraded and the login screen is replaced with GNOME desktop login screen, then you can restore Unity login screen by running the following command:
sudo dpkg-reconfigure lightdm
Install Unity Tweak Tool
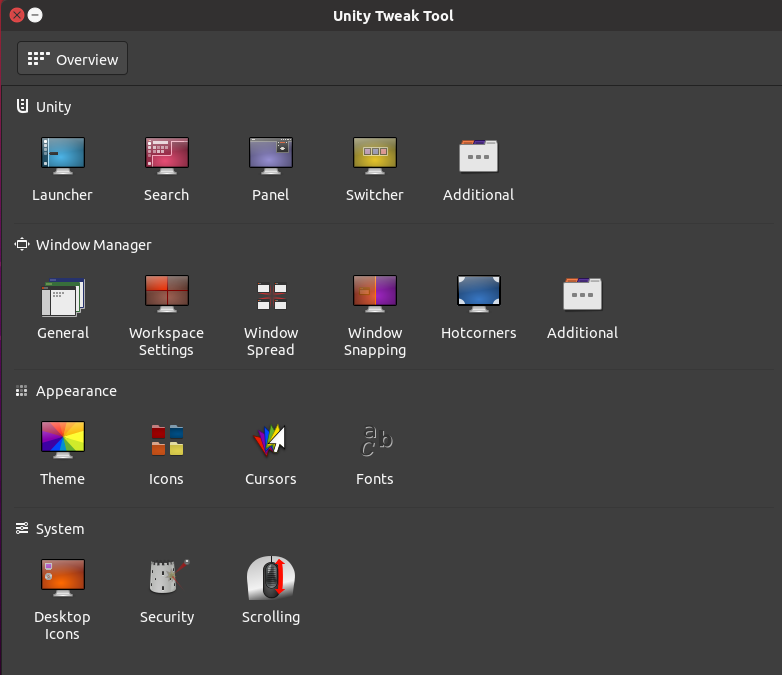
Unity tweak tool allows you to customize your unity desktop environment. You can change various settings related to the Unity desktop such as:
- Launcher settings
- Search settings
- Panel
- Workspace settings
- Window Snapping and Hotcorners
- Scroll Settings
- Themes, Icons and Fonts
- Security Settings
- And many other tweaks.
To install Unity tweak tool run the following command:
sudo apt install unity-tweak-tool
Start Unity tweak tool using the command:
unity-tweak-tool
Uninstall Unity Desktop on Ubuntu
If you wish to uninstall Unity desktop from Ubuntu for any reason, then restart your PC and choose desktop environment other than Unity and login to your system.

To remove the unity desktop environment run the following commands in order:
sudo apt purge unity-session unity
sudo apt autoremove
If you have set Lightdm as your default display manager for unity desktop, then change the default setting to another display manager.
To set gdm as the default display manager run:
sudo dpkg-reconfigure gdm3
You’ll be asked to set a default display manager, choose gdm3.
Now, restart your system.
reboot
If you try to change the desktop environment before login, you’ll see that unity is no longer there.
Conclusion
I hope this post helped you to install unity desktop on your Ubuntu 20.0 system without any problems.
Many people still prefer Unity desktop over the new GNOME, but with the news of GNOME 40 and Unity not getting frequent updates, it will be good idea if you stick to GNOME desktop.
GNOME also has gnome tweak tool that allows you to modify it according to your taste.
Alternatively, you can also choose to install the KDE desktop environment on your Ubuntu system.
Which desktop environment do you use for your Ubuntu System?
Tell me in the comments. 🙂

If you like this post, then follow Techsphinx on Facebook and Twitter for more reviews, tricks, tips and tutorials.
This article needs update or correction? Report the issue here so I can update it.