
This post may contain affiliate links/ads and I may earn a small commission when you click on the links/ads at no additional cost to you. As an Amazon Affiliate, I earn from qualifying purchases. Techsphinx also participates in the StationX Affiliate program. You can read my full disclaimer here.

In my other post, I showed you how to create and restore a snapshot of VirtualBox VM. This guide will show you how to export and import VirtualBox VM from one system to another.
VirtualBox is a utility that allows you to run multiple Guest OS (Virtual Machines) on the main OS (Host machine on which VirtualBox is installed).
Virtualization technology provides us with many features that the main system doesn’t offer. One of such features is moving an entire OS to another machine easily.
Reasons to export VirtualBox VM
Exporting and importing VirtualBox VM can help you in many ways.
Here are few reasons:
1. The main os is not working properly and you want to re-install it but you don’t want to affect the virtual machines. VirtualBox is a utility running on the main machine, if you re-install the main machine you’ll lose VirtualBox installation and OS files (if you don’t have a backup of the VMs).
2. The main system doesn’t have enough resources to sustain the working of a VM. Hence, moving your VM to a compatible system will prove useful.
3. The Main system is not portable and it’s hard to access your VMs remotely. Therefore, you can move the VMs to a laptop, so that you can do your work from anywhere.
4. You want to share the VM with someone.

5. You don’t want to go with the entire installation steps again for every single machine you want to install the VM on.
You may have other reason to export VirtualBox VM or you may just want it as a safety measure so that you don’t lose your important work.
Export VirtualBox VM
To export the virtual machine, follow the below steps in order:
1. Start VirtualBox
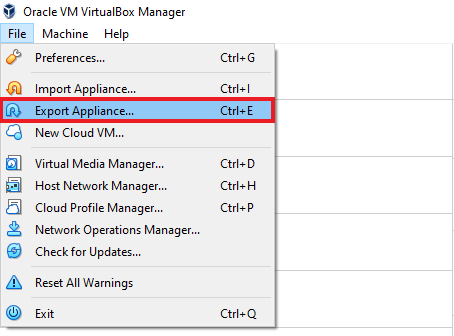
2. Click on File > Export Appliance.
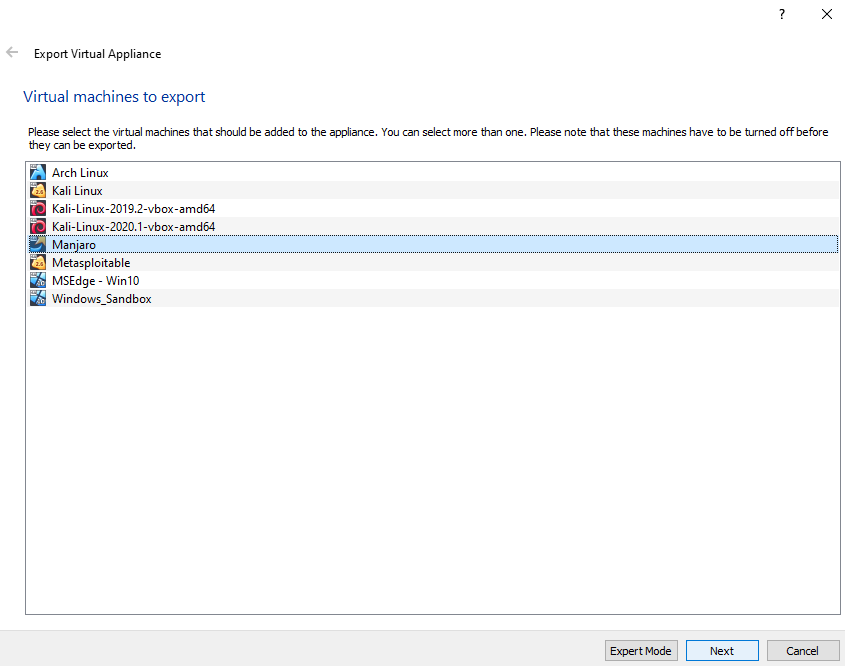
3. Select the Virtual Machine you want to export and click next.
Make sure the virtual machine is in shutdown state before exporting.
4. Select the location of the export file and click next.


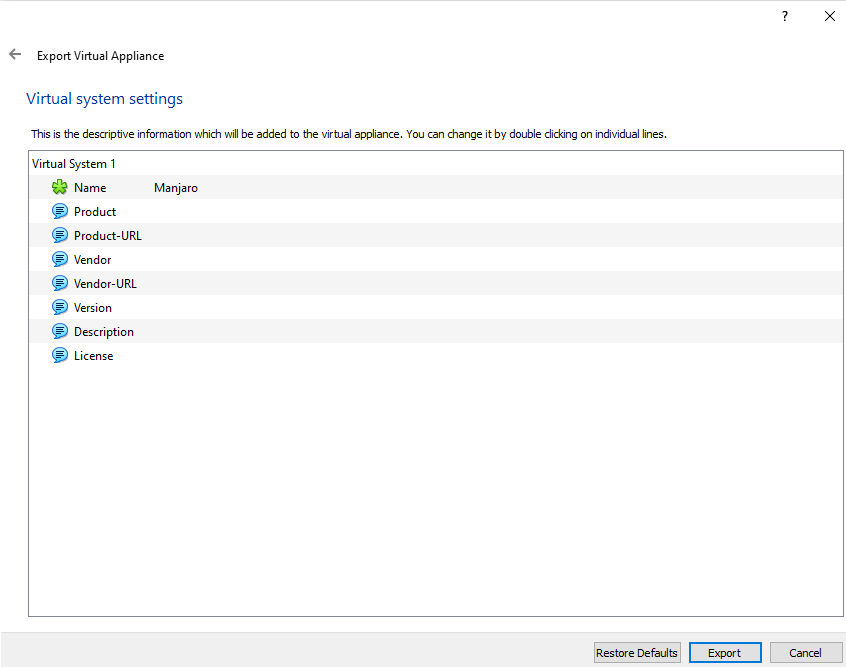
5. Add the description (optional), then click export to export the virtual machine.
6. Wait patiently for the process to finish.
Once finished, you can see the exported virtual machine (.ova file) in your selected export location. From there, you can copy/move the ova file to another system or use that on the same system if your virtual machine is deleted.
Import VirtualBox VM
To import VirtualBox VM, copy the exported ova file to the system you want to import VM. After that follow the below steps:
1. Start Virtual Box.
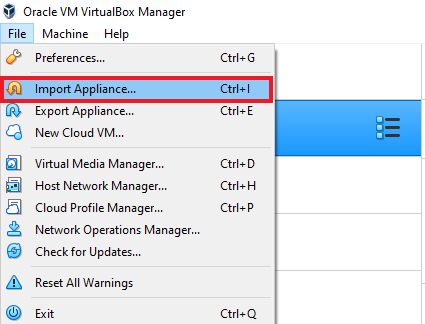
2. Click on File > Import Appliance (or you can just double click the “ova” file and jump to step 4).
3. Select the ova file you exported before.
(Use the small yellow icon to browse for the ova file.)

4. Change virtual system settings like RAM, if you want.
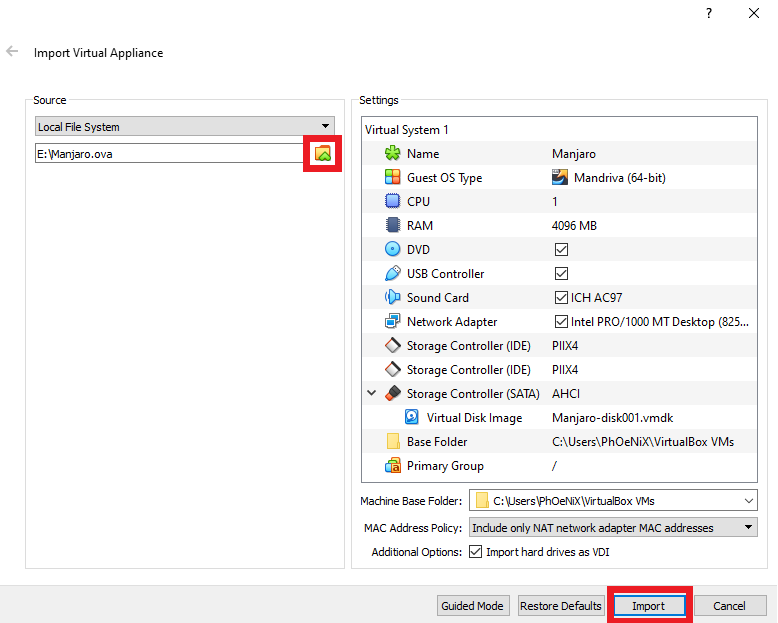
5. Click on Import.
6. The import process will begin. Wait for it to finish.
After importing is completed, you can start the newly imported virtual machine.
Conclusion
Exporting and Importing VM can save you a lot of time. Some operating systems like Kali Linux provides a ready to use VM file for both VirtualBox and VMware.
Using the VM file, you can just import the VM, without the need of installing it.
Now, you know how to create the VM file for any OS yourself.
I hope you enjoyed this post, if you have any queries then comment down below.

If you like this post, then follow Techsphinx on Facebook and Twitter for more reviews, tricks, tips and tutorials.
This article needs update or correction? Report the issue here so I can update it.