This post may contain affiliate links/ads and I may earn a small commission when you click on the links/ads at no additional cost to you. As an Amazon Affiliate, I earn from qualifying purchases. Techsphinx also participates in the StationX Affiliate program. You can read my full disclaimer here.
In this guide, you’ll learn how to install and use Stacer to optimize and monitor your Linux system.
Stacer is an open-source system optimizer and monitoring tool that helps users to manage their operating system. It is an all-in-one system utility made by Oguzhan Inan (Oguzhan Inan’s GitHub profile).
There are many graphical and command-line monitoring tools available to either monitor or optimize Linux systems, but Stacer provides a full solution for both.
It is also ideal for a Linux beginner as it is an easy-to-use graphical tool.
Let’s look at some interesting features of Stacer.
Features of Stacer
- Simple and easy-to-use Graphical Interface.
- Provides System Information.
- Monitor CPU, Memory, Disk and Network Usage.
- Monitor and manage startup applications.
- Built-in System Cleaner to Clean Caches and logs.
- Monitor and Manage Processes.
- Monitor Manage system services.
- Built-in App Uninstaller.
- View history of resource usage (CPU load, Disk usage etc.) using graphs.
- Built-in APT – repository manager.
- GNOME and Unity settings for Ubuntu.
- Option for alert messages, if system resources exceed the set value.
Pre-Requisites to Install Stacer on Linux
- Linux Based OS with Graphical User Interface
- Active internet connection
- Sudo privileges
Install Stacer on Linux
Below I have mentioned different methods to install Stacer on different Linux based systems. Follow the methods according to your distro.
Install Stacer on Debian Sid / Ubuntu 20.04+
You can install Stacer on Debian Sid and Ubuntu 20.04 using the apt command.
sudo apt install stacer
Install Stacer via PPA Repository
You’ll need to add the PPA Repository of Stacer if you want to install on Ubuntu-based systems like Elementary OS.
sudo add-apt-repository ppa:oguzhaninan/stacer -y
Now, update the repositories.
sudo apt update
Finally install stacer.
sudo apt install stacer -y
Install Stacer on Debian (x64)
To install on Debian, download stacer_1.1.0_amd64.deb (latest version of Stacer as of writing this post) from the Stacer releases page.
Then navigate to the downloaded location and open a terminal and use the “dpkg” command to install the downloaded package.
sudo dpkg -i stacer*.deb
Install Stacer on Fedora
You can install Stacer on fedora by downloading stacer_1.1.0_amd64.rpm (latest release, as of writing this post) from the Stacer releases page.
Then install the downloaded package via rpm command.
sudo rpm --install stacer*.rpm --nodeps --force
You can also install stacer using the dnf utility.
sudo dnf install stacer
Install Stacer on CentOS / RHEL
Stacer is available for CentOS / RHEL via EPEL repository.
Install EPEL Repository
sudo dnf install epel-release
Refresh repo by typing:
dnf repolist
Once, EPEL repo is installed, you can install stacer with dnf command.
sudo dnf install stacer
Build from source with CMake (Qt Version Qt 5.x)
You can also build Stacer from source, in order to do that, first install the necessary packages.
sudo apt install cmake gcc g++ build-essentials qt5-default qttools5-dev qttools5-dev-tools
Now, download Stacer source files from oguzhaninan’s GitHub repo. The latest version of Stacer is v1.1.0 as of writing this post and I am using “wget” command to download it.
wget https://github.com/oguzhaninan/Stacer/archive/v1.1.0.tar.gz
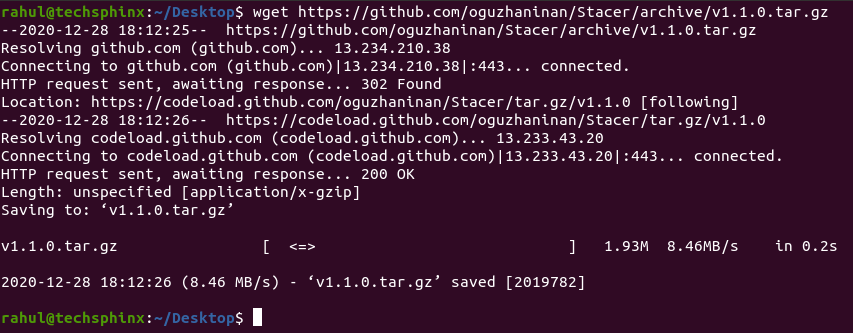
After download has finished, extract the downloaded tar file.
tar -zxvf v1.1.0.tar.gz
Now, navigate to the extracted directory.
cd Stacer-1.1.0/
Create a directory named “build” and navigate to it.
mkdir build && cd build
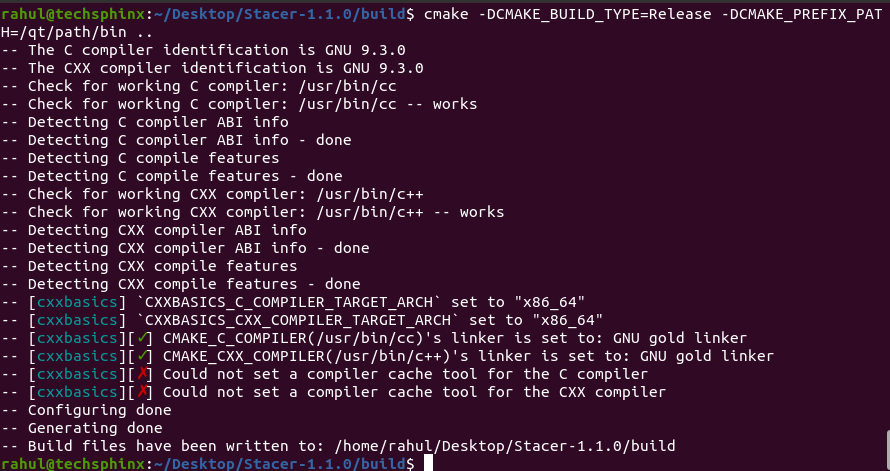
Run the following commands in order to build Stacer.
cmake -DCMAKE_BUILD_TYPE=Release -DCMAKE_PREFIX_PATH=/qt/path/bin ..
make -j $(nproc)
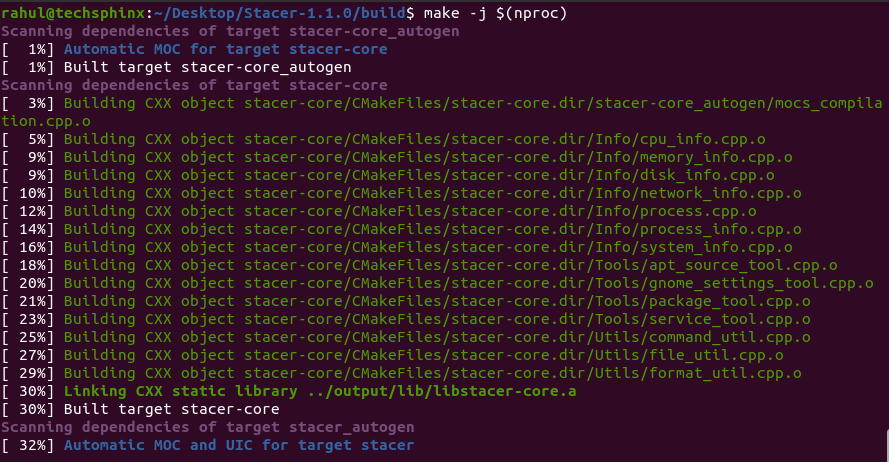
Once, building process is complete, you can run stacer using the command.
output/bin/stacer
Using Stacer to Monitor and Optimize your System
After you have installed Stacer, you can launch it via Applications menu (Graphical Method) or you can do it via terminal using the Stacer command.
stacer
Now, let’s have a look at all the options Stacer provides in detail.
Stacer Dashboard
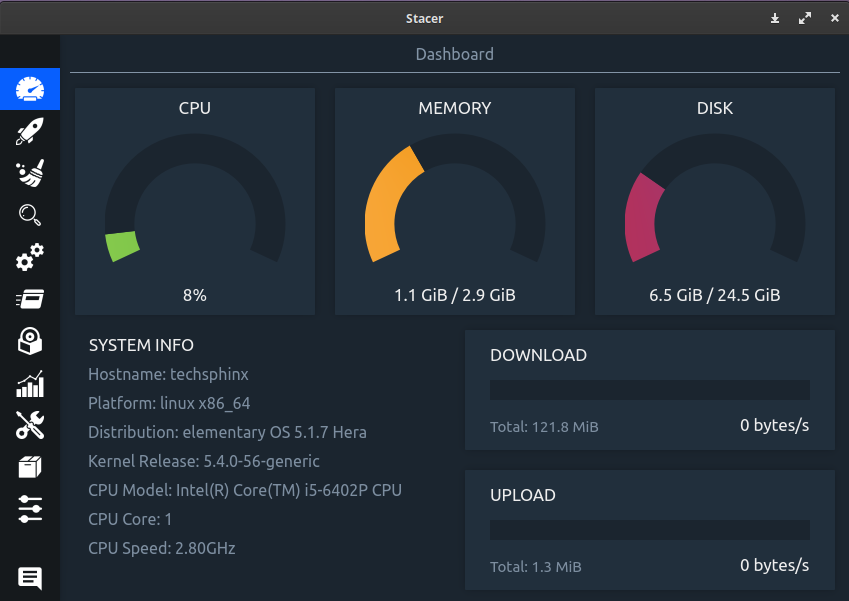
Stacer Dashboard shows basic system information like hostname, platform, distribution, kernel version, CPU Model, CPU core and CPU speed.
Apart from regular system info, it also shows current CPU, Memory, Disk usage and even bandwidth of download and upload.
Startup Apps
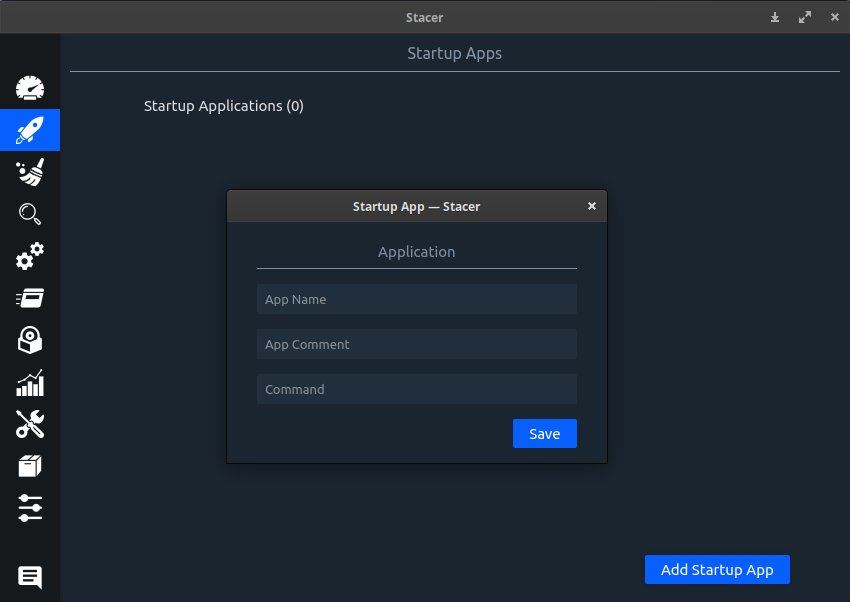
As the name suggests, the startup apps section of Stacer allows you can manage the apps you want to run at system boot.
Once you have added an app to the startup list, then you can enable or disable it according to your needs.
System Cleaner
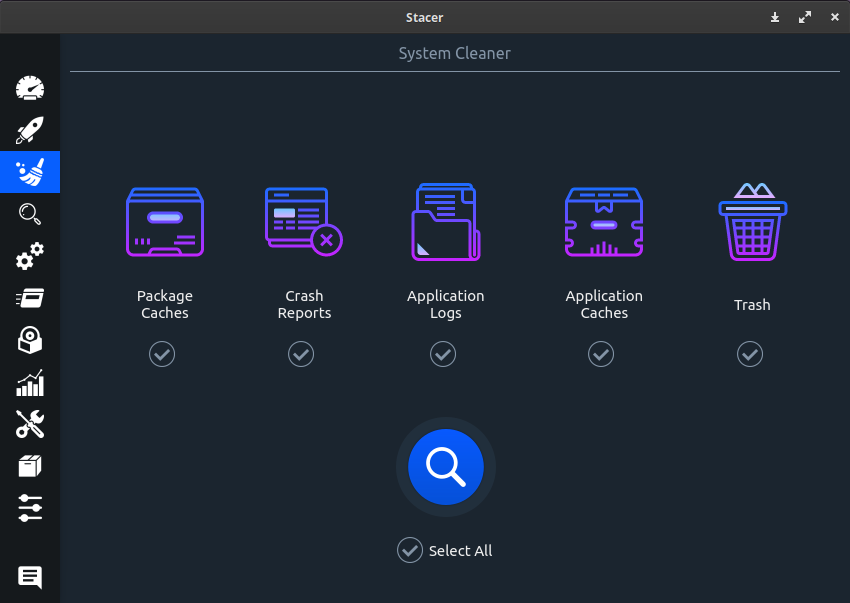
As I previously mentioned, Stacer is not only a processes monitoring tool, it’s also a system optimizer.
Stacer has an inbuilt system cleaner. You have an option to clean package cache, crash reports, application logs, application caches and empty trash.
You can select all or just select the ones you want to clean.
Stacer Search
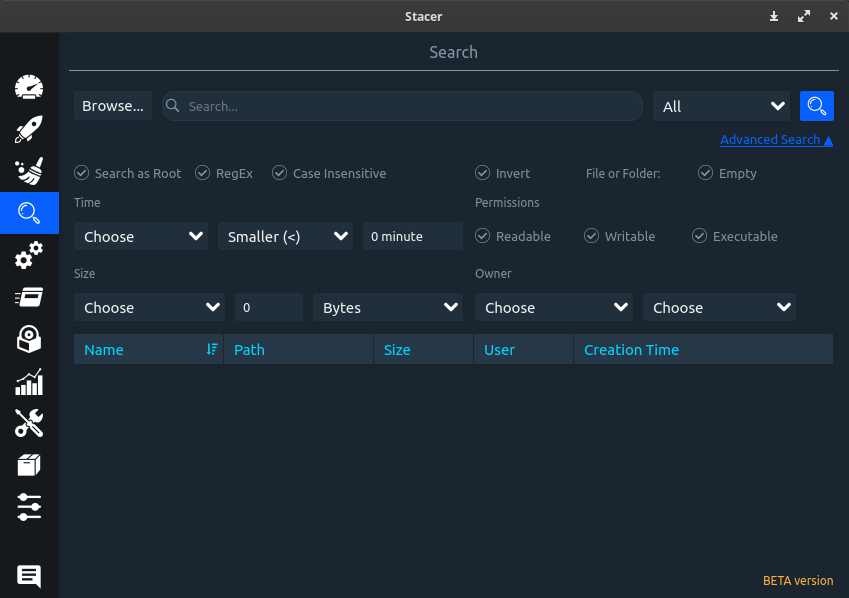
Search is newly added feature in Stacer that allows you to search for files, directories and symbolic links.
It also offers an “advanced search” option to filter your search results.
Manage Linux Services
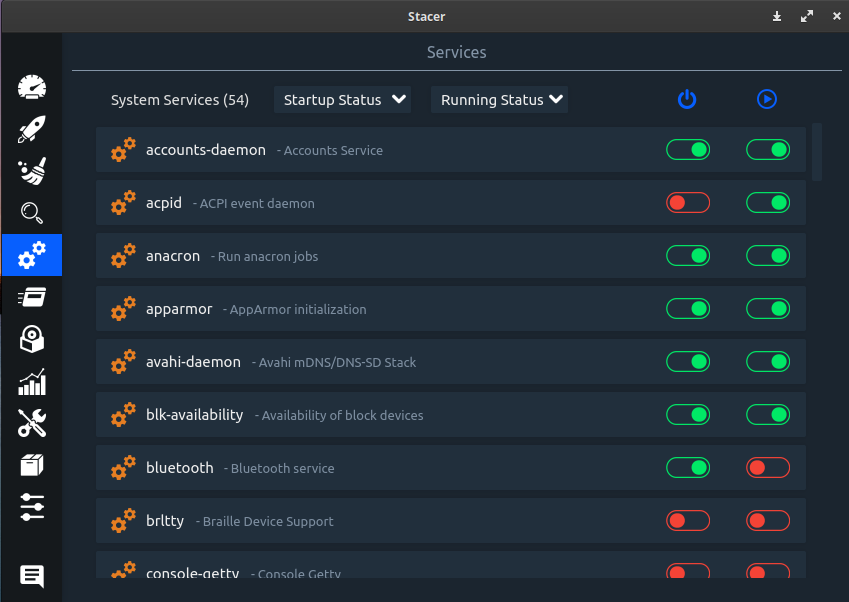
From this section, you can easily start and stop a service. You can also enable/disable a service from running at system startup.
Stacer also allows you to filter the services based upon its status.
Monitor and Manage Linux Processes
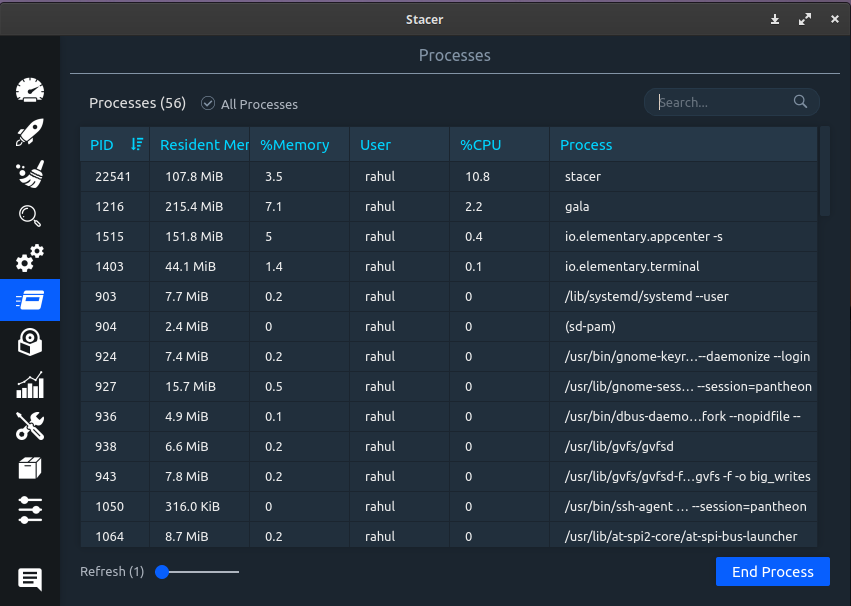
Under the processes tab, you can get details like process ID, resident memory, percentage of memory consumed, owner of the process, percentage of CPU consumed, and the process command for every process on your system.
You can also sort the process based on metrics that I mentioned above and end process that is no longer required.
The process table here has a default refresh rate of 1 sec, you can change the refresh interval if you want.
Linux Application Uninstaller
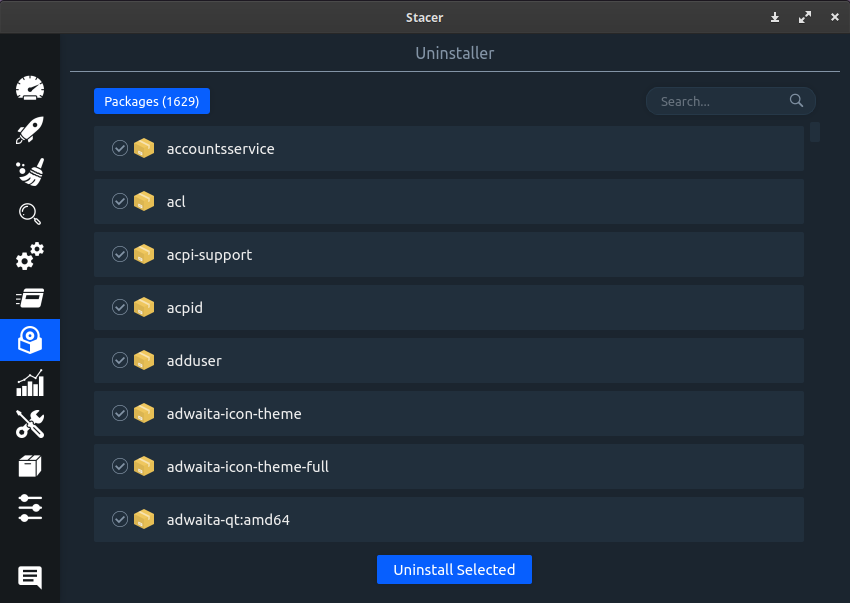
Stacer comes with a nice and easy-to-use app uninstaller. You don’t need to install any other software uninstaller or leave Stacer to remove unused packages. You can do all cleaning and optimizing work without leaving Stacer.
From the uninstaller tab, you can get an overview of the packages that are currently installed on your system.
Just browse through the list of packages or search for the packages using the search option which you want to uninstall and click on “Uninstall Selected” button.
Nice and Easy isn’t it?
Monitor Linux Resources
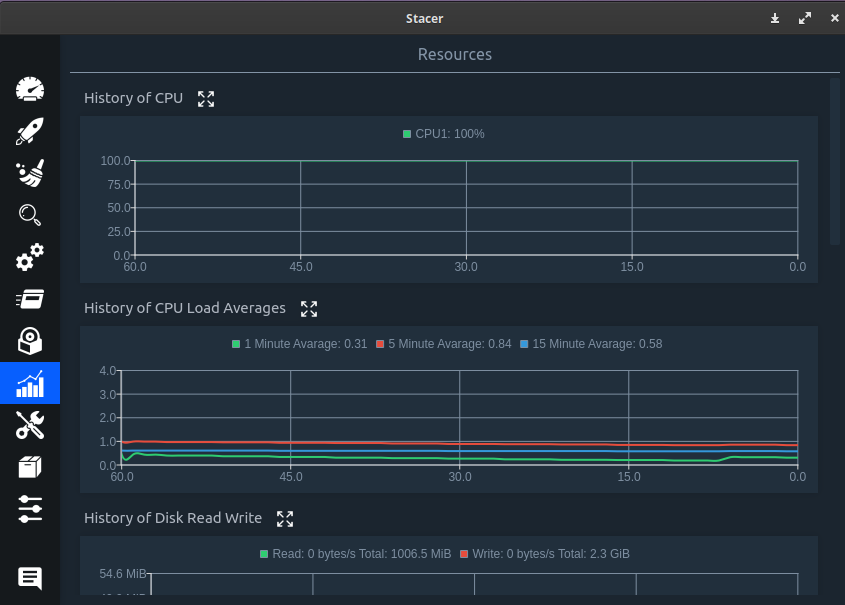
Here you’ll find the history of your system resources like CPU usage, CPU load averages, disk read/write, memory and network usage in a graphical format.
If you scroll down to the bottom of this section, you’ll also find a pie-chart representing file system and disk usage.
This way you can keep an eye on your system resources and make sure every resource is handled properly.
Helpers
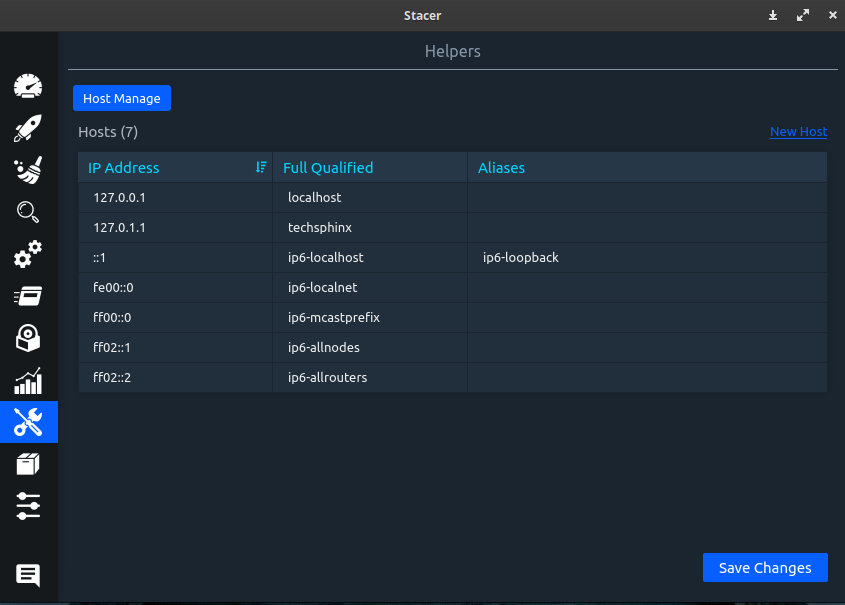
Helper section helps you to manage hosts. You can modify existing hosts or add new host by providing an IP address, fully qualified domain name and setting aliases.
APT – Repository Manager
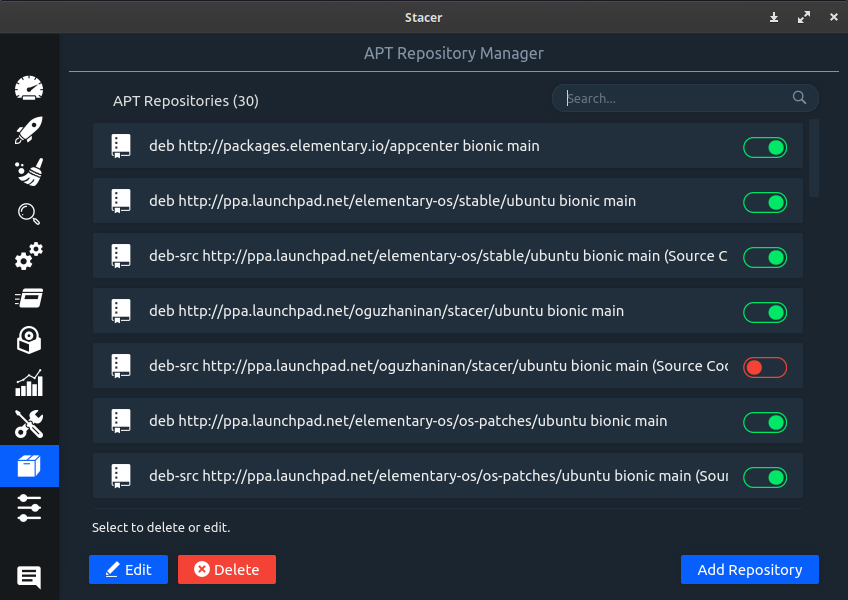
You can easily manage your repositories via APT – Repository Manager in Stacer.
There are options to add, delete, enable and disable repositories. This also makes it very easy for a beginner to handle all the repositories in the system graphically.
Note: You will not find this tab if you have installed Stacer on CentOS / RHEL / Fedora etc.
GNOME Settings (For Ubuntu)
Note: You’ll only find this tab if you are using Ubuntu. This tab is not available even if you have GNOME installed on CentOS / Fedora. 🙁 I hope this will get resolved in future versions of Stacer.
Stacer also has a GNOME settings tab, in case you want to tweak some features of your Ubuntu system.
There are 3 tabs you’ll find here:
1. Window manager
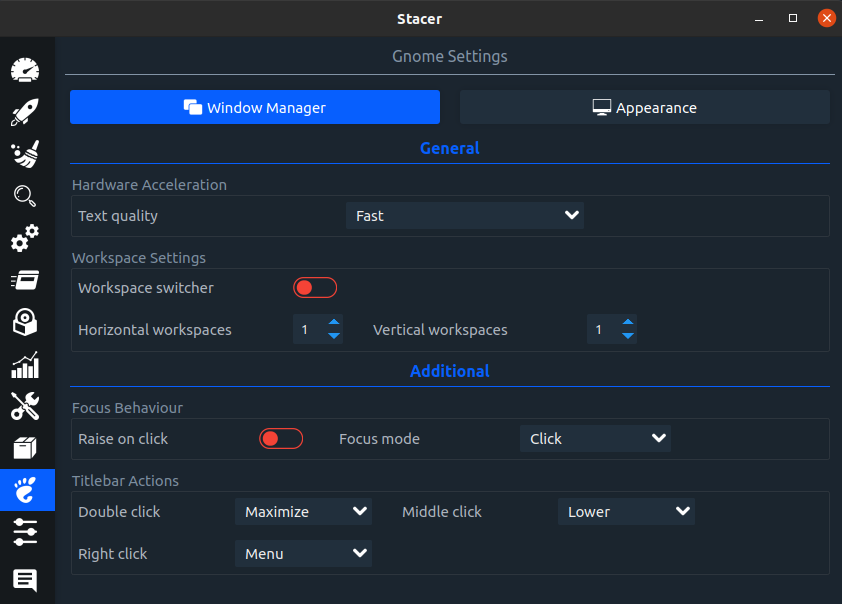
This tab allows you to tweak texture quality, workspace settings, focus behaviour and title bar actions.
2. Appearance
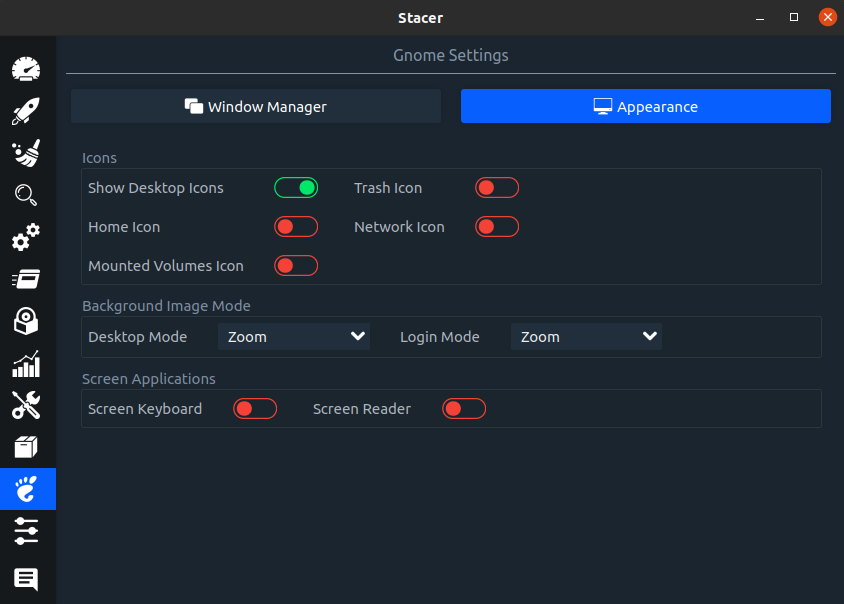
This tab has appearance-related tweaks such as showing or hiding icons (desktop icons, trash icons, mounted volume icons etc), change background image mode and toggling screen applications like on-screen keyboard and screen reader.
3. Unity settings
If you are using Unity Desktop Environment on your Ubuntu System, then you can also tweak some of the unity settings (like launcher appearance and behaviour) from this tab.
Stacer Settings
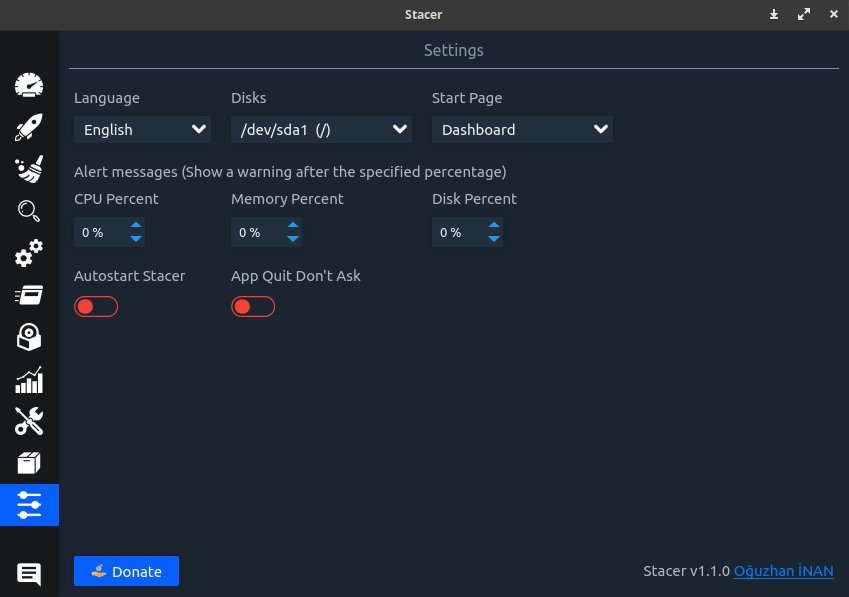
You can customize your Stacer experience using the settings tab. You can select language, disk and even set a default start page for Stacer (by default you’ll see the Stacer dashboard).
Also, you can set alert messages when your system exceeds a specified percentage of CPU, Memory and Disk. There is also an option to autostart Stacer.
Lastly, you can also find a Donate button at the bottom. If you like this project, then you can contribute to its development.
Uninstall Stacer
To uninstall Stacer from Ubuntu/Debian/Elementary OS etc. you can use the “apt” command.
sudo apt remove stacer
If you have added PPA repository of Stacer, you can remove that using the following command.
sudo add-apt-repository --remove ppa:oguzhaninan/stacer
To uninstall Stacer from CentOS / RHEL / Fedora, use the dnf command.
sudo dnf remove stacer
Conclusion
Stacer is an awesome tool for both monitoring and optimizing the system graphically.
If you like this utility, then do share this post with your friends and let them know of this great tool.
What are your thoughts on Stacer?
Tell me in the comments.
If you like this post, then follow Techsphinx on Facebook and Twitter for more reviews, tricks, tips and tutorials.
This article needs update or correction? Report the issue here so I can update it.
